Gold Colour Block Maxi

 An old friend of my mothers came over for lunch and I showed her my blog and everything and was moaning about the lack of need for maxi dresses. Her response to that was to invite my family to a black tie dinner, and this was the dress that I made for that occasion. I started with a tee-shirt block from Wendy Mullins' Sew U Home Stretch which I've used before for my dotty knit dress and floral tank.

 The key features are the colour-blocked sweetheart neckline, elastic waist and side split. The fabrics are black jersey (2.50pm) and gold/black printed jersey (6.50pm). Seeing as I only used half a metre of the black jersey this dress only cost me around 8.50 in total, including elastic.
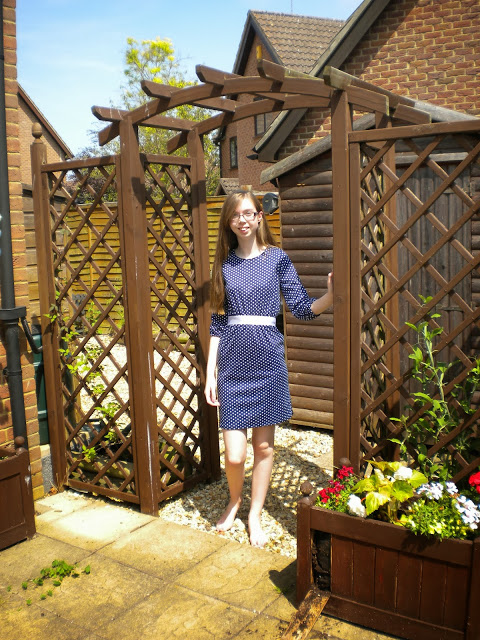
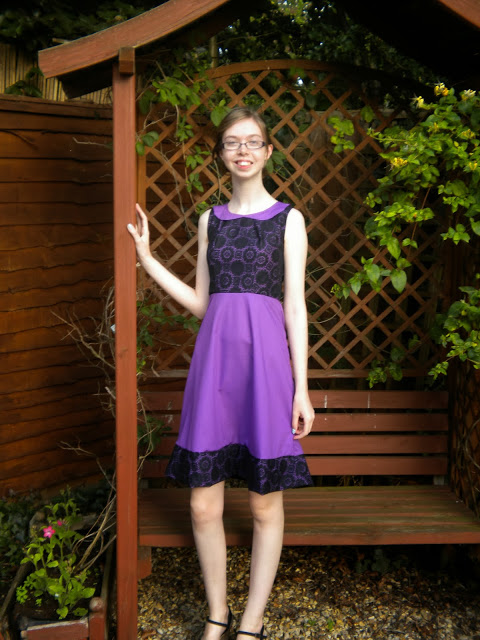
Please don't notice the fact that I used bias binding as a ribbon because I have no idea where I put my actual black ribbon!


So, getting on to how I made it! 
Trace your existing pattern piece onto a new piece of paper (I use greaseproof/baking paper) and draw where you want your sweetheart neckline to be. Bear in mind that both the back and the front pieces are cut on the fold.

Add seam allowance to where you have just cut on each piece. I masking taped some more greaseproof paper underneath so I could do this. Then make a mock up to see if it looks like the way you want it. 
I then put my pattern piece to my mannequin and drew a line across where the armpit started. This I then drew onto the back piece so the colour blocking would be level all of the way round. Then I cut where the line was and added seam allowances, as I did with the front piece. Now the bodice is ready to be cut out of the main fabric!
I put the back yoke on top of the lower back piece right sides together and sewed across the top. This seam was then opened, and the seam allowance topstitched down. I repeated this with the front pieces.
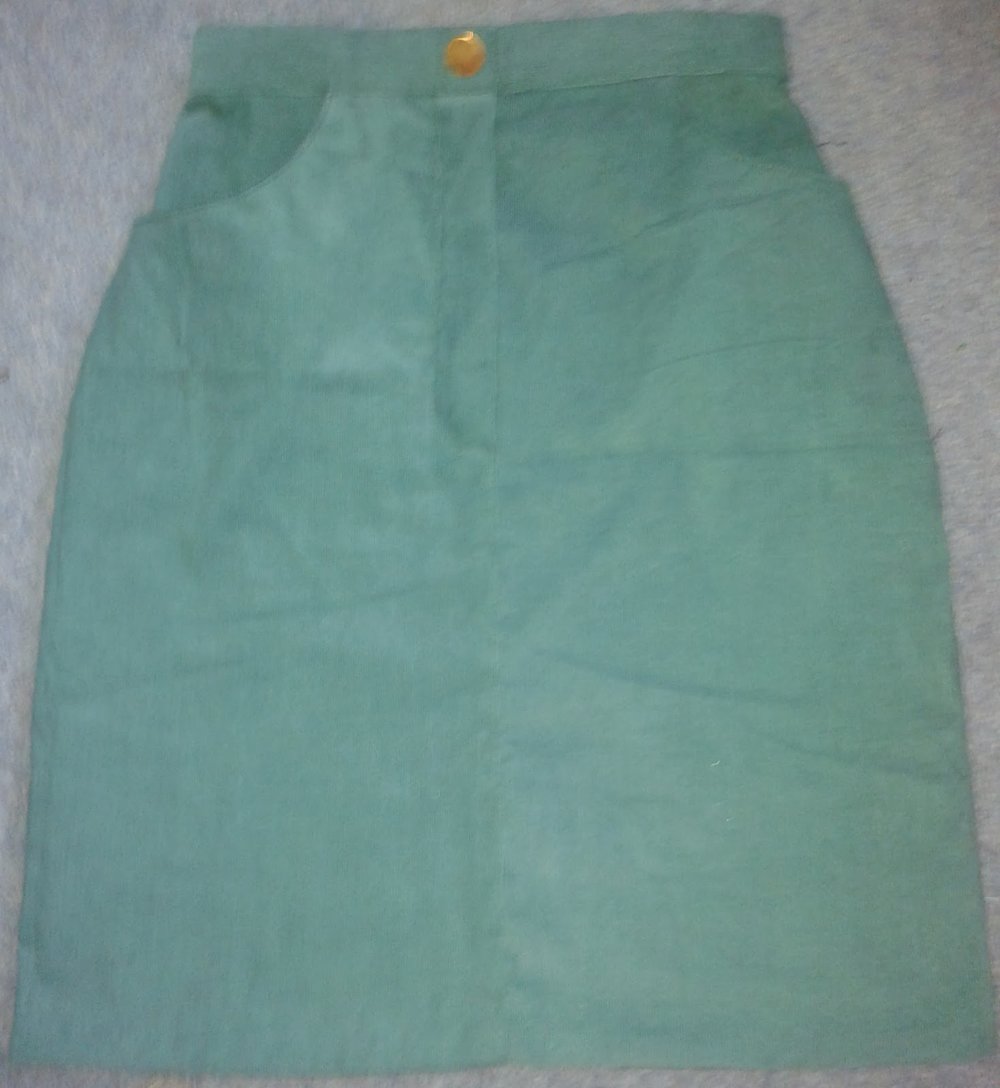
The skirt was 2 rectangles the same width as the bottom of the bodice pieces. Make sure this measurement is bigger than your hip measurement. The side seams were sewn together and the bodice was put inside the skirt so the right sides of the skirt and the bodices touched. The waist seam was sewn and I then stretched a piece of elastic the size of my waist around the waist seam and sewed that down. 

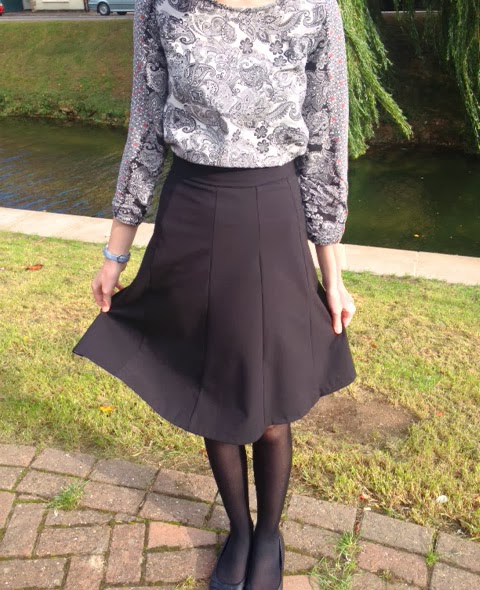
I then tried it on and realised that a split was needed for any moveability so I unpicked the bottom half of one of the side seams. I then made bias binding from a strip on the bias. This strip was folded in half, stitched right sides together to the neckline and armholes and pressed upwards so that the seam was hidden inside. This could also be top-stitched. Just sewn the hem and you're done!
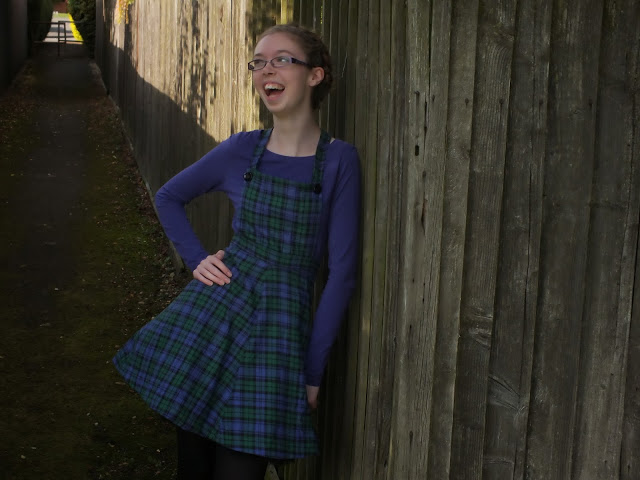
I layered the dress over a black long sleeved tee so that's why the armholes and the neckline look a bit funny!
Ok, so maybe I unpicked a bit more than half of the side seam...
Hopefully that all makes sense! 
Thanks so much for reading!
Lauren xx

2 Tone Corduroy Skirt

 Right. On one hand, I am very proud of this skirt, it has both a fly front zip and pockets which I've never done before.On the other hand I made a very rookie mistake when cutting out and cut them on opposite naps, so as you can see, each side is a different colour. I only realised this when finishing the skirt and it was a bit of a bummer. However, Mum said to just embrace it as a design feature and so I am. What's excruciating is that we had a textiles lesson the day before and we spent a good 10 minutes on nap. Stupid Lauren. Plus I'm scared of ironing corduroy hence the wrinkles.
But still, I did a fly front zipper, A FLY FRONT ZIPPER!!! Which I've been too scared to do for ages. The video that helped me the most was this one from threads magazine. I had to unpick it a few times, but got there in the end. The pattern and fabric were both from my friends Mum Irenee and the zip was from my stash (it's yellow, but who cares? no one will see it) so this skirt cost me nothing!
There was quite a bit of top-stitching involved, but I chose not to do it in a contrasting colour because my accuracy is dire, so I figured that I'll practice it, but it'll be okay if I go completely off because people won't see it. The hem is slip-stitched purely because I ran out (read: lost) the remaining thread so had to make it invisible instead. I really need to learn how to catch stitch because I'm sure that it's much more suitable for hems.
Just so you know that the pockets are there!
The pattern I used was Simplicity 8189 (no.3) and I cut out a size 8 (the smallest size) and I had to take 5cm (around 2inches) from each side! EACH SIDE! Most people go down a size or two when using a big four pattern, but I don't have that option, so I guess I should learn how to draft them to a smaller size before I even cut them out of the fabric. Hmm, sounds tricky.
At the moment the waistband is secured with 2 snaps because the waistband was far too thick for a buttonhole. I didn't put a button on so I could put a belt on it but I'm undecided. What do you think?
Right, that's everything!
To summarise, this skirt has pros and cons, but I think the pros outweigh the cons. I think.
Thanks so much for reading!
Lauren xx


Teal Circle(ish) Skirt

This fabric has been in many different formations, and it took several tries to get it right. Originally I cut out a shift dress which was too loose. I took in all the seams by 1 cm and it was too tight.  Unpick all those seams and decide that it's fine if it's loose. Cut off tight fitting skirt as it didn't look right with body shape. Cut out circle skirt out of remaining fabric using By Hand London app instead.  Make scallops on neckline. Neckline is too wide and everything too loose! Bodice cut off. Circle skirt trimmed to right size and overlocked. Too tight! CRY!!! Sleep, cuz apparently everything looks better in the morning. It didn't.
Anyway, after all that drama, I made it work in the end. What did someone clever say? "I may not have won the battle, but I will win the war". Yeah, this was a bit like that. It was originally going to be my entry for Green December (Yes I know it looks incredibly blue but apparently it's teal and apparently that is green) but I only sorted it out yesterday so that's a pity.
In the end, I'm glad that I persevered because I LOVE LOVE LOVE this skirt. The colour, the swishyness, EVERYTHING! I got the around 2.5 metres of this fabric with 1 metre or so of red wool for 3 pounds. Score! It's a knit of some sort but I think there's some wool in there as well? Possibly? 
I want to make a baggy black tee to tuck into it because the tight tee I'm wearing with it at the moment just makes me look like a tree trunk. Oh, and that hoody I'm wearing. I made that a while ago and blogged about it here. It's seriously cosy. Love it. 

we're done with the photos? SPRINT towards the house with central heating and my dressing gown!
Hmm. I run like a weirdo. Must work on that.
Okay. I think I'm finished now. I hope you all had a great Christmas and a Happy New Year! Now I'm looking forward to my birthday in a week and a day!
Thanks so much for reading!
Lauren xx


Top 5 Hits 2013

Top 5 of 2013 - An Annual Blog Series

Right, because this has been my first year of sewing I have made many, many mistakes but I have ended up with quite a few garments that I wear on a regular basis. Click on the pics to see the original blog post.
If you want to see everyone elses Top 5's they're in the comments of Gillians post here .

1) The Dotty Knit Dress

This was, I think my first time working knits, and it all went incredibly smoothly thanks to my Sew U Home Stretch book by Wendy Mullin. It has been worn countless numbers of times and I feel great in it. The only thing I would change about it is the sleeve length as 3 quarter sleeves make it difficult to wear with a cardigan on top limiting the months that it can be worn in.

2) School Skirt No. 1

 Simple as it is, I've worn this skirt at least once a week since the beginning of September and it has held up surprisingly well. It's one of my most worn sixth form skirts, and was the first skirt that I lined.

3) Plaid Pinafore Dress

I love this dress so very very much. It's very "me" so I feel fab when I wear it resulting in me wearing it loads! It does have imperfections as the weirdly placed half buttonholes and the shoddy hem but nobody notices those so who cares! It also happens to be my most viewed blog post which is interesting.

4) The Ballet Dress

This one has also been worn loads as it's a perfect winter dress for layering under, but still looking half decent. Next time I will make the sleeves longer though.

5) The coffee date dress

I was very happy with this dress when I made it, but recently I pulled it out and thought hmm maybe not. The bodice ends above 3 inches above my natural waistline making it completely proportionally wrong. However, I put it in my top 5 because this was the first time that I'd actually added design elements instead of copying the pattern. In this instance I had the contrast lace bodice and hem band and the self drafted peter pan collar. I love how it looks, but just not on me.

And that's all of them! Interestingly 4 of these are dresses. I didn't wear dresses atall before I started sewing because I lived in jeans, but they are practically all I wear now I'm more comfortable with my style.

Thanks very much for reading. Hopefully I'll have time to squeeze in at least my goals for next year before midnight but if not HAPPY NEW YEAR!!!!
Lauren x

Top 5 Misses of 2013

Top 5 of 2013 - An Annual Blog Series

This is bearing in mind that I started sewing for the first time in February and that I had no idea what I was doing! Oh also, this is only the misses out of the stuff that made it onto the blog. I'm not even going to think about my UFOs.

1) Winter Dress

This was the first thing that I made and wore out of the house, but I won't wear it out the house now. The zip is disastrously put in at the side front (!?) and the fit is awful. It has been sent to the attic. 

2) Prom Dress Bodice Wearable Muslin


This was my first fully lined bodice which I'm proud of but in my previous muslin of this dress the the armholes were too tight so I hacked a load off and now they are far too low! This means that I have to wear it with a tank top underneath which is just slightly inconvenient but still counts as a fail in my book.


3) A Swing Dress

In this dress I completely forgot that a zip may be needed. It was far too early in my sewing career to draft something myself with next to no knowledge and to expect it to work. Plus, 4 way stretch chiffon. 'Nuff said.

4) Floral Peplum Top

This is another failure because of the fit. You can't just cut out a size 10 and hope that you'll be able to alter it when it's all sewn together to a size 6! I especially regret this loss because this was some of my grandmas fabric and it's a shame to have waisted it. However, I have learnt from it nonetheless. Click on the titles for links back to the blog post. :)

5) School Skirt No. 2

This was purely a bad make because the fabric is disgusting and picks up every single little piece of fluff in the planet.

And that's it for all of my "misses" for 2013. It seems that I need to pay much closer attention to the fit, and the fabric before I buy it. But it is heartening to know that most of these makes I made a fair while ago meaning that my garments have had a higher success rate since. Yay!

Thanks so much for reading!
Lauren x