Introducing Original Digby Patterns!

Hello! Apparently it’s been 3 years since I last posted… It seems that blogs have had their heyday and it’s all about whats happening on instagram now. That being said, I wanted to let anybody who was still here know that I’ve launched a sewing pattern company! It’s called Original Digby Patterns, and it’s been a dream of mine ever since I started sewing as a teenager 10 whole years ago, when I was too small to fit on any of the size charts.

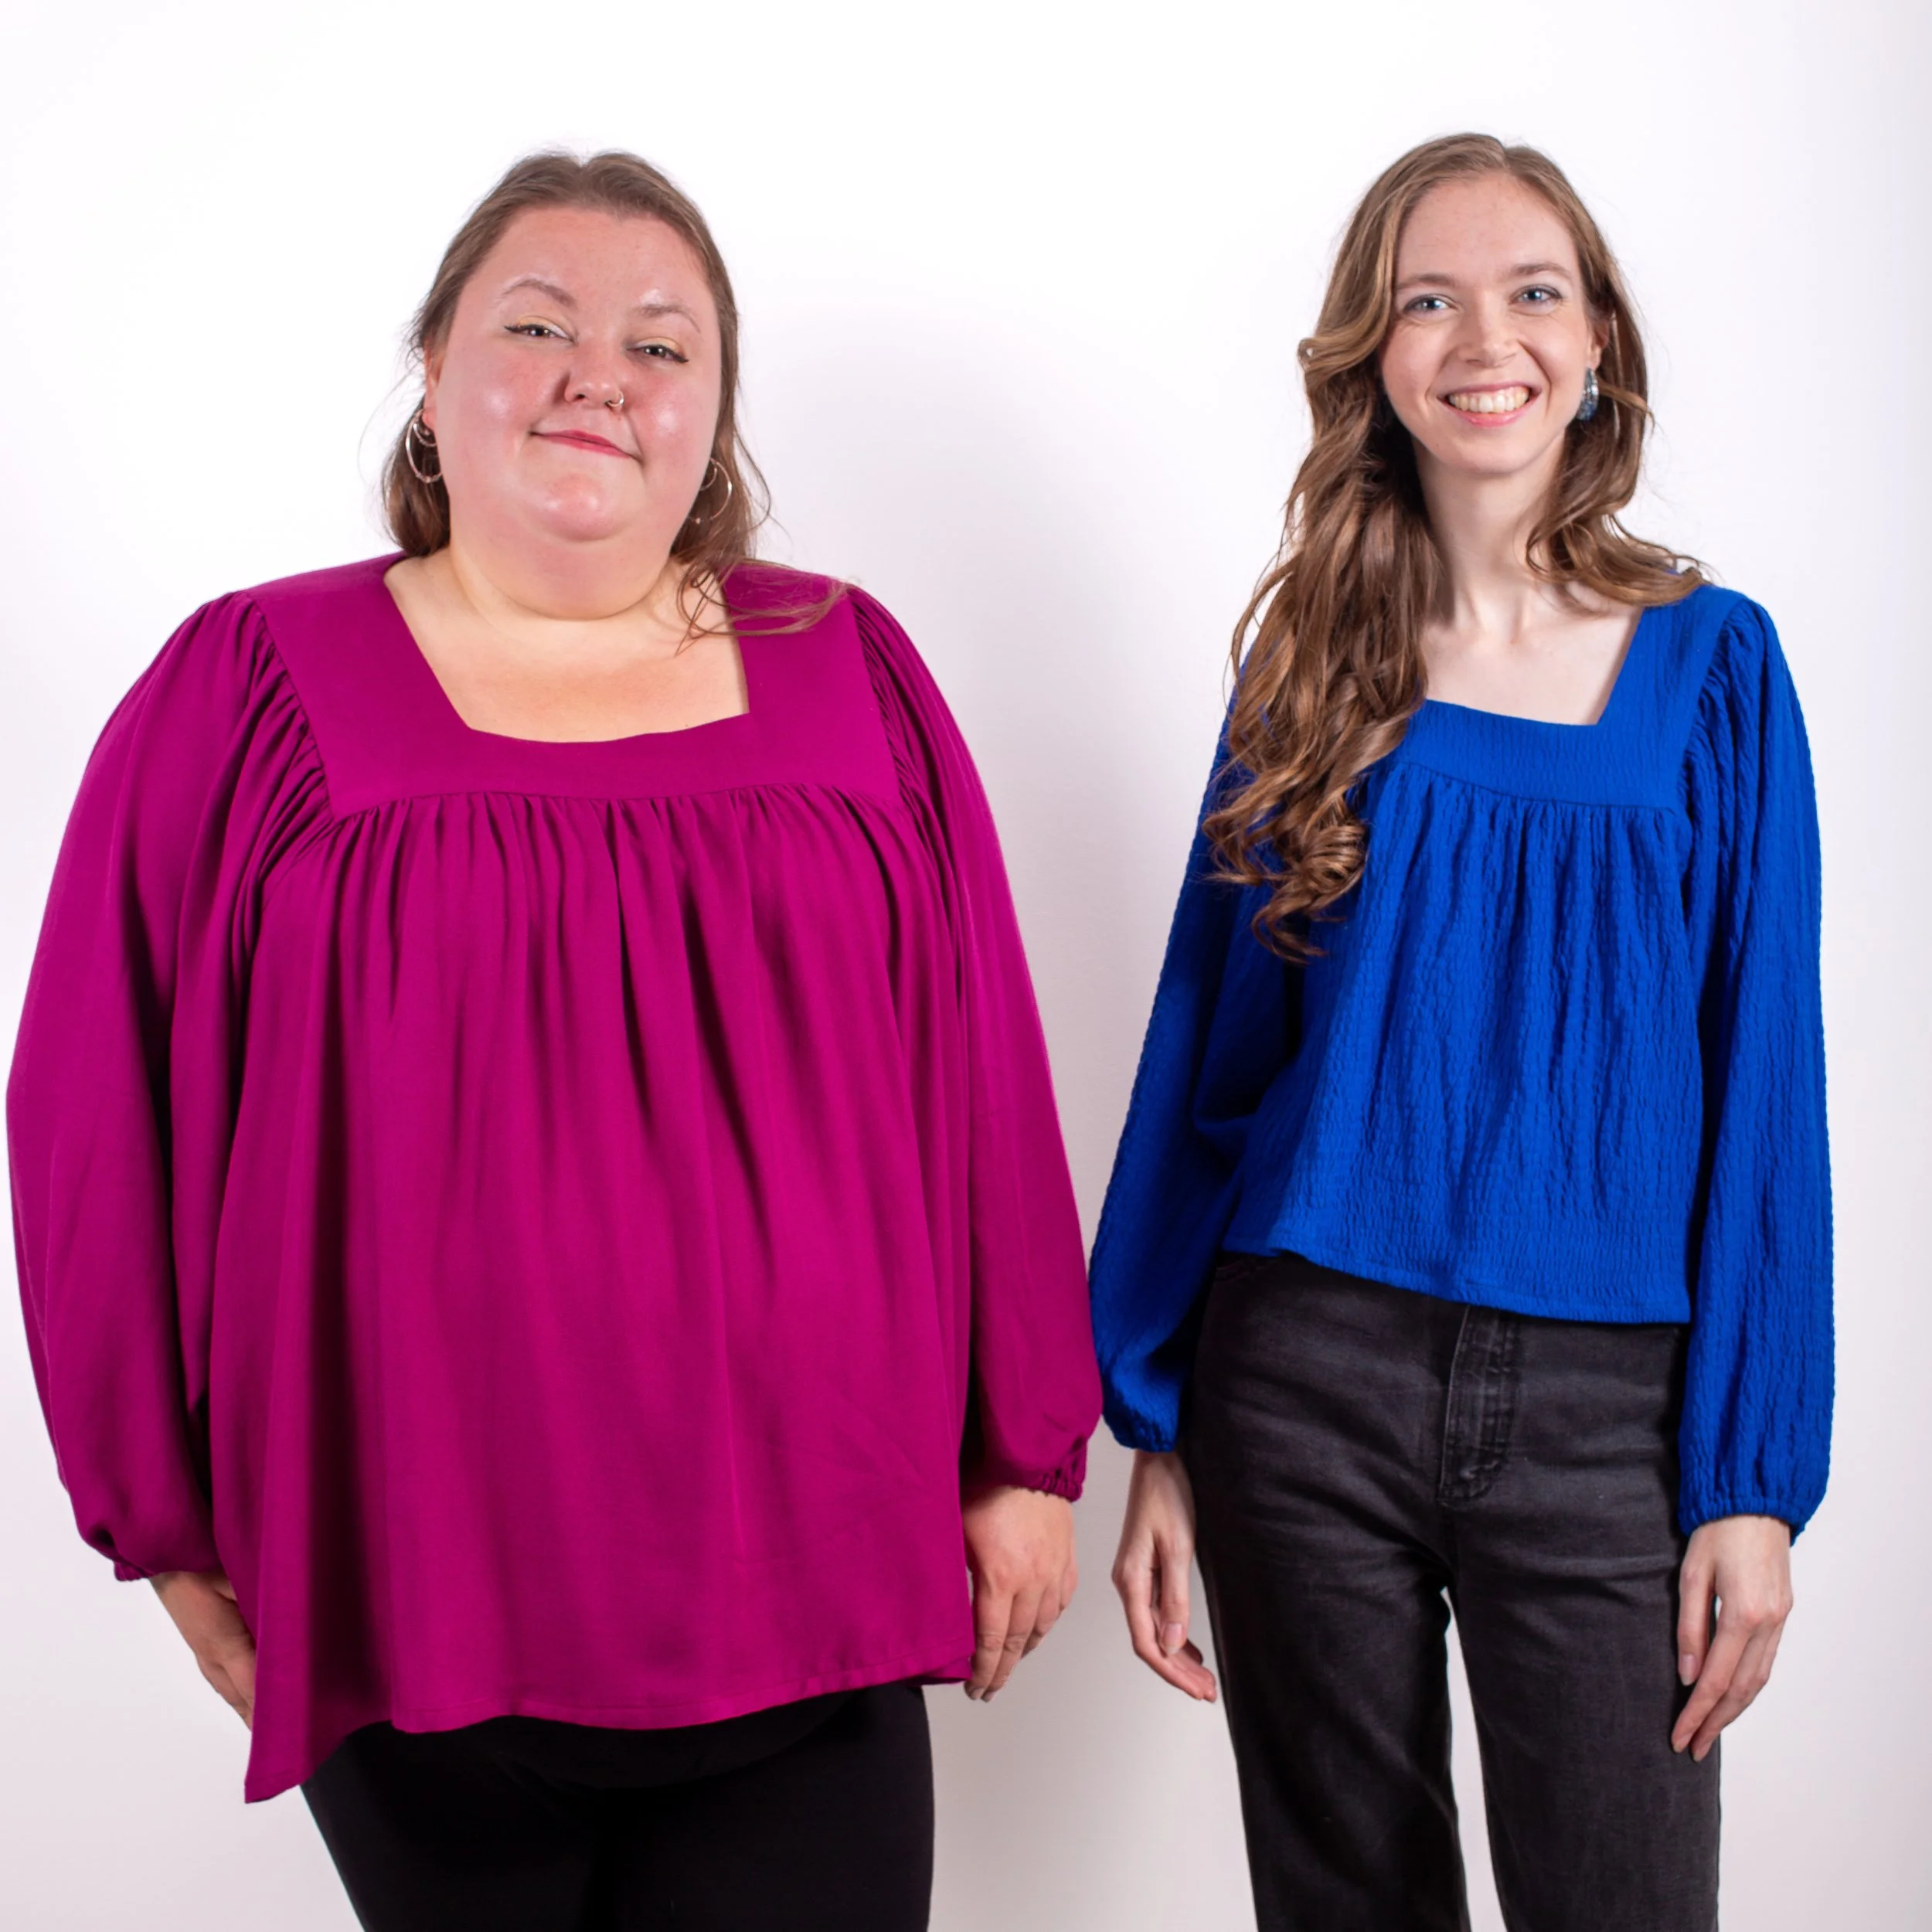
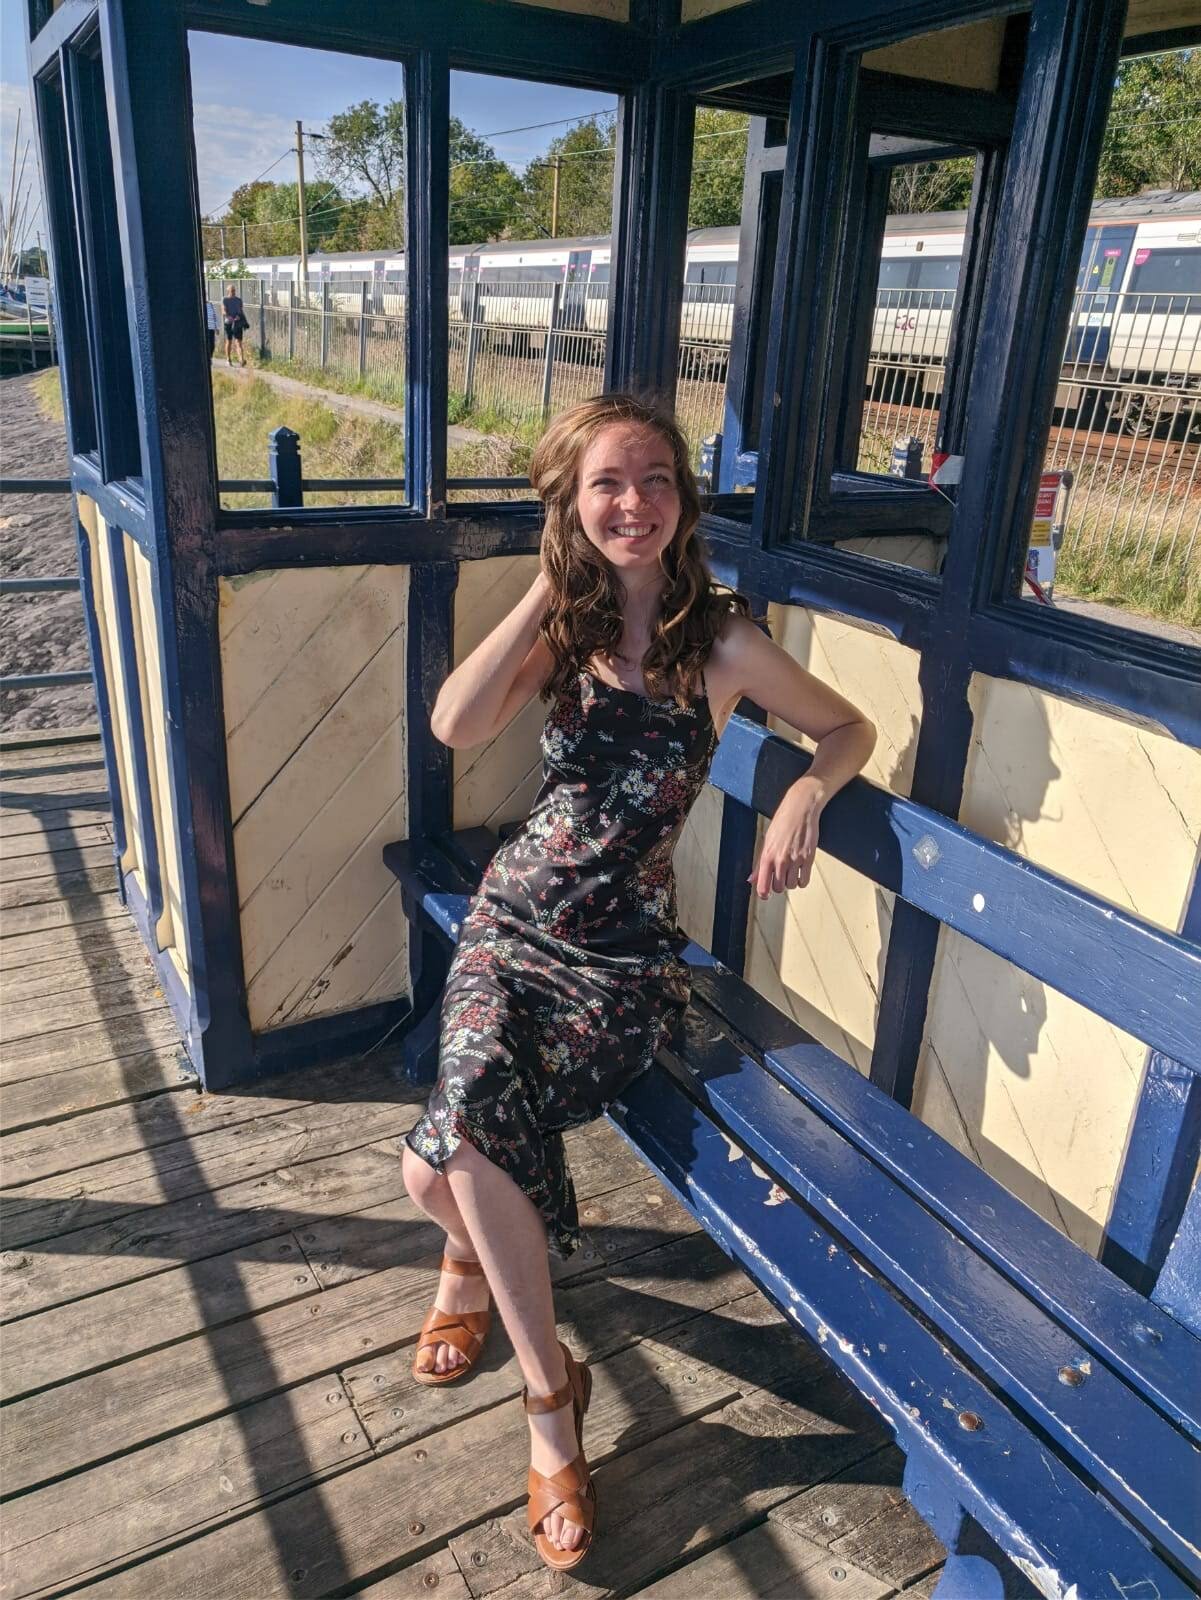
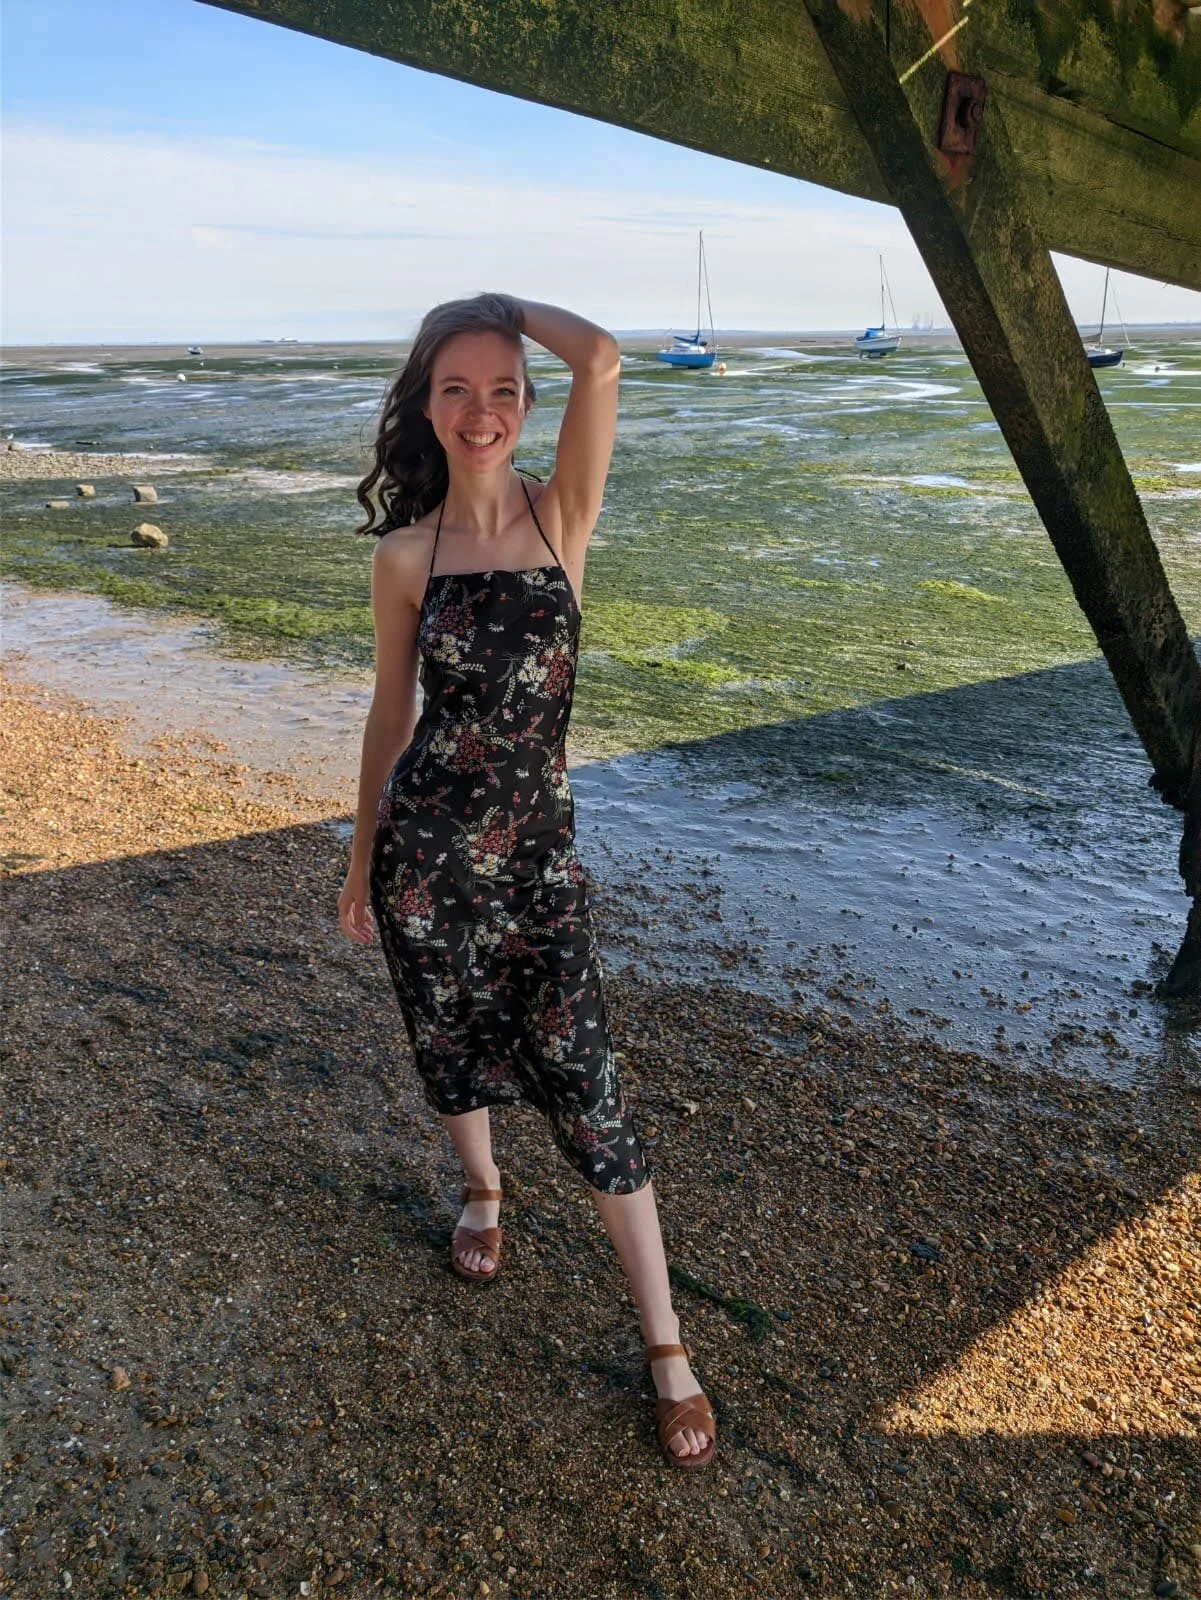
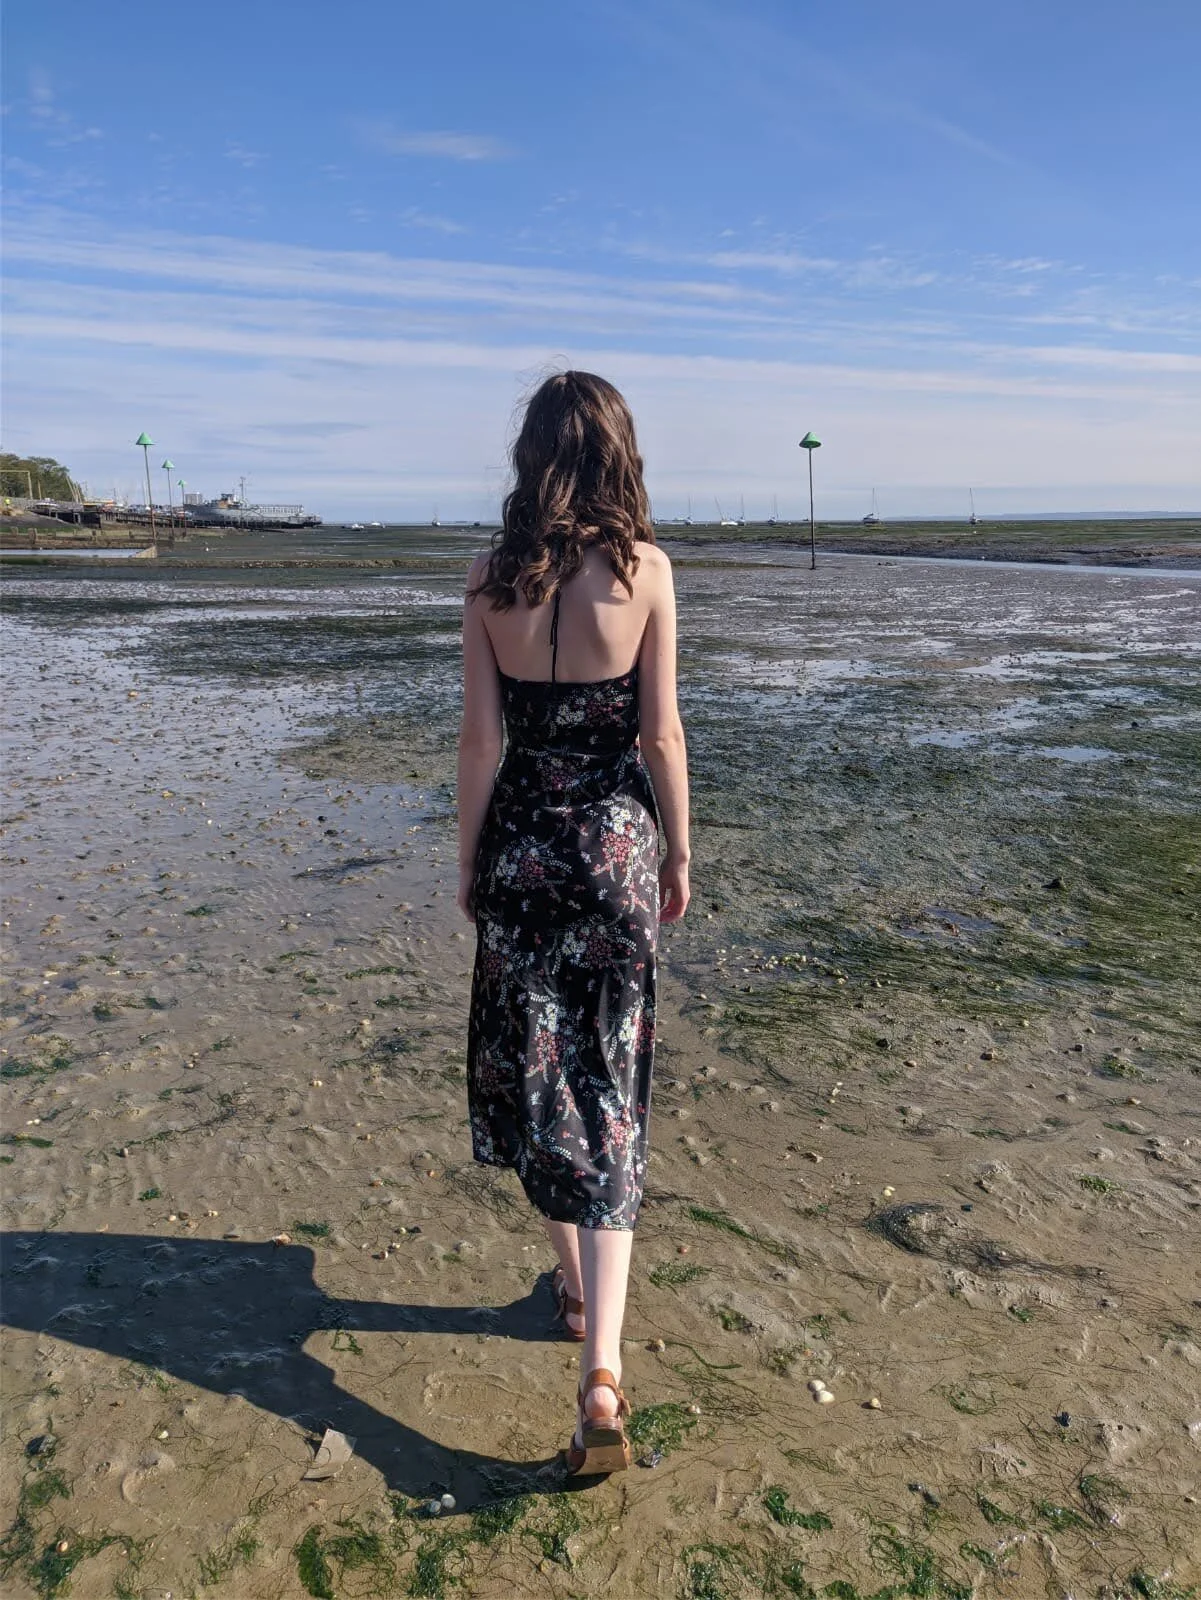
Having an inclusive size range was really important to me when developing the pattern company and I am proud to say that the size ranges from a UK2-UK34, with a B cup and a D cup option. My first pattern is the Julie Blouse and Dress, which is named in memory of my Mother who passed away last year. It’s a loose-fitting garment, with the body and sleeves gathered into a yoke and 3 different length options. I can’t wait to show you all of the hacks I have planned for it!

Floral Slip Dress

Hello all!

Slip dresses have been everywhere lately and I wanted one of my own, so I made one!

IMG-20200928-WA0070_Original.jpeg

I drafted a slip dress for nightwear a few months ago, so I used that as my base, added a cowl neck and made it midi length. Sadly the cowl neck turned out too small to be recognisable as a cowl neck at all. Something to adapt for the next version.

IMG-20200928-WA0076_Original.jpeg

It was super quick to put together, seeing as there’s only the front and back pieces. I did have french darts in my front piece for shaping, but next time I’d manipulate them out into the cowl for more fullness at the neckline. Both pieces actually have grown on facings which makes for a super quick and clean finish.

IMG-20200928-WA0017_Original.jpeg

I pinned the excess out at the waist until I had the fit that I wanted. Unfortunately there’s a bit of excess at the back waist, which I’d fix by doing a swayback adjustment next time I think. The back neckline was a bit gapey so I added some elastic along the top to cinch it in a bit.

IMG-20200928-WA0057_Original.jpeg

The side seams were french seamed and the hem hand roll hemmed. The fabric is a poly satin from Maggies Fabric stall at Lewisham market. I bought 4m and I have plans to turn the rest into a puffer jacket for winter!

IMG-20200928-WA0007_Original.jpeg

Thanks for reading!

Lauren xx

Cleo Pinafore Dress

Hello all!

Today’s make is a continuation of my experiments in fabric painting/printing. I was looking for a fabric to make myself a wintery pinafore dress with, and couldn’t quite find what I wanted so I decided to re-purpose an old tablecloth and do some printing.

IMG-20200906-WA0035.jpg

I decided to use the Tilly and the Buttons Cleo Pinafore pattern as a base because I had it on hand, flaring it out slightly at the hem and cutting the front on the fold. After it was cut out it was time to paint and print! I used the same waterpainting technique that I used for my last fabric painting project, and honestly I struggled to get the background the dark teal that I wanted. I used one of the stamps that I made for the printing of my floral dress, but ended up just using the end of a pencil for the yellow dots because my dot stamp was too big.

IMG_20200905_130346225.jpg

The sewing part of the process went super quickly. The only issue I had was that the front facing piece was 3cm too big at the CF, so I sewed a 1.5cm seam allowance at the CF and it was all good. I took in the CB seam slightly to contour it more but didn’t go too far because I wanted to make sure that jumpers still fit underneath it.

IMG-20200906-WA0061.jpg

I added little loops to the top of the bib so I could tie the straps like Lucy and Yak dungarees do. I did take 4cm length off the hem.

IMG-20200906-WA0088.jpg

All in all, this was super fun to plan and to put together. It will be great for spring/summer but I think the colours are too light for autumn/winter.

IMG-20200906-WA0001.jpg

Thanks for reading!

Lauren xx

Playing with Bishop Style Sleeves

Hello all!

This dress is another make that puts me in a really good mood when I wear it, and we all need some more of those right now! The design was actually inspired by a different fabric, which was just calling out for a big bishop sleeve. Unfortunately the pattern didn’t fit, so this was my back up fabric. This way I could assess the fullness/length of the sleeves and see if I could narrow/shorten them atall so that they would fit on my original fabric.

IMG-20200920-WA0033.jpg

The body of the dress is pretty simple. I rotated the dart in my sloper front to be a french dart and also flared the skirt slightly. I ended up having to put a waist seam in the back, purely because I couldn’t fit the whole back piece in my 1m of fabric. The sleeves are obviously the crowning glory of this dress and I slashed and spread to get a ton of volume, whilst also adding length so that the sleeves could pool against my wrist.

IMG-20200920-WA0066.jpg

I did learn that the cuffs have to be pretty snug to stop the sleeves ending halfway down my hand and just looking too long. Next time I’m going to try a slightly longer shaped cuff that ends lightly further up the arm. The cuffs currently only have one button to fasten them but they really need two, so I’ve ordered some and will swap them out when they arrive.

IMG-20200920-WA0109.jpg

The fabric is a crepe (I really should work out whether it’s wool or polyester) and it’s pleasantly surprised me. I normally avoid crepe fabrics because I find the texture a bit unpleasant, but actually I found it perfectly okay to wear, which is good to know! It also has the perfect drape for the sleeves.

IMG-20200920-WA0013.jpg

One thing I do want to look at for version 2.0 is the fit of the back. I’d like to make it fit the curve of my back better. I find when I pin out the excess, it makes the hem rise up so I need to work out how to counteract that issue.

IMG-20200920-WA0098.jpg

I had initially planned on lining the dress, but decided that it didn’t need it. I can always put a slip underneath if necessary The neckline was finished with bias binding, as was the hem, and all of the insides were overlocked.

IMG-20200920-WA0136.jpg

And that’s pretty much all I have to say about this one! I look forward to making a few tweaks before making it in the fabric it was originally intended for.

IMG-20200920-WA0037.jpg

Thank you for reading!

Lauren xx

Adventures in Watercolour Fabric Painting!

Hello all!

Following my adventures in fabric printing, I decided to have a go at watercolour painting on fabric, inspired by Katie Kortmans experiments! I also tied this project in with the ‘Sew Vintage September’ Challenge that’s currently happening on instagram.

IMG-20200913-WA0043.jpg

I got myself onto eBay and had a search for vintage patterns with my bust size (30”). It seems that my bust measurement coincides with Simplicity age 10 years, which wasn’t great for the ego, but hey, if it’ll fit… The pattern itself is a 60s pattern, and was perfect as a base for my painting because there were only 2 main pattern pieces, with the sleeves grown on.

IMG_20200821_153547541.jpg

I cut out my pieces from an old white tablecloth before starting to paint and sewed up the center front and back seams so all of my stripes would match. I used the blue and green screenprinting inks that I used for my block printing partly because I like blue and green and partly because they were the only colours left. The good thing about watercolour painting is that it uses very little paint because it’s watered down so much. I filled an old cleaning spray bottle with water and spritzed my fabric, making sure that it was thoroughly damp before starting to paint. This was so the paint could soak and spread into the fabric nicely, helping with the watercolour look. Then I just had some fun!

week3 (1).jpg

I gave the fabric 24 hours to dry, ironed it to heat set the paint, and then I was good to sew! The dress came together super quickly. It was really nice to follow the vintage instructions and to see how they would go about construction. I did make the front neckline lower, just because it cut into my neck a little. I also took in the side seams a little, but ended up undoing that because I just needed to accept that a looser look was the 60s silhouette.I also shortened the sleeves and the hem a lot.

IMG-20200913-WA0071.jpg

The zip is handpicked into the centre back seam, and all of the hems are herringboned. Next time I’d french seam the side seams because in the instructions they just have you clip into the underarm point, which feels pretty weak. I think a french seam around that curve would wear better. The french darts do fit my bust perfectly, so I’m happy with that. I might go back and take in the back darts slightly for a more figure hugging back.

IMG-20200913-WA0006.jpg

I wasn’t convinced about this dress when I first put it together. It’s a looser silhouette than I’m used to, but the shorter length definitely helps! It’s especially good for hot weather. I think the shoulders on this version are a little wide so I’d bring them in a bit for another version.

IMG-20200913-WA0204.jpg

Thank you so much for reading!

Lauren xx