Hello all! I have a really fun project to share with you today. I’ve been wanting to have a go at block printing for a while, so I requested some block printing inks from my wonderful boyfriend as my anniversary present and my trusty Mum pulled out some rollers and assorted printing stuff out of the garage and I was all set to go!
The whole process started with trawling through Pinterest and deciding what I liked. I was very determined about printing something that I would wear. I ordered some ‘soft carve’ and had a lot of fun carving various shapes out, but in the end I kept it simple and only used 3. I spent a day printing everything and anything onto a sheet, but it just didn’t make me happy, so the next day I started again, this time focusing on 3 floral shapes. I changed my smooth roller to a foam one, put more ink on and tried to keep from mixing colours too much. It turns out mixing your own colours can be quite the learning curve!

For my second attempt I cut out my pattern pieces out of the old sheet that I was using as a base for my printing, with a fairly big seam allowance. This meant that I could centre my printing around these areas, instead of spending unnecessary hours printing a whole sheet. It also meant that I could hopefully avoid flower boob. I stuck with the 3 primary colours that I had and when I was done I looked at it, and it just didn’t fill me with the pride and joy that I wanted to feel when looking at it. My friend MK and I had an emergency conference call about how to rescue it and it was decided that purely the use of the 3 primary colours made it fairly child like. Primary school like, if you will. Also, there was too much white space.

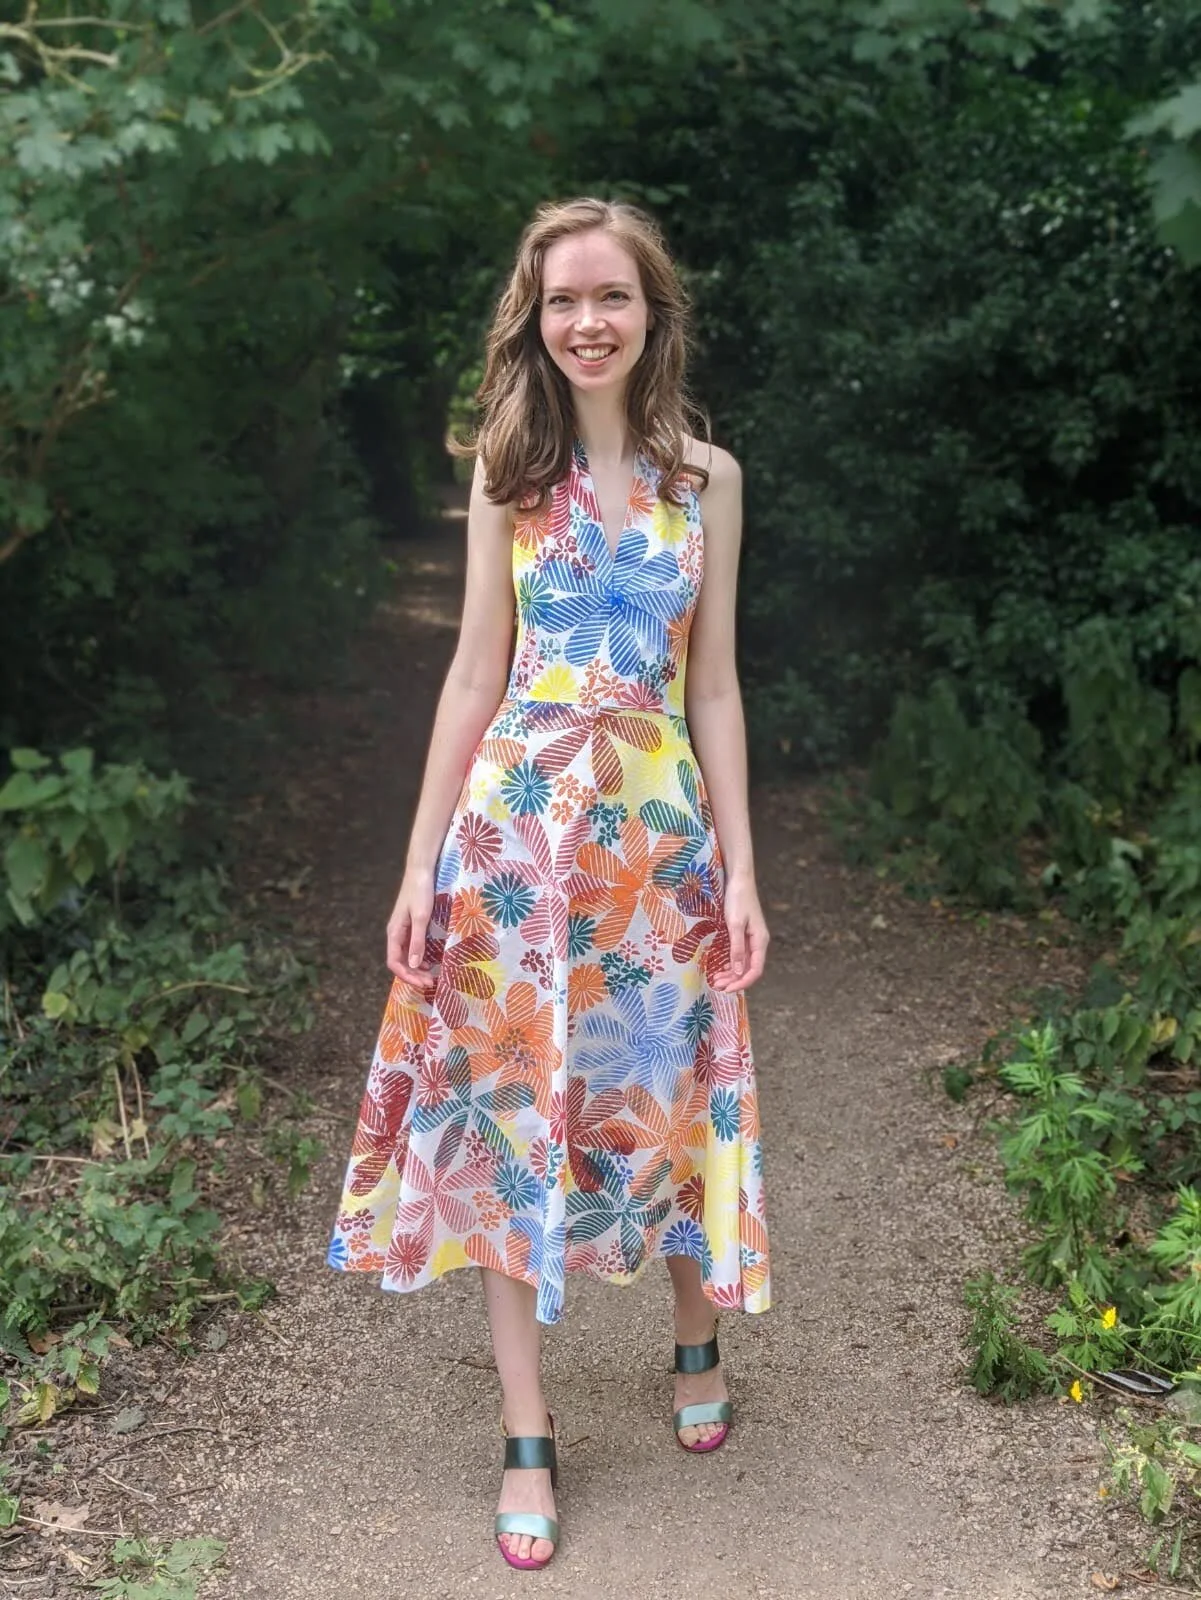
So after adding in a few more colours and filling up the space, this is what it looked like! I was much much happier with it.

The pattern I drafted was inspired by this dress on pinterest. I loved the gathers going into the ties around the neck, so I used that as the main feature for my design. I used my bodice sloper as a base, rotating out the waist and side seam darts into the shoulder. This fullness is then gathered up when it’s tied around my neck. The skirt I used my skirt block for, slashing and spreading for the desired amount of fullness. When cutting out, I cut the skirt on a grainline halfway between the bias and the straight grain for a slightly drapier effect.

I reckon that it took less time for me to sew together than it took for me to print it! The bodice is fully lined and bagged through the neckline and the lining is handsewn down at the waist seam. It is a very strange looking bodice shape. It reminds me of some rabbit books from my childhood?

I ended up narrowing the ties a bit, and also taking in the skirt at the waist because I was an idiot and forgot to check that the skirt and bodice waists actually measured the same. It was my first time putting in an invisible zip in ages, but it went fairly smoothly.

I’m so pleased with the bodice fit. No gaping in sight! My only fit niggle is that I wish I’d cut the back in two pieces so I could have taken it in at the CB. I cut it on the fold so the print wouldn’t be disrupted, but I could have easily sewn the backs together and printed on them then, so would probably do that next time.

All in all, it’s a very happy dress, and that’s exactly what I set out to achieve. Now the big question is, what am I going to print next?!

Thanks for reading!
Lauren xx