Autumn Dress

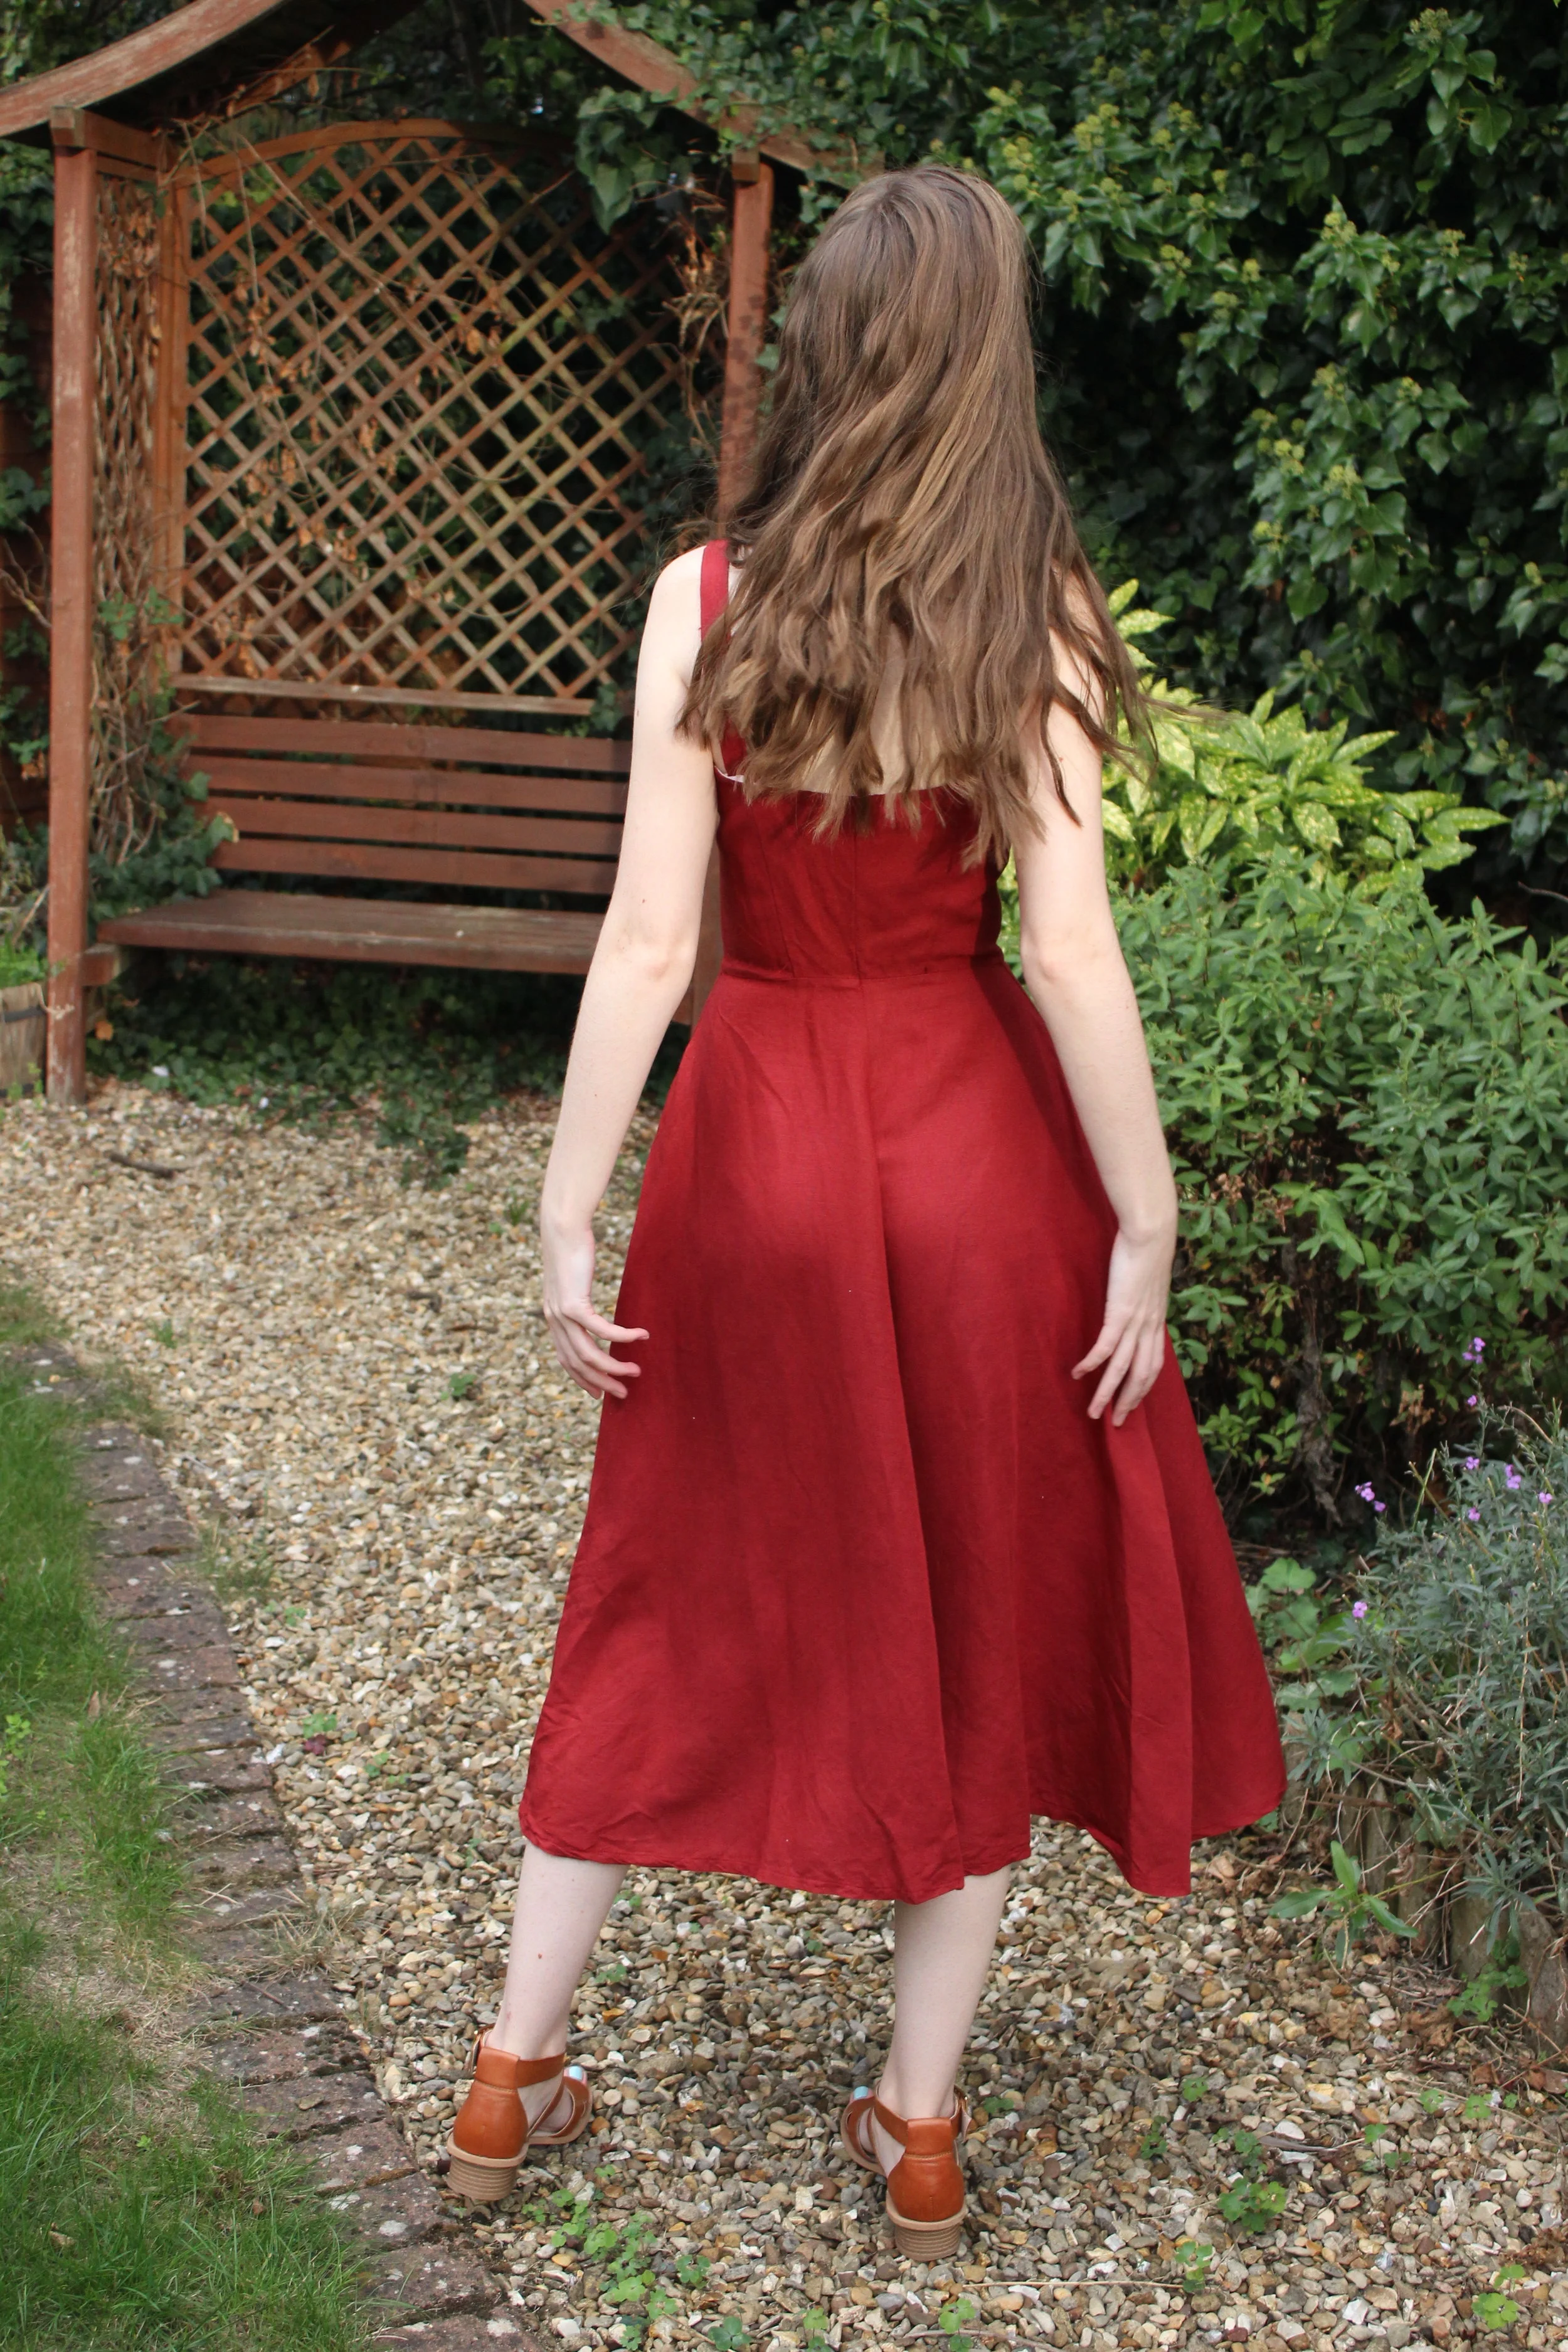
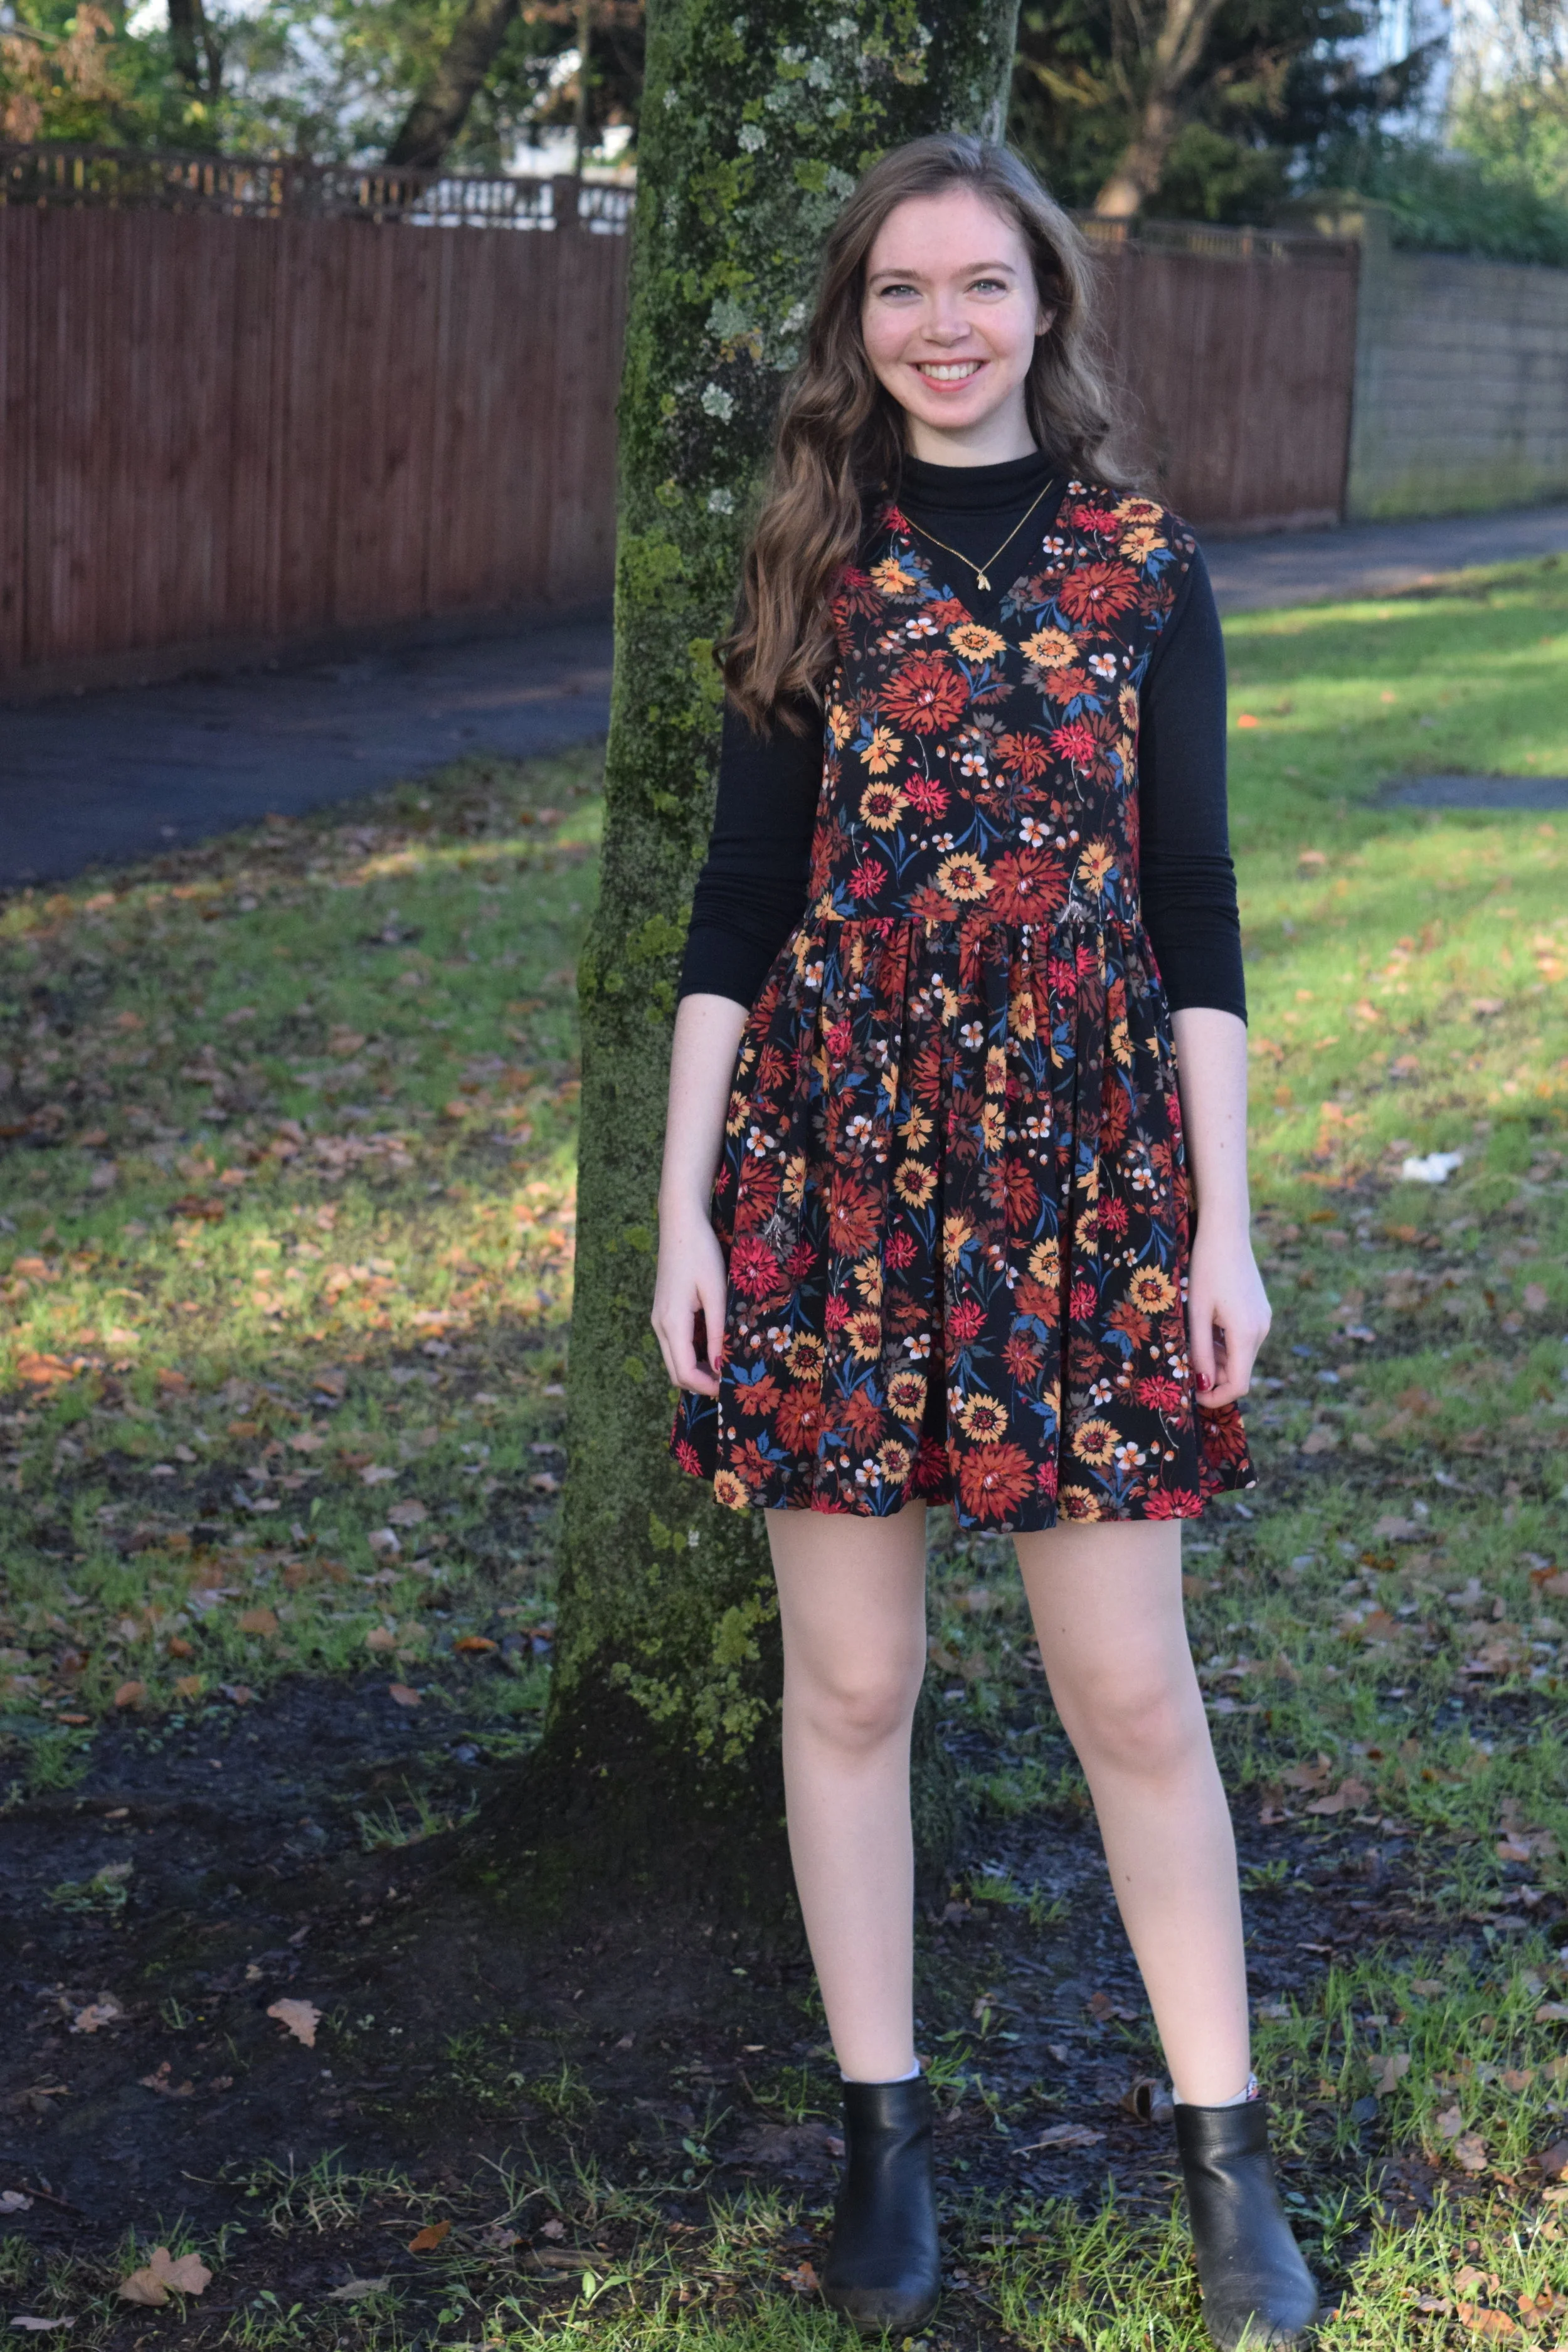
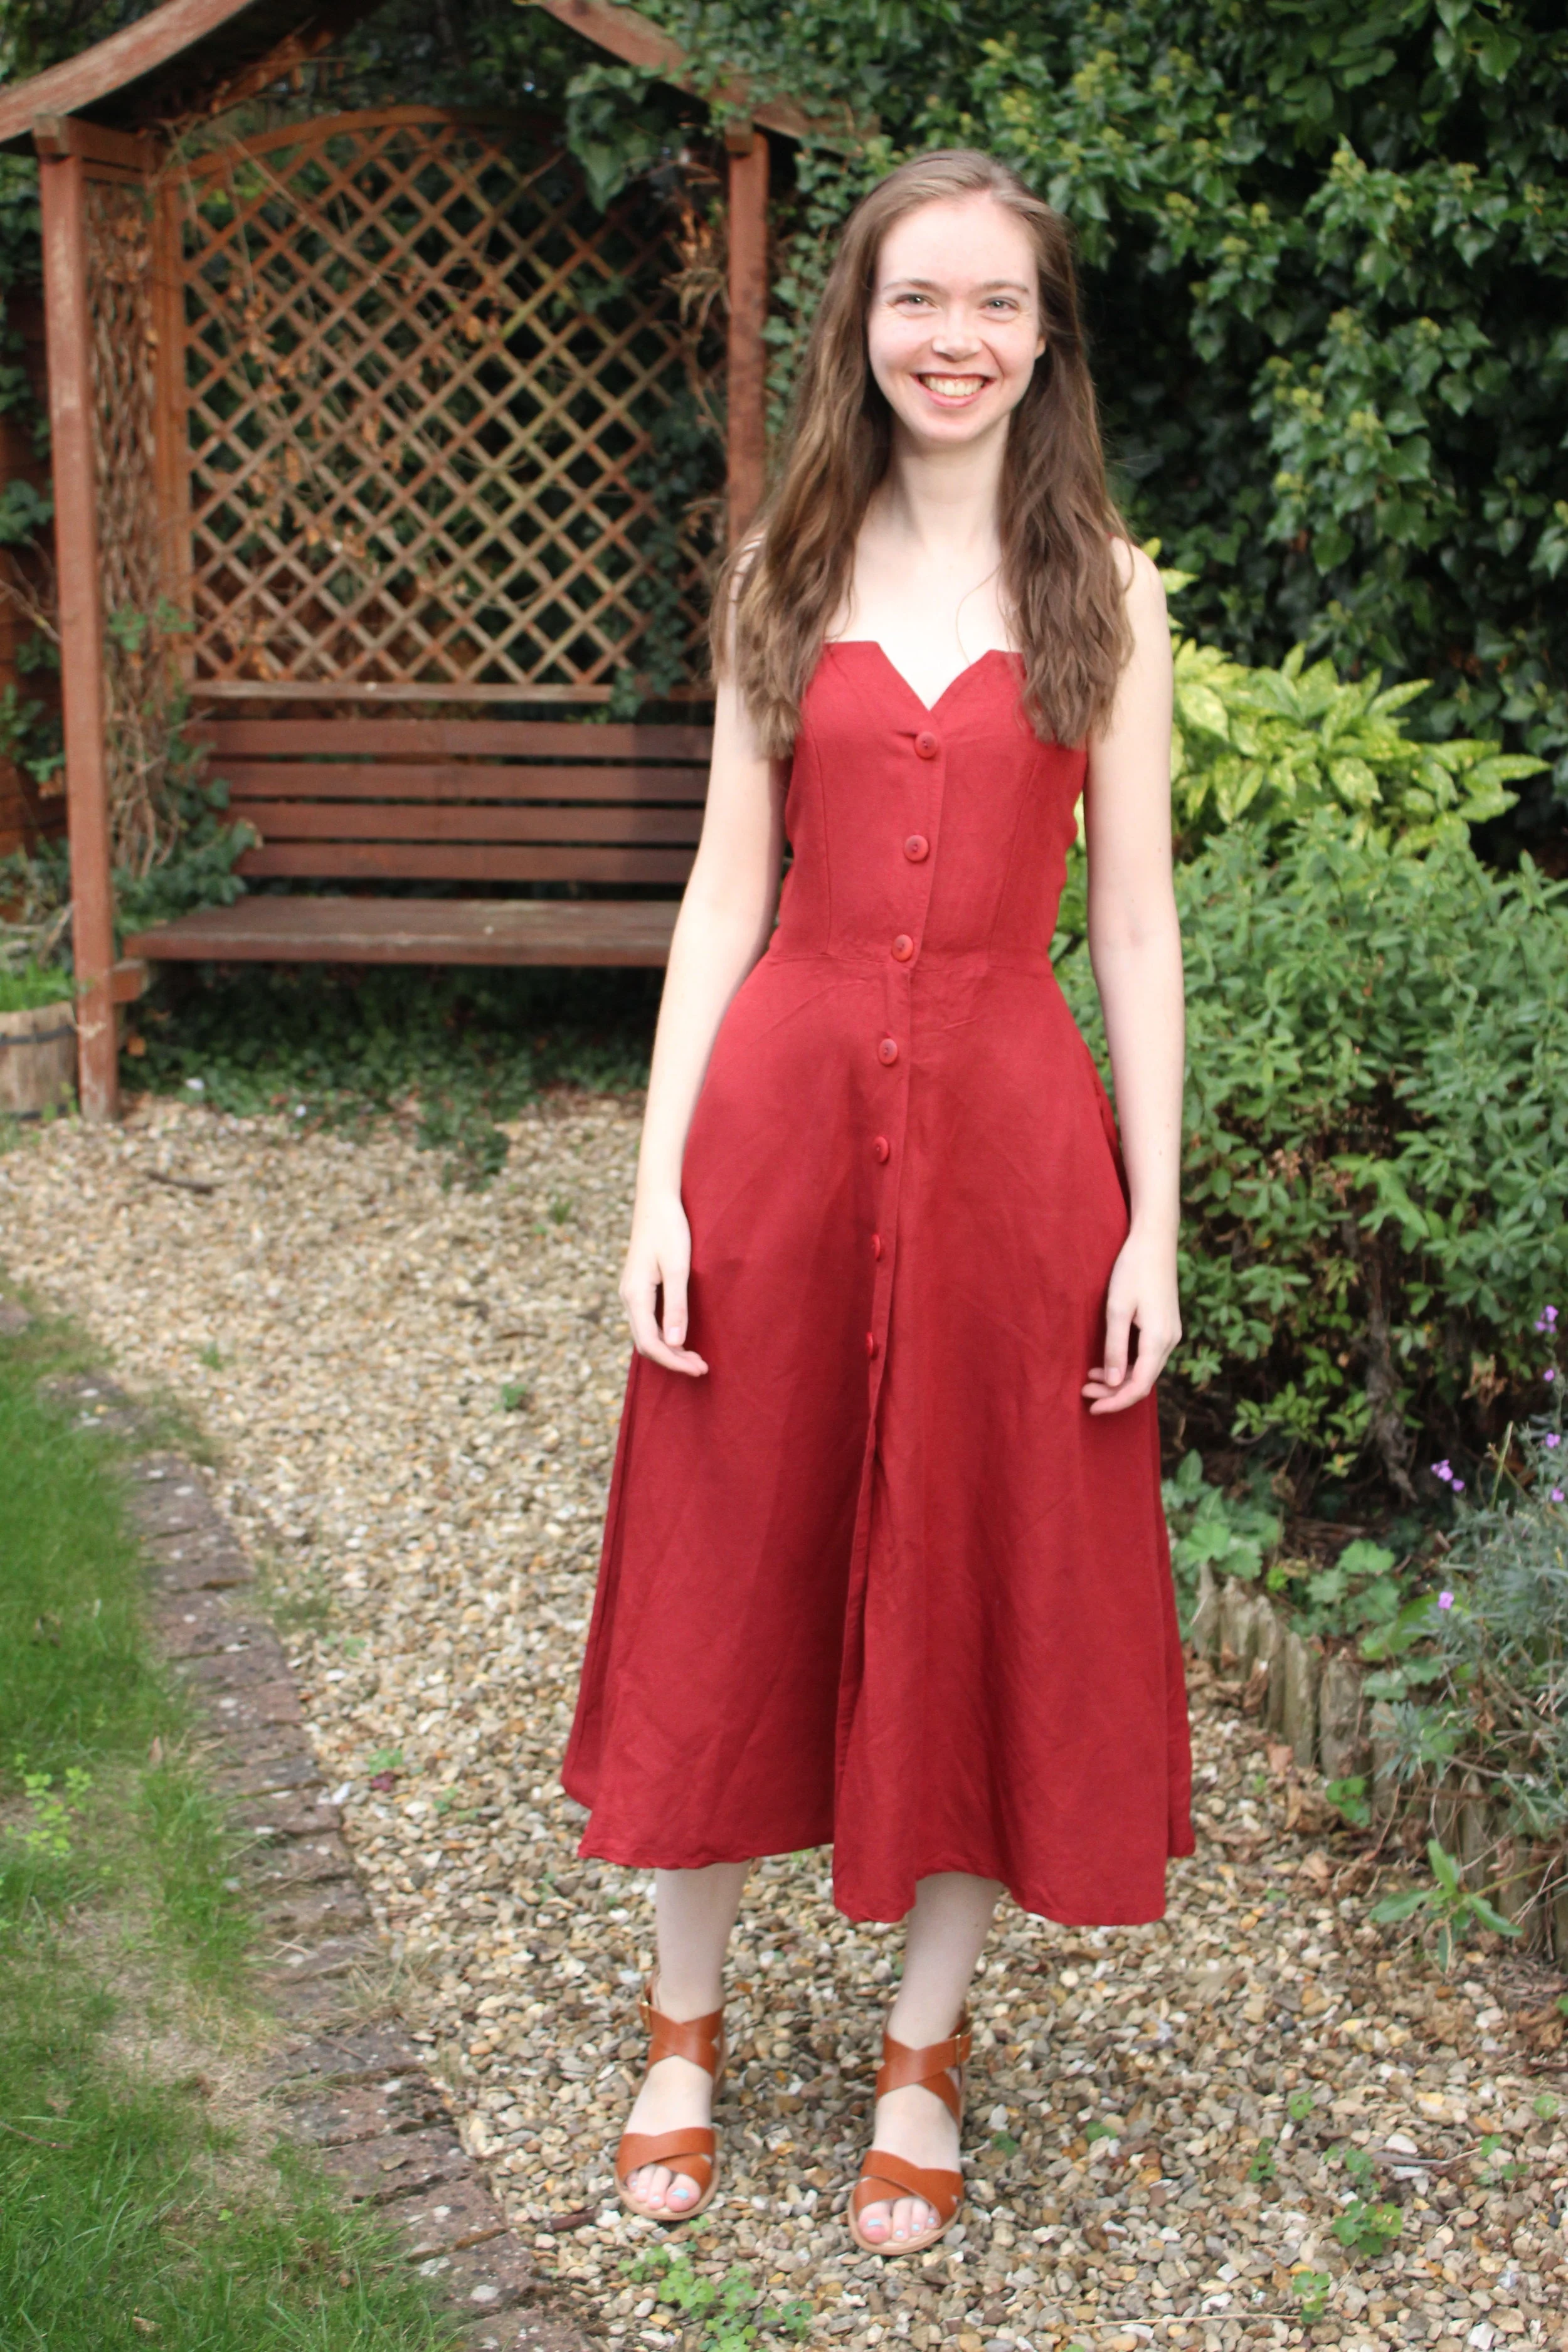
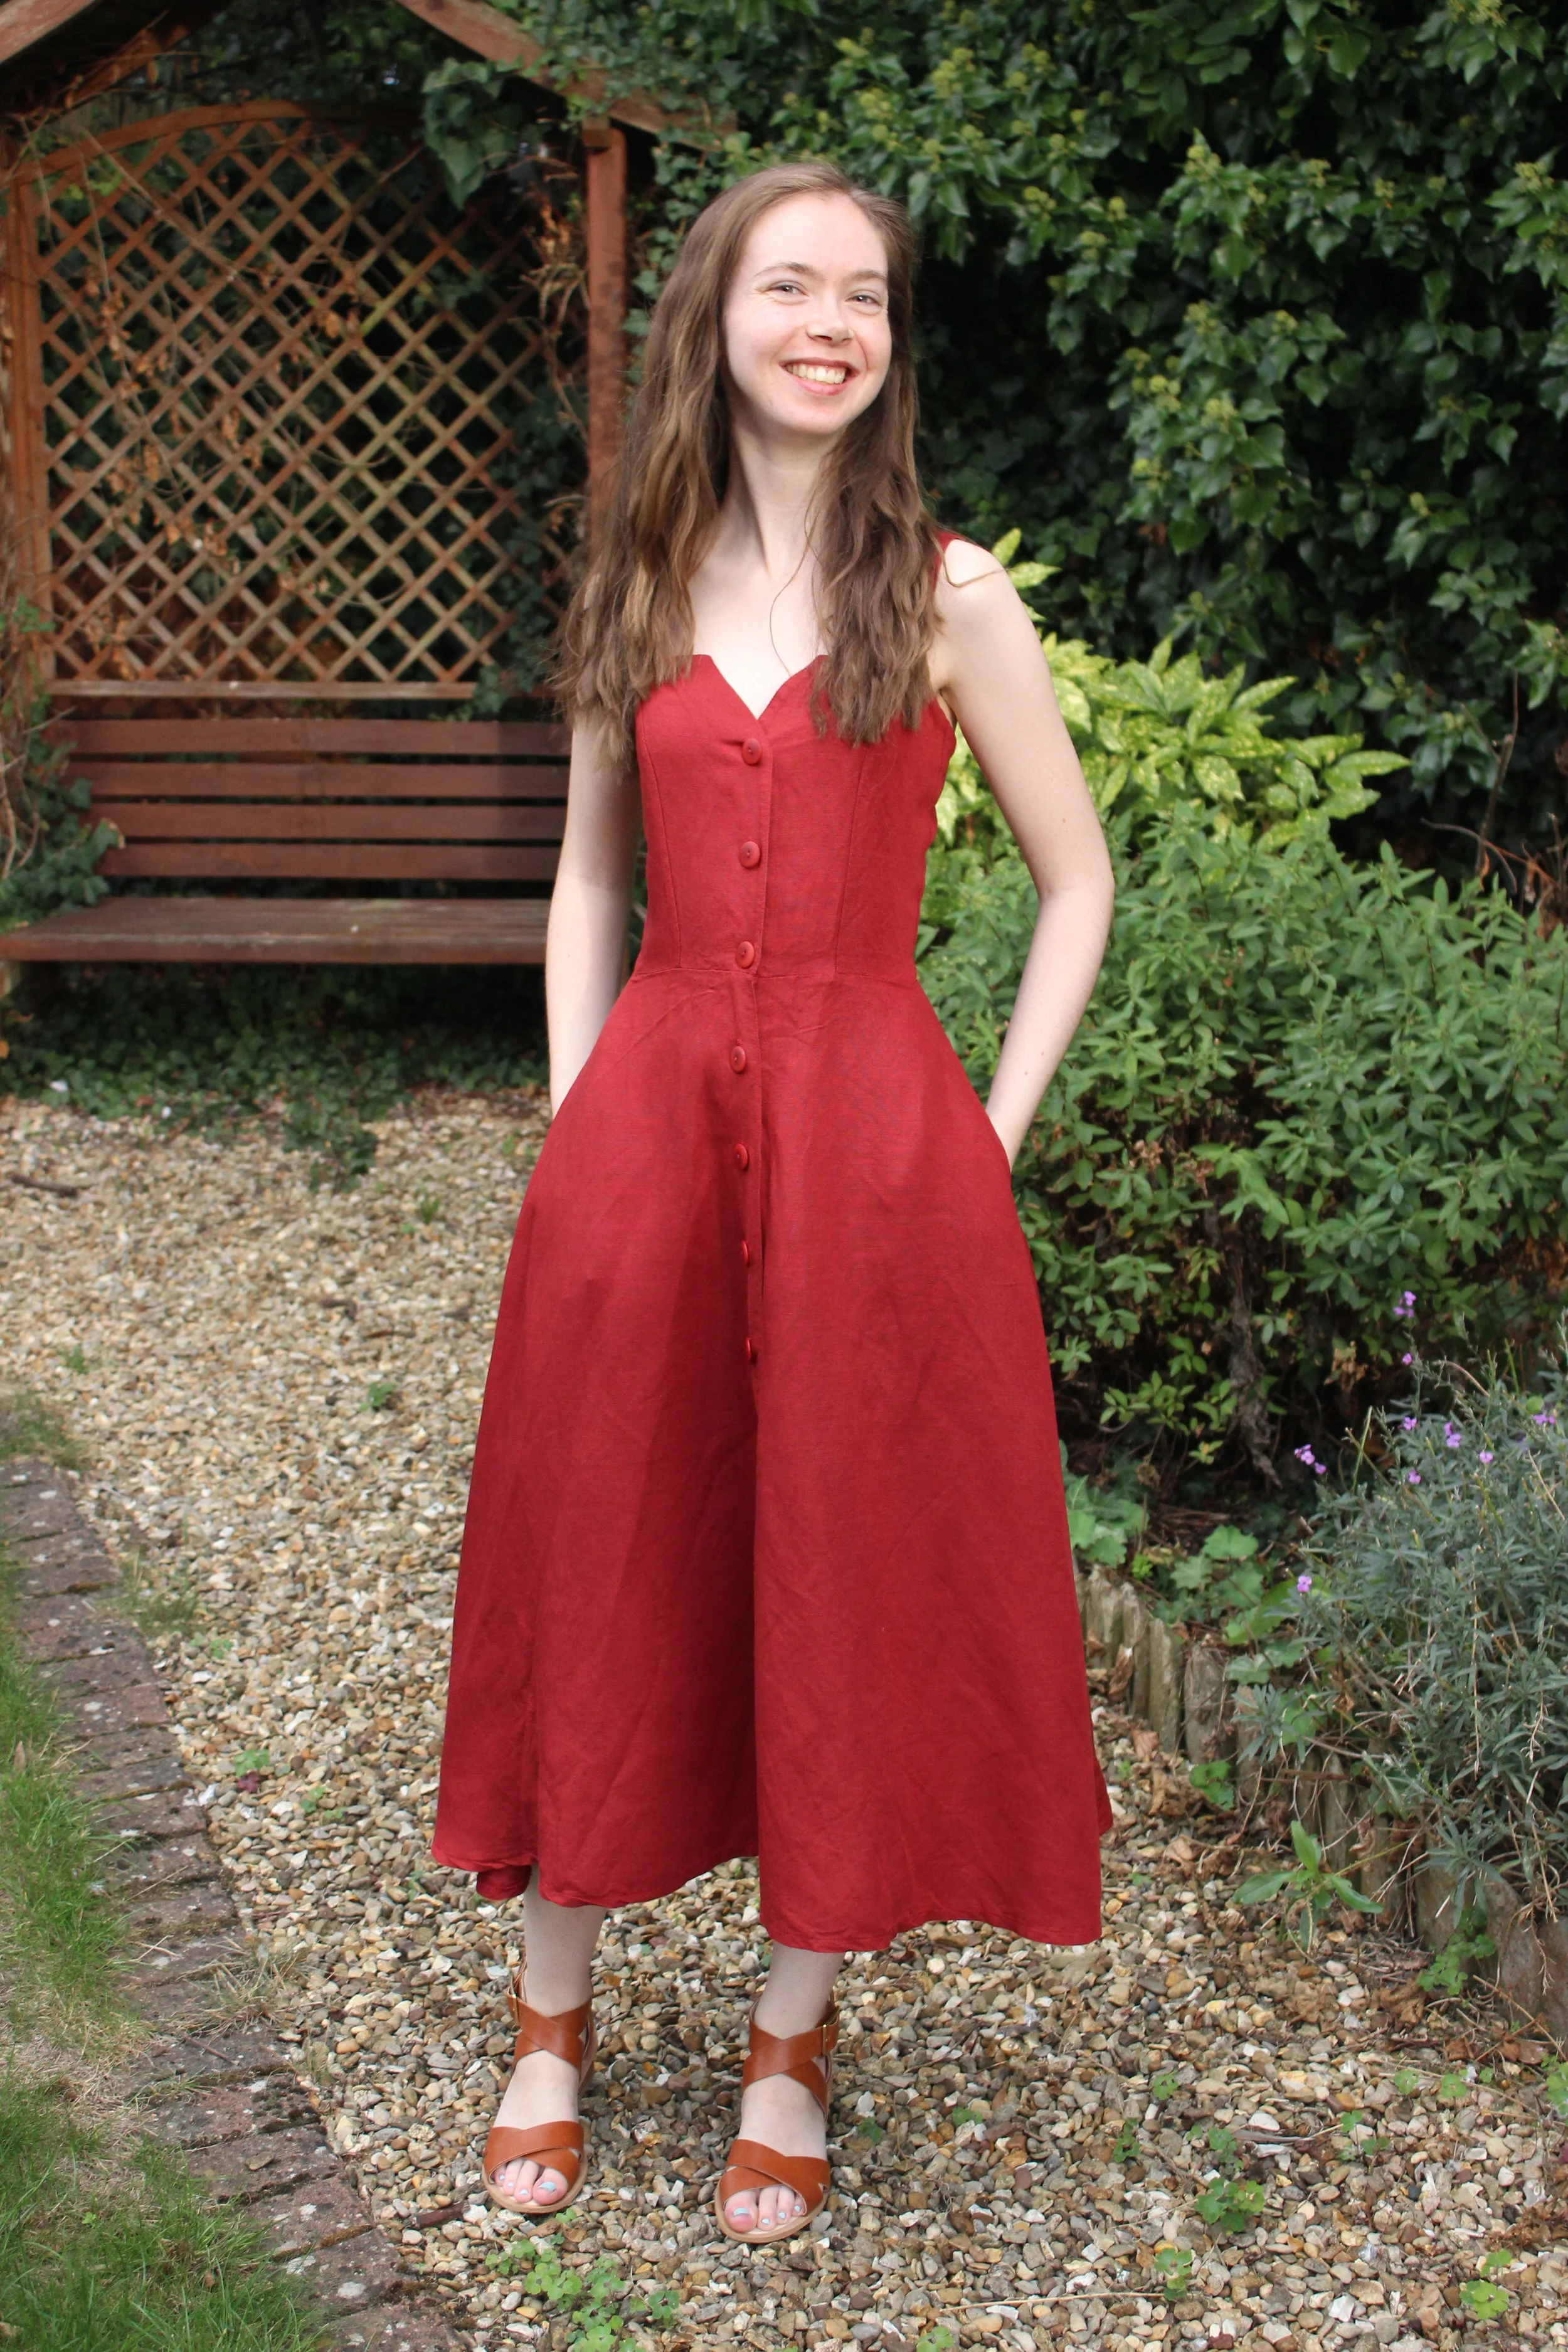
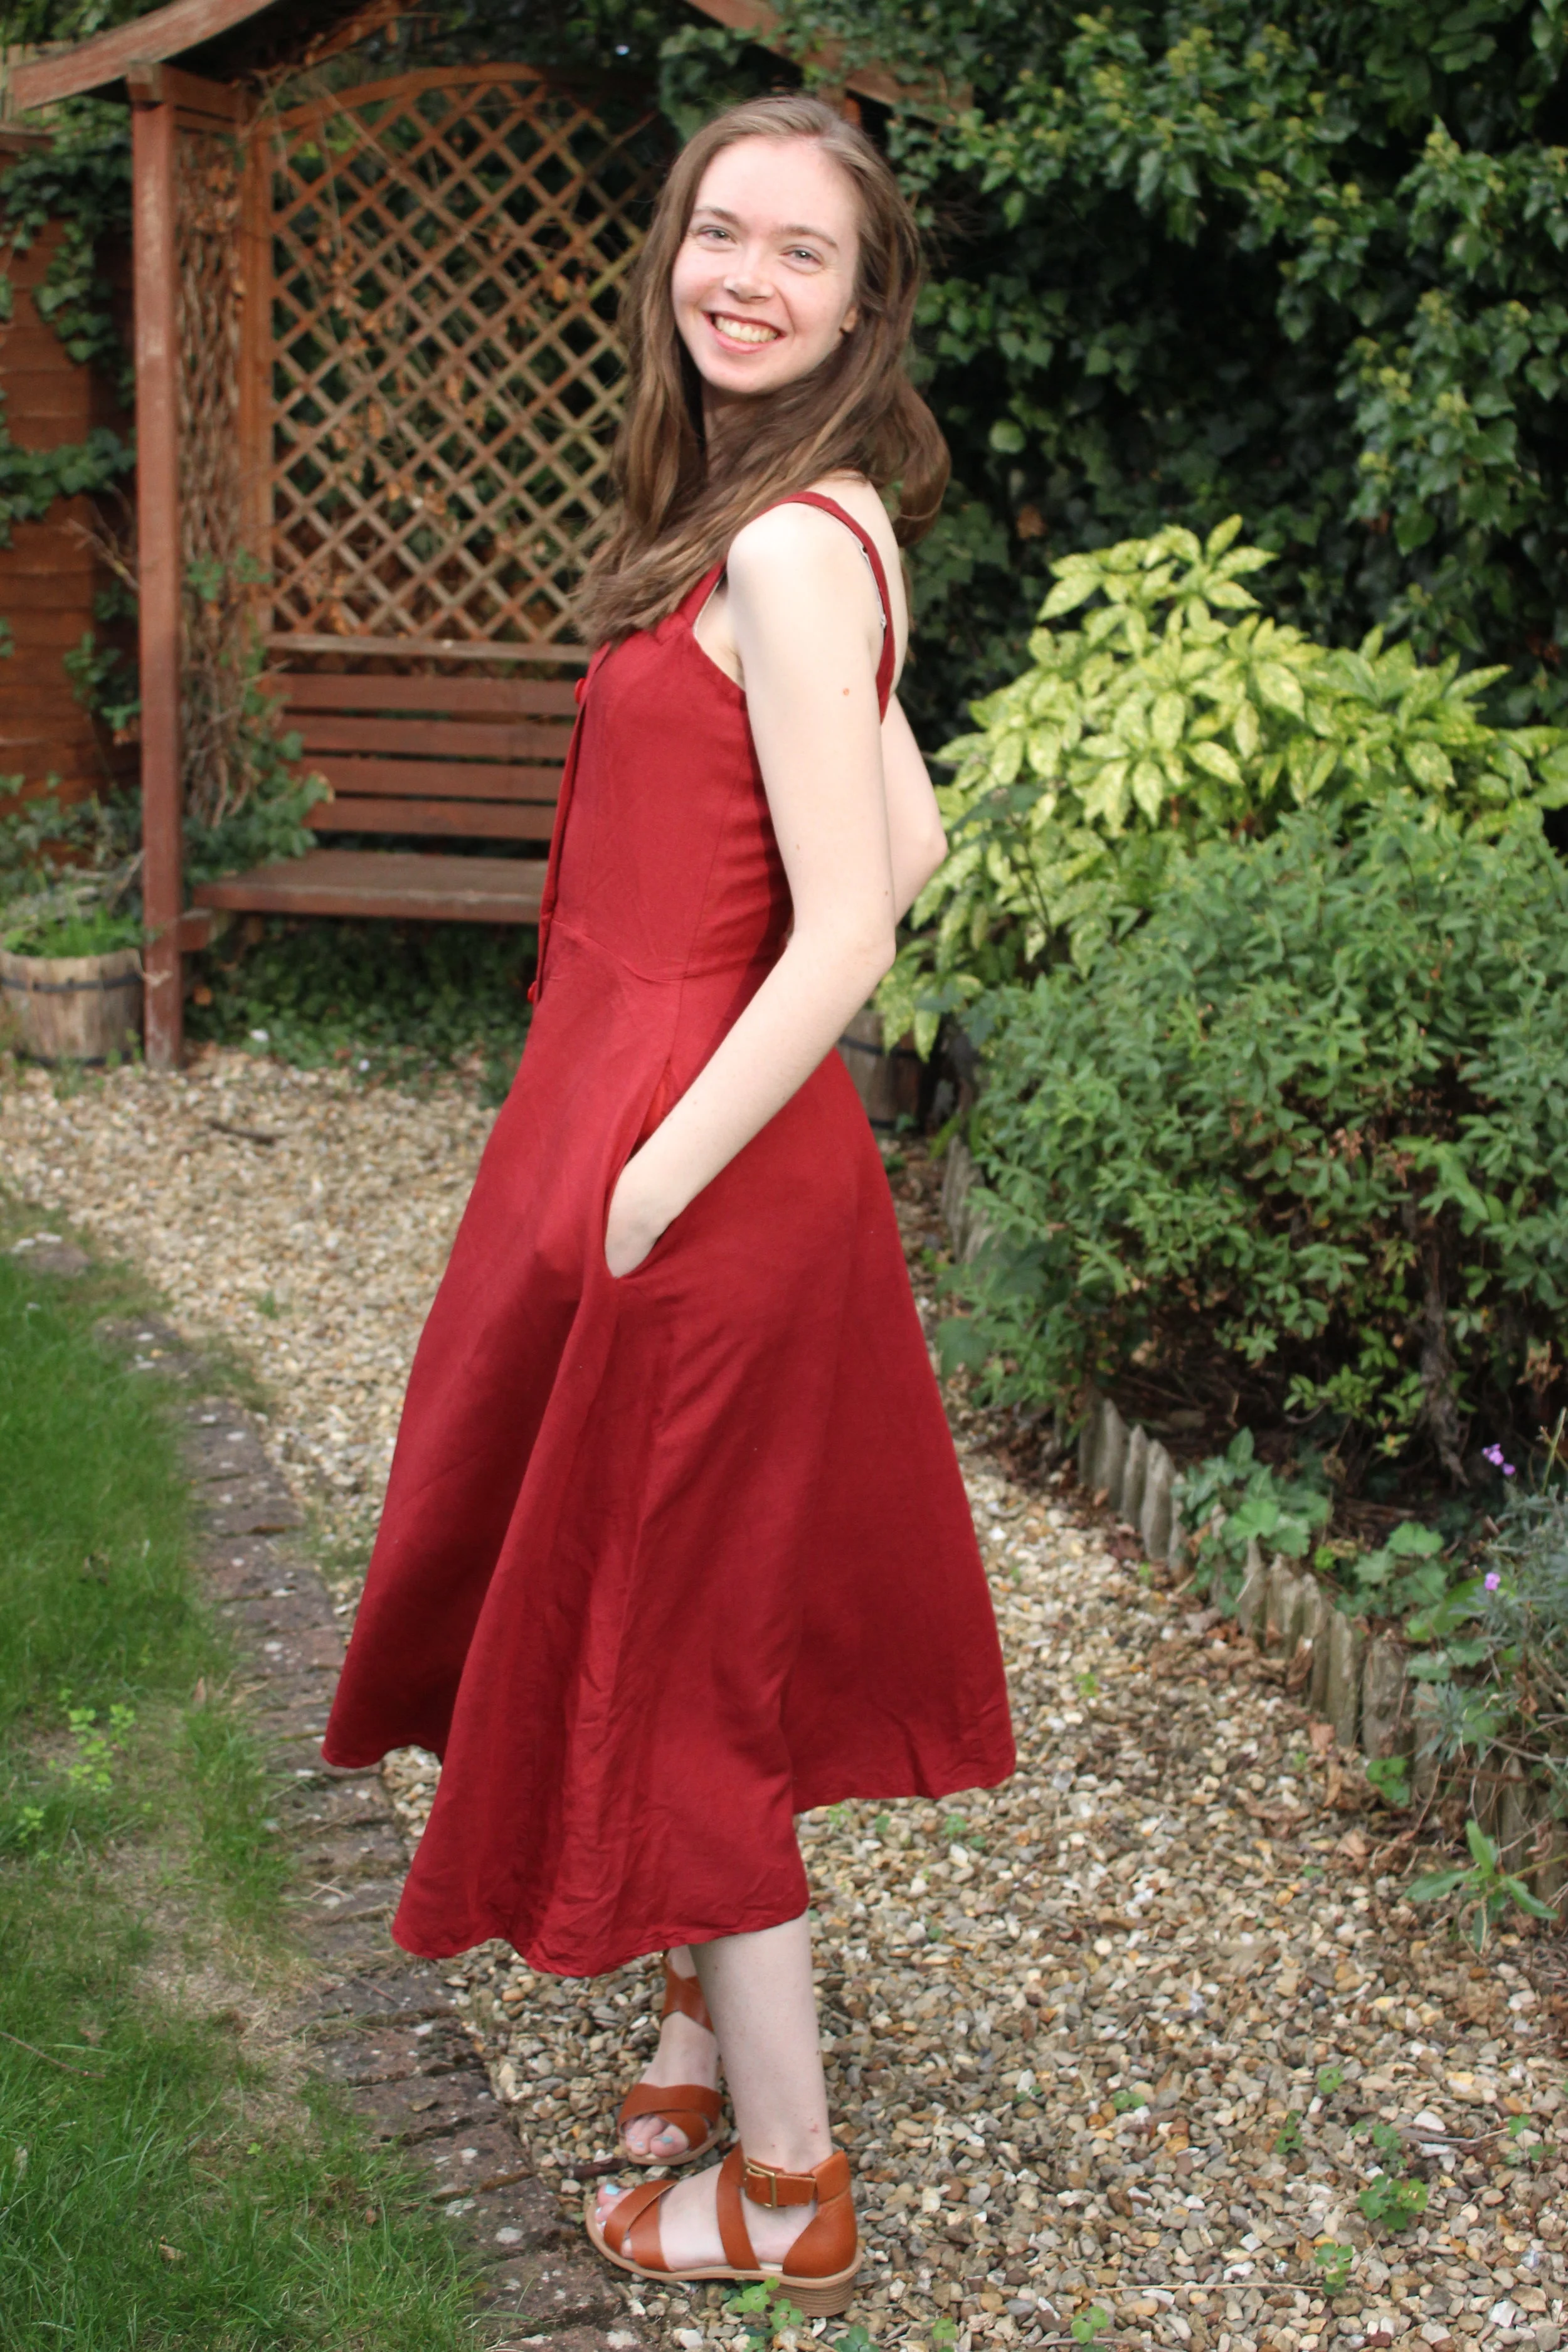
Hello all! Today I have a new dress to share with you. I saw this viscose on the Minerva Crafts Instagram and instantly fell in love with the colour scheme, which screams autumn to me. It is a viscose crepe, and I normally avoid crepe fabrics like the plague, but the print was enough to persuade me to give the fabric the benefit of the doubt. You can read all about the making process at the Minerva Crafts blog here.

DSC_0409.JPG

Thank you very much for reading, and to Minerva Crafts for providing the supplies for this project!

Lauren xx

Black Velvet Skirt

Hello all! For this months Minerva project continuing the party theme I chose another special occasion fabric; velvet. I haven’t worked with velvet for years and it was good to have a play with it again. I knew exactly what I wanted to make with the fabric. A black velvet mini skirt would be a perfect piece to add to my evening wardrobe. Black making it versatile, and velvet giving it that slight edge to take it into evening, although I’m actually really enjoying wearing this skirt during the day as well. You can read all of the details over on the Minerva blog here.

IMG_20181115_133710878.jpg

Thanks to Minerva Crafts for providing the supplies for this make and to Gemma for taking the photos for me!

Lauren xx

My winter coat!

Hello all! My family and I went on a trip of a lifetime to New Zealand this summer and I was informed that it was going to be pretty cold. I’ve had the same bright pink winter coat for as long as I can remember. It was irredeemably grubby and definitely due an update. After a couple of coat shopping trips I just couldn’t find what I wanted, which was something warm, roomy enough to fit a fair few layers underneath and with a good hood. The obvious solution, was of course to make my own winter coat.

IMG_3956.jpg

This was obviously quite an involved project. It involved technical fabric that had to be worked with in a very specific way, a lot of pattern pieces and a couple of new to me techniques that I had not tried before. Of course I procrastinated to my hearts content, leaving it until 2 days before the flight to get cracking. It wasn’t an easy project. There were tears and a couple of minor strops, but I’ve worn this coat pretty much every day since it got cold here, plus it was invaluable when we were in New Zealand so I’d say that it was worth the aggro.

IMG_3985.jpg

Given the time frame that I was under, and how much I loved the fit of my old coat I decided that the best port of call was to cut up the old coat and use that as a pattern for my new one. I saved the quilted lining and the zips from the old coat because they were still perfectly usable, which saved me a fair bit of money and time. The fabric for the outer is a Cordura I found at Extreme Textiles for 25 euros a metre. I think I ordered 2m and just had enough? It’s waterproof and windproof whilst still being breathable which seemed like pretty ideal qualities for a waterproof coat. I also ordered some waterproofing tape from them so I could tape all of the seams after they were sewn. Black is a bit boring, but it’s nothing if not versatile. If I’d been able to source some different colours it would have been a great opportunity for colour blocking, but alas, not this time.

IMG_3968.jpg

The first task was to look at my existing coat and note all of the design lines. I then drew a very rough sketch of the coat and numbered what would become each individual pattern piece. These numbers were then written onto the actual coat that I was cutting up so I could keep track of what was what. You can see below that excluding the hood and the lining there were already 20 pattern pieces.

collage (2).jpg

When my old coat was unpicked down to each individual piece these were then traced onto card, which I then used as a template to cut out my new coat. Then it was time for the actual sewing to begin! The first step was actually the most intimidating part, which was the zippered welt pockets in the front of the coat. I wish I had sampled these first because I’d never tried this technique before and had to redo them a couple of times to get them right. Then it was just putting all of the pieces together and topstitching all of the seams down.

IMG_4004.jpg

Another technique that I copied from my old coat was the elasticated cuffs with a velcro tag so you can adjust the width of the cuffs depending on how bulky a jumper you are wearing. Well worth the extra time.

IMG_4018.jpg

Other notable features include the hood which is super cosy, but I wish that I’d made it just a bit bigger.

IMG_3964.jpg

All of the seams were waterproofed with an iron on seam tape which took a fair while to do, but considering that time, effort and money that had gone into the make I wanted to do it properly. I used a press cloth when ironing and used a low heat.

IMG_4015.jpg

So that’s my new coat! It’s honestly the biggest workhorse in my wardrobe. It’s definitely got its wobbly bits, but I can confirm that it’s waterproof, so really what more can you ask of it. I think that the seam details that I spent so long on do get a little lost due to the large expanse of black but at least it makes the large expanse of black that little bit more interesting.

IMG_3978.jpg

Thanks very much for reading and to Edward for the photos!

Lauren xx

Sequin Top

Hello all! Today I have something to share with you that is without a doubt the sparkliest thing I have ever made. Sequins have never really called out to me until I saw this beauty at Minerva Crafts and I thought it was high time that I tried out a new to me fabric. You can read all about the making process on the Minerva Crafts blog here.

IMG_20181016_160833794.jpg

Thanks so much for reading and to Minerva Crafts for supplying the all of the components for this make!

Lauren xx

The Refashioners 2018: Linen Buttondown Dress

Hello all! The theme for The Refashioners this year is ‘inspired by’ and I took a dress donated to me by Grandpa which was much too big for me and made it into the button down dress I’ve been lusting after all summer. You can see the inspiration image on pinterest here.

IMG_4256.JPG

You can see a picture of what I started with below. It was much too big in the bodice and the waist so I decided to remove the bodice, take it apart completely, cut out a new one, take in the skirt so it fit at the waist and then reattach skirt to the bodice. Easy! A few years ago I would have instantly chopped a fair bit of length off the skirt but I love the length of the skirt as it is now.

IMG_2105[1].JPG

I had just enough to cut out a strapless princess seam bodice from my existing front and back pattern pieces, then it was put together. I tried it on and made a few tweaks so that the fit was as good as I could get it. Then it was time to tackle the skirt.

IMG_4261.JPG

The skirt was a bit more complicated to alter than it could have been because the pockets got in the way a bit. I ended up having to take them out so I could take the skirt in properly and heavily debated putting them back in, but it was well worth the extra time. I do wish that I’d made the pockets a bit bigger though because fitting my phone in them is a bit of a squeeze.

IMG_4271.JPG

The only problem with the length of the skirt is that there’s quite a lot of fabric in it, which in turn makes it quite heavy. The weight of the skirt then dragged down the bodice, making the waist seam uneven. To battle that I added in a ribbon waist stay to stabilize the waist seam, anchoring the ribbon at each seam, fastening with a couple of hooks and eyes in the centre front.

IMG_20180909_181054694[1].jpg

The insides were all overlocked and the top edge bound. I think that there’s possibly too much fullness in the centre back of the skirt but I’m not worried enough about it to change it. I wonder what would have happened if I had pleated out the excess in the skirt instead of removing it at the side seams. It would have meant that I wouldn’t have had to take the pockets out and then put them back in. Oh, the gift of hindsight!

IMG_4273.JPG

This dress premiered for a concert at the Royal Albert Hall and it was just perfect for the occasion. It’s one of those pieces of clothing that motivates me to walk a little taller and dare I say, even strut a little. The power of clothing eh!

IMG_4268.JPG

Thanks very much for reading and to Portia for hosting the refashioners again this year!

Lauren xx