Christmas party dress!

 This dress started as one thing in my head, which has been through many forms to get to what it is now, which is okay, although time consuming. Originally I wanted a princess-seamed bodice with a V-neck to go with the necklace I wanted to wear with a full skirt. Oh and the back folded out.  The pattern I used for the bodice was the same one that I used for my prom dress. I ironed this dress throughout the whole process like I never have before. And hopefully you can tell.
I went through a whole drafting process for the back and then re-read Gerties tutorial and realised all I needed to do was fully line the bodice, cutting the back pieces out of the fashion fabric and just folding them back. The tutorial I used to fully line my bodice was from here. The rest of the bodice lining was a cream cotton curtain lining (thrifty, huh? ;)). I didn't have time to line the skirt but hopefully I will do that at some point in the future. The zipper I hand-picked as usual, although an invisible one would probably have looked better.
I bought 2m of this fabric when we were in France during the summer holidays. Unfortunately my knowledge of french names for different types of fabric is zilch so I have no idea what it is. I can tell you that the right side is textured and the wrong side is flat if that helps?
The compulsory rattling of the present 
The skirt I first cut out and sewed together was pretty much a circle skirt in four pieces, but the center front seam stood out like a soar thumb against the bodice seams so that went. Then I cut out the pencil skirt which I fitted for School Skirt No.1 and attached that to the bodice. This at least matched the side seams and looked alright. However the bodice was not long enough for my long waisted torso so the skirt was higher up than it was fitted to making the fit of the dress slightly iffy. But, I was leaving in 1 hour so it had to do. I'm still pretty pleased with it overall.
peekaboo!!
So, that sums up my Christmas party dress okay I think. This was the one that I wore when I recieved my new singer (sob). It was going to be the first of many, but time is ticking so unfortunately it may be the one and only of 2013 :(
Right. I need to finish cutting out the pieces for dads shirt. I WILL get it finished in time for Christmas, I WILL!!!
Thanks for reading!
Lauren x

Me-Made Christmas Gifts 2013!

Today was the last day of term (yaay) and so today was when I handed out everyone's presents. It was all a bit last minute as usual (I definitely wasn't slip-stitching the stuffing into the pillows in the common room before school started, panicking when the person who the present is intended for enters, prompting me to lie on the table in an unnatural position to cover their present-in-progress...)
You'll notice a distinct them for this years presents. Pillows. I don't know why, but that's what happened. They were really easy to make personal for each of my friends. I backed all of the pillows with fleece to make them super cozy.  If you want to know how I made any of these please let me know and I'll write up a tutorial on the process :)

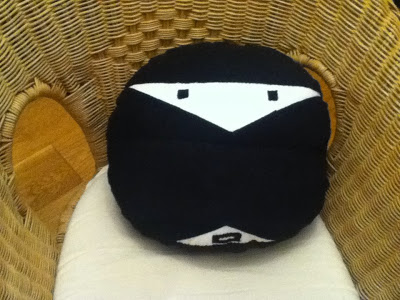
Catherine's Ninja Pillow:
(She does martial arts)


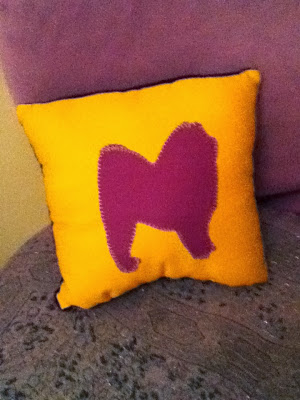
Emmas Chow Chow Pillow:
There's a bit of a story to this one which I'll explain to you all. Our AS Drama group decided to do a Secret Santa. However, there was a catch. We could only spend 94p!

As I only moved to the school this year I don't know Emma very well so I asked one of her friends a few questions (thanks Hollie!) and came away with the key facts; likes chow chows and bright colours. Cue a chow chow pillow using the complimentary colours yellow and purple! Boom!


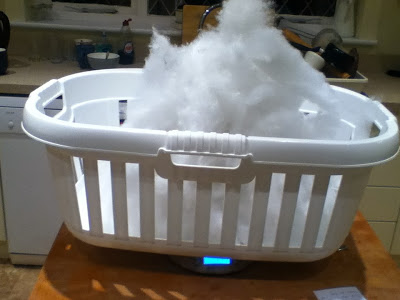
I can hear you all thinking, "but she's forgot about the 94p!!" and "why is there a load of white candyfloss in a washing basket on my scales in the kitchen!?". Patience my friends! I will explain now. You see I bought 1kg of stuffing for $6.50 so my little brain thought "Ooh I can work out 1g and find out how much 94 cents worth would cost!" oh if only it was that simple. After many calculations and much hair tearing (maths is NOT my strong point) I came up with a number. It wasn't the right number, but it was a number. I tried. So yeah, sorry guys, that isn't candyfloss atall...  Anyway, Emma seemed to really like it so that's good.

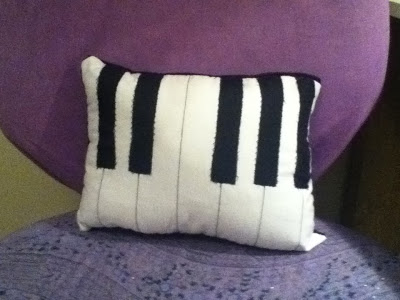
Ainjiels Piano Pillow:
Ainjiel is in my AS Music class and she can spend hours at the piano (and is brilliant at it) so it seemed only right to make her one that she can (pretend to) play when her parents are trying to sleep! Hmm, or she could just look at it and stroke it. Whichever...
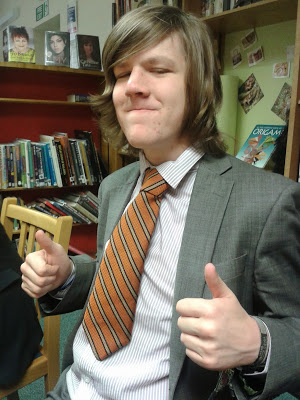


Jake's Nemo Tie:

Who wouldn't want to wear a tie made out of this fabulous fabric?! ;)
Maybe not with that shirt though...

The interfacing I used was a tad stiff, so will try and find some proper tie interfacing for next time.


I did make two other pillows, 1 an M shape for my friend Mercedes and a ps3 console shaped one for Megan who's an avid gamer. Oh and a pacman pillow for Lizzie. So yup, I'm pretty much all out of stuffing now...

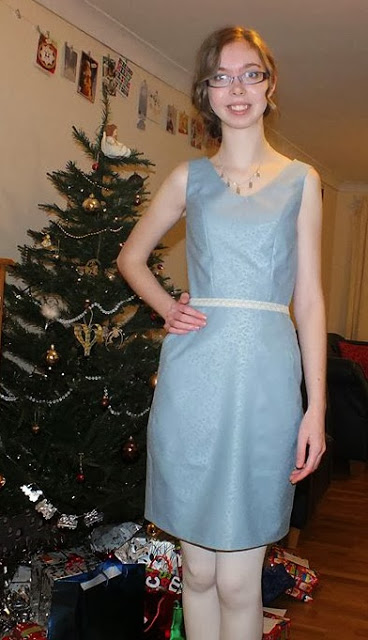
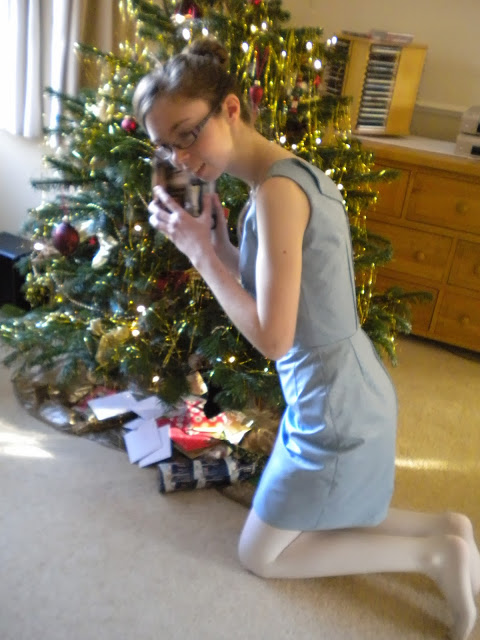
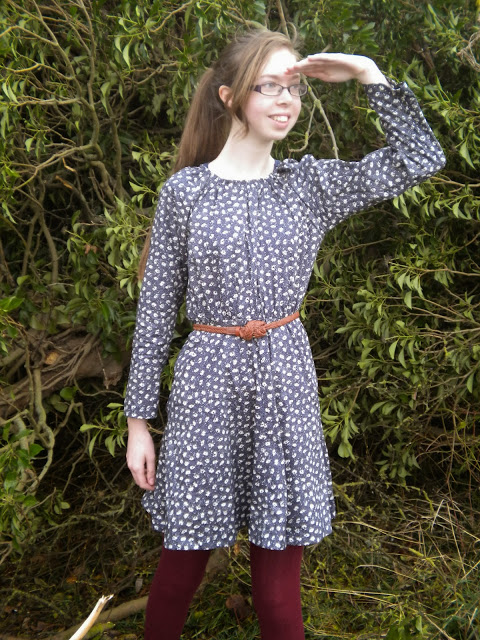
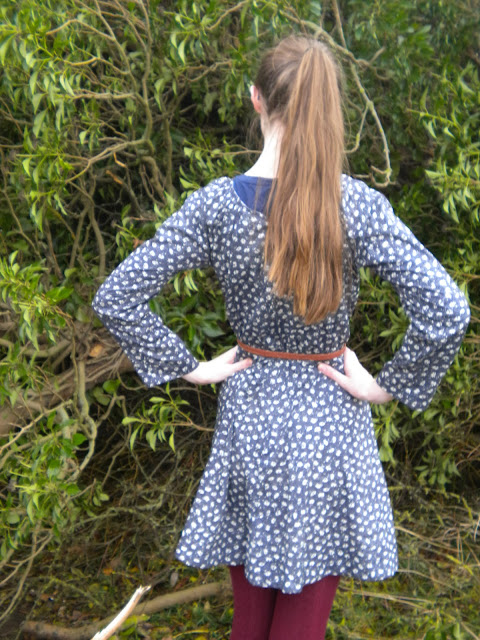
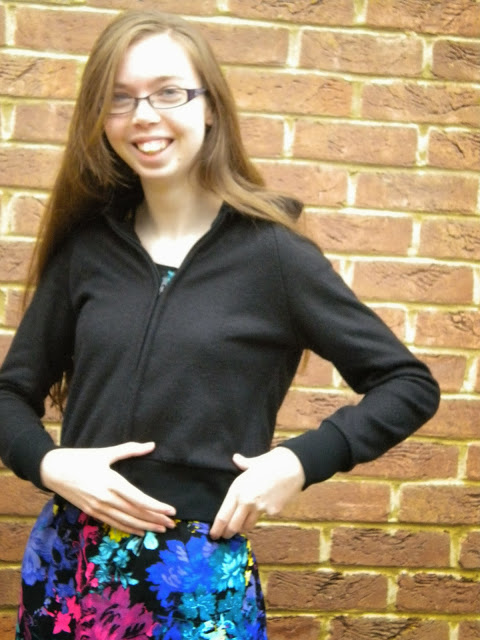
One more thing, before I go. Last Sunday I had a Christmas meal with all of my friends from my old school to exchange presents and eat amazing food. It was also a perfect occasion to make a dress for (more on that when I get pictures). What I want to share on here though was the amazing gift they all clubbed together to buy and touch up for me.
Photo: I honestly can't put in to words how happy this made me. Thank you so so much, I am so lucky to have you all as friends. I hope you loved your presents just as much. Thank you for a wonderful evening. :)
Look!!!! I'm not ashamed to say how much I cried when I opened this and realised what it was. This model was made in 1908! 1908!!!!! Oh dear, I'm welling up again even now!
It's so special and is something I will treasure forever and ever.

Okay, I'm finished talking now!
Thanks so much for reading!
Lauren x

The Ballet Dress

Firstly, I feel that I should explain the title of this post as I can understand why one could read "the ballet dress" and look at a pic of me doing a sailor pose and be incredibly confused. Basically I only decided to name the dress after saving the pictures to my laptop and after posing like a sailor (for some unknown reason) where a ballet pose would have been rather more suitable. It's called the ballet dress because we went on a school trip to see The Nutcracker in London this week and I decided that I had to wear a long-sleeved dress (because London is COLD man!). The issue was that I didn't own anything that fitted that description, hence a new dress had to be made. 
 This dress is great because I can stuff thermals under it and wear it with thick tights and boots and a coat etc and I'll be all warm and cosy. Until I step outside. But anyway... The pattern I used was Vogue's basic design 1923 which was very generously gifted to me along with a huge pile of other patterns and fabric by a friends Mum. Actually, this fabric was part of that pile too. Thank you Irenee! The changes I made were to shorten the length and chop away the neckline. This then had to be gathered because it was gaping everywhere.

http://img1.etsystatic.com/000/0/5554023/il_340x270.302167429.jpg
The back was supposed to be buttoned but I just folded over the placket on the back bodice piece, cut it out and put a zip in it instead. Well, I did in theory. You see I cut the front pattern piece not on the fold so as it was pretty similar to the back bodice piece anyway I just used that instead and cut another front bodice piece (on the fold this time). And you can't even see the zip! The sleeves are a tad too short so I'll decrease the seam allowance next time.
sorry that my undertop is showing through!
The hem and neckline I finished off with extra-wide white bias binding on the bus. I only got a few stares...

I really like this dress and know I will wear it loads. It will hopefully look good with a petticoat underneath, although I am yet to try that. However next time I might do a gathered skirt to matched the gathered bodice as I'm not sure I like the unsymmetricality of it.
That's all I have to say for now!
Thanks so much for reading and to Dad for sacrificing his fingers to the cold so he could take pictures!
Lauren xx

Pajama Bottoms

You may recognise this fabric from a previous make of mine (the plaid pinafore dress). As pajama day was approaching I set my heart on using the left overs for some really really comfy flannel pajama bottoms.
However, after I traced the smallest size of my pajama bottom pattern and laid it on the fabric, I didn't have quite enough.

As I said, I had to have pj bottoms out of this fabric so it was back to the drawing board for me.
My thoughts drifted to Lekala.co which is a pattern company that you give your measurements to and they send you a pdf 24 hours later with a pattern that fits your measurements exactly thus eliminating the need for a muslin. Did i mention that the pattern for these pj bottoms only cost $2.50?!
Because my measurements were smaller than drafted for in the too big pattern that I used this new pattern fit just fine widthways accross the fabric. However, lengthways was an issue.
To solve this problem I rummaged around to find the smaller scraps and painstakingly matched them to the top of the fabric already lying on the floor. When those scraps had given me enough length I slip stitched them to the original fabric and cut the pattern pieces out then sewed them as instructed in the patterns instructions. The slipstitching wasn't strong enough and ripped when I attempted to try them on so I zigzaged them on instead with my machine. I then attached the elastic to the waistband and gave them a tiny hem and my pj trousers were done.
My pattern matching was considerably better on the front than on the back so I'll just give you a pic of the front so you don't have a heart attack looking at the back. It was hidden by my tee-shirt on the day so it was fine anyway!
Is it obvious that the top of them consists of about 7 different scraps pieced together?
Also, excuse the thermals. England is cold. Plus, if one of the seams split, it's fine because my bum is already covered :P

The whole process was done the night before and the morning of. Apologies to my family, who were rudely awoken by the sound of my sewing machine at 6.30am. It won't happen again. Well, not for a while anyway.

Thanks so much for reading!
Lauren x

Cropped Hoodie

It was pyjama day at school on Friday and there was no way on earth that I was going to turn up in my oh-so-comfy but oh-so-ugly pink fluffy dressing gown. This is where the hoody comes in. 
I already had a pattern in my Sew U Home Stretch book by Wendy Mullin so all I needed to do was purchase some fleece. I found mine at cheapfabrics.co.uk. It says in the book 2 metres fleece, 1/2 metre ribbing. I only used 1 metre and 1/4 roughly of each so I have 1 metre fleece left over. What can you do with fleece besides making a hoody?
Showing off the ribbing and the cuffs
I chose size XS automatically but next time I would size up a far bit. I had to make it cropped because I only had an 18" hoody zip (no idea what the correct terminology for that is) instead of the 20" zip required. The zip was handpicked because I didn't trust myself to do a lapped one right the first time round without any unpicking and I needed to wear it the next day.
I cut out 4 pieces for the hood instead of two so I could line it and have a clean finish. I actually used the wrong side of the fleece because I just preferred the texture to the right side.
Just let me show you my ribbing again before you go!
Well that's all I've got to say for now, oh hang on. I do want to sew presents for family and friends for Christmas, but I haven't got a clue what to sew. Any ideas? Okay, now I'm done.
Thanks for reading!
Lauren x