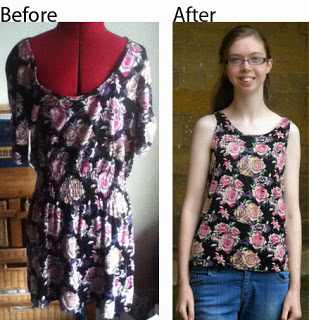
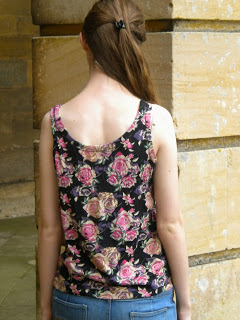
As a thank you for the tons of help my friend Meghan (to your left) gave me towards my maths GCSE I wanted to make a dress with her, and this was the finished product! We managed to make a muslin of the bodice, and a fully lined dress from 10am-10pm with breaks for lunch and tea which was pretty good going, we thought. Meghan did 95% of the sewing (I did a bit of the hemming) and I instructed, which was good for me because I “consolidated my learning” by passing it onto another human being.

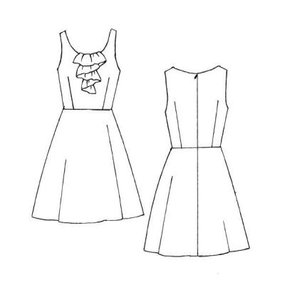
We used view E from Simplicity 3823 with a button loop halterneck as there wasn’t enough fabric for ties as we had 2 metres of fabric.
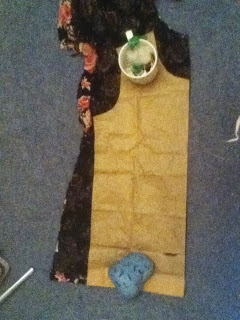
The construction of the bodice is really clever as the lining leaves no raw edges, making it lovely inside. As we cut out the skirt pieces in a white cotton for the muslin we thought that we might as well line the skirt. The lining fabric and the fashion fabric were hemmed individually so they could hang properly.
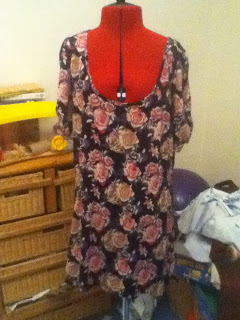
I have attempted to use this pattern before without much success, because even though it has a size 6 there are an extra 2 1/2 inches of ease which I could really do without! I realised though that when I did my previous muslins I shouldn’t have lined them as that makes it so much harder to alter. With this in mind we cut a size 10 as that was what her bust measurement fitted with the finished measurements at the bottom of the envelope.
The only changes we made were to alter the neck line slightly to stop it from gaping and to make sure that Meghan doesn’t flash everybody.
We slip stitched the hems on both the lining and the fashion fabric. In reflection we could have just machine sewn the lining and saved oodles of time.
We found a perfectly matching yellow zip to go down the side of the dress which was handpicked for precision.
This was the halterneck button closure. We found a button that matched from Mums massive button collection. The pattern called for two but one fairly big one seemed to work fine. For the loop, I folded some thin red ribbon in half and slip stitched it together as I can’t figure out for the life of me how I am supposed to turn a tube of fabric 0.5 cm in width the right way out.
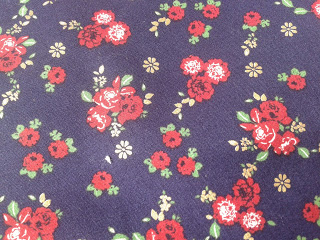
The fabric was amazing, with all sorts of things on, including unicorns and suits Meghan perfectly. It was sourced at a local market stall.

A massive petticoat complemented the full skirt perfectly.
It was great fun making this dress together and I’m sure that we’ll do a lot more sewing in the future.
Thanks so much for reading!
Lauren x

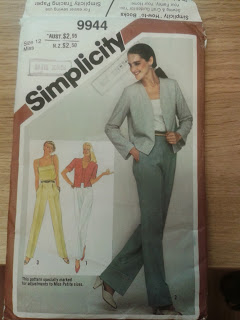 The pattern I used was a vintage Simplicity 9944 released in 1981 which was inherited from someone or other. They are high waisted with a back zipper, which relieved me from figuring out how to do a fly front zipper.