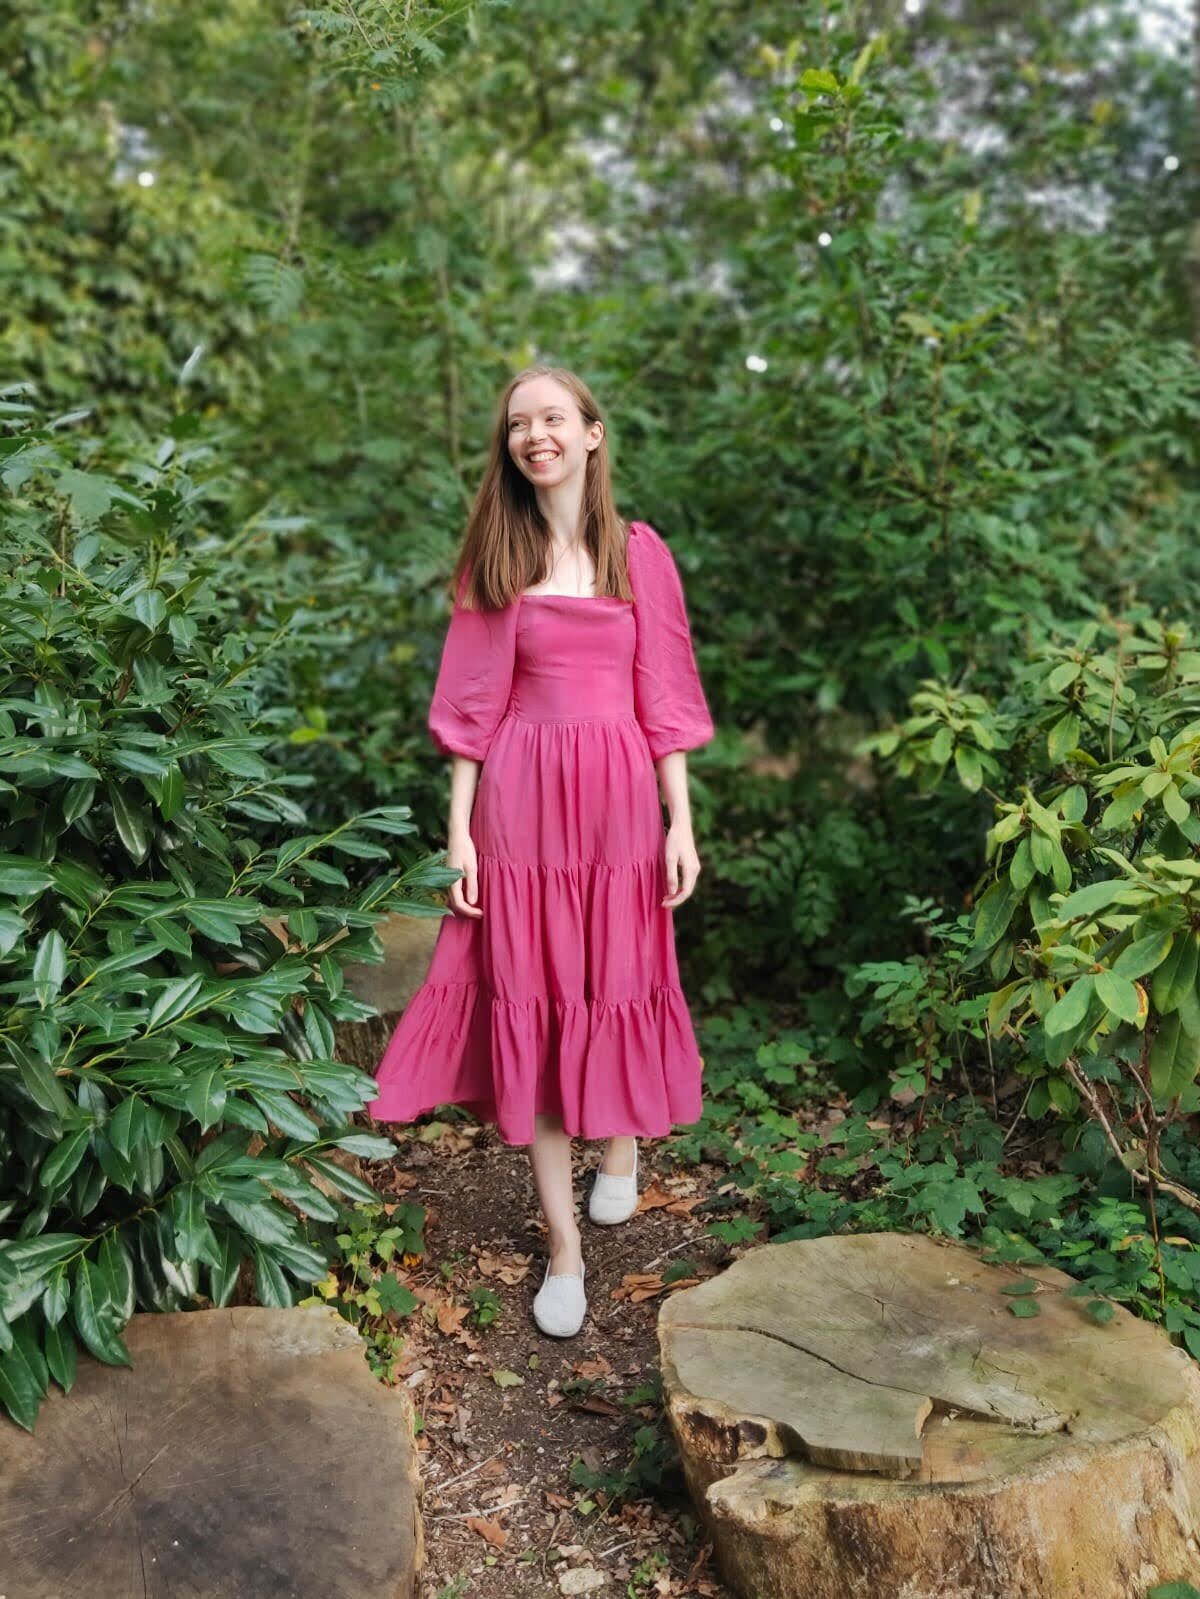
Hello all, this project was a chance to just have some fun with an outrageous (to me) colour. I originally bought this cupro from Sherwood Fabrics in ‘Raspberry’ with a sienna maker jacket/dress in mind, but it was much pinker than I’d imagined when it arrived, so it was set aside whilst I mulled over what to do with it.
2 years later, I decided that I was in the mood to embrace the pink, in a big way. I used my bodice block as a base, leveling off the neckline above my bust, and taking out a small dart to prevent gaping. My back bodice block neckline was leveled off at the same point and the width of the piece doubled. I took my sleeve pattern and slashed and spread until it was the width that I wanted. I used the same skirt measurements that I worked out for my curtain dress until I realised that I didn’t have quite enough fabric, then I had to rework the length of each tier slightly.
Each bodice piece neckline was finished separately and the back piece shirred before joining them both together at the side seams. I used a facing for the front neckline and simply turned the back neckline over twice and topstitched it. In retrospect I should have used a white interfacing for the front facing because annoyingly the black interfacing I used can be seen a bit through the front bodice. Of course another option to finish the neckline would have been bias binding. Next it was time to pay attention to the sleeves. The side seams of the sleeves were sewn first and an elastic cuff inserted. Then the sleeves were sewn to the armholes of the bodice, matching notches where each neckline ended. This seam was then overlocked, continuing around the entirety of the sleeve head, pressed under and topstitched, creating a channel for the elastic to go through.
Then it was just a lot of gathering. Only the front half of the top tier was gathered because the back half was sewn to the shirred bodice (stretched out) which automatically gathered it.
I rolled hemmed the skirt purely because I ran out of matching thread. I did overlock the hem first because it’s such a fray-y fabric but I think it did add a little unnecessary bulk. You can see in the picture below a comparison of the beginning of the hem and the end. It took me a little time to work out which distance I needed the stitches to be apart from each other to make sure everything rolled nicely. (I went back at the end and re-did the beginning bits.)
There we have it, a finished dress! It was a bit of a punt for me, style wise, but it’s so much fun to wear and I keep finding myself reaching for it when I want something to feel good in. There are a few things I’d change if I were to make this design again. I’d take a little width out of the front neckline, lengthen the sleeves, and either make the ease only 1.5 times the bodice width or add some kind of waist stay? Because there’s only elastic in the sleeves holding the dress up there are some points when the weight of the dress drags everything a little too far south of where I need it to be. Also, I added pockets (woohoo!) but I made the pocket openings slightly too narrow, making them slightly tricky to use easily. On the plus side, very good for pick-pocketing prevention.
It’s the first time I’ve used cupro as a dress fabric and I’m not really sure what to think about it. It wrinkles very easily, but presses okay. It frays very easily and shows sweat more easily than other fabrics would. It does drape well and is a good weight for gathered skirts like this. I wouldn’t want it to be any heavier.
Thanks for reading!
Lauren xx


