When the bra was finished it was time for the other half of the underwear. The main challenge here was again not being able to use elastic. I wasn't worried about fastenings because I could easily make a self fabric drawstring to hold them up. I used British grown silk again, but this time from a different supplier. The plan was to use the rest of the dyed fabric that I made the bra from, but I severely underestimated how much I needed and as a result didn't have enough. I chose to dye my fabric with red cabbage and you can read all about that process here.
I drafted the French knicker pattern from Pattern cutting for Lingerie, Beachwear and Leisurewear by Anne Haggar. From the get go I dropped the waist 10cm and lowered the side seam hem by 1inch. I then drew in the design lines that I was after and cut them out of Calico for a first fitting.

For the first fitting I topstitched cotton tape on the waistband point of the panties to thread a drawstring through. The only alteration I made was to pin the excess out at each buttock.

I adapted the pattern and made the second toile out of a drapier fabric to get a truer idea of how the panties would look in the final fabric. Truth be told, I probably should have started in a drapier fabric and skipped the Calico all together. I pinched yet more excess out of the buttock in this fitting and also took some ease out of the buttock to make them more slim fitting.

I cut out and tacked together the panties out of the final fabric for the last fitting. I tacked them together by hand because I didn't want to leave machine holes when I unpicked the garment to sew it again for real. There were no changes this time so then I got on with putting these together for real.

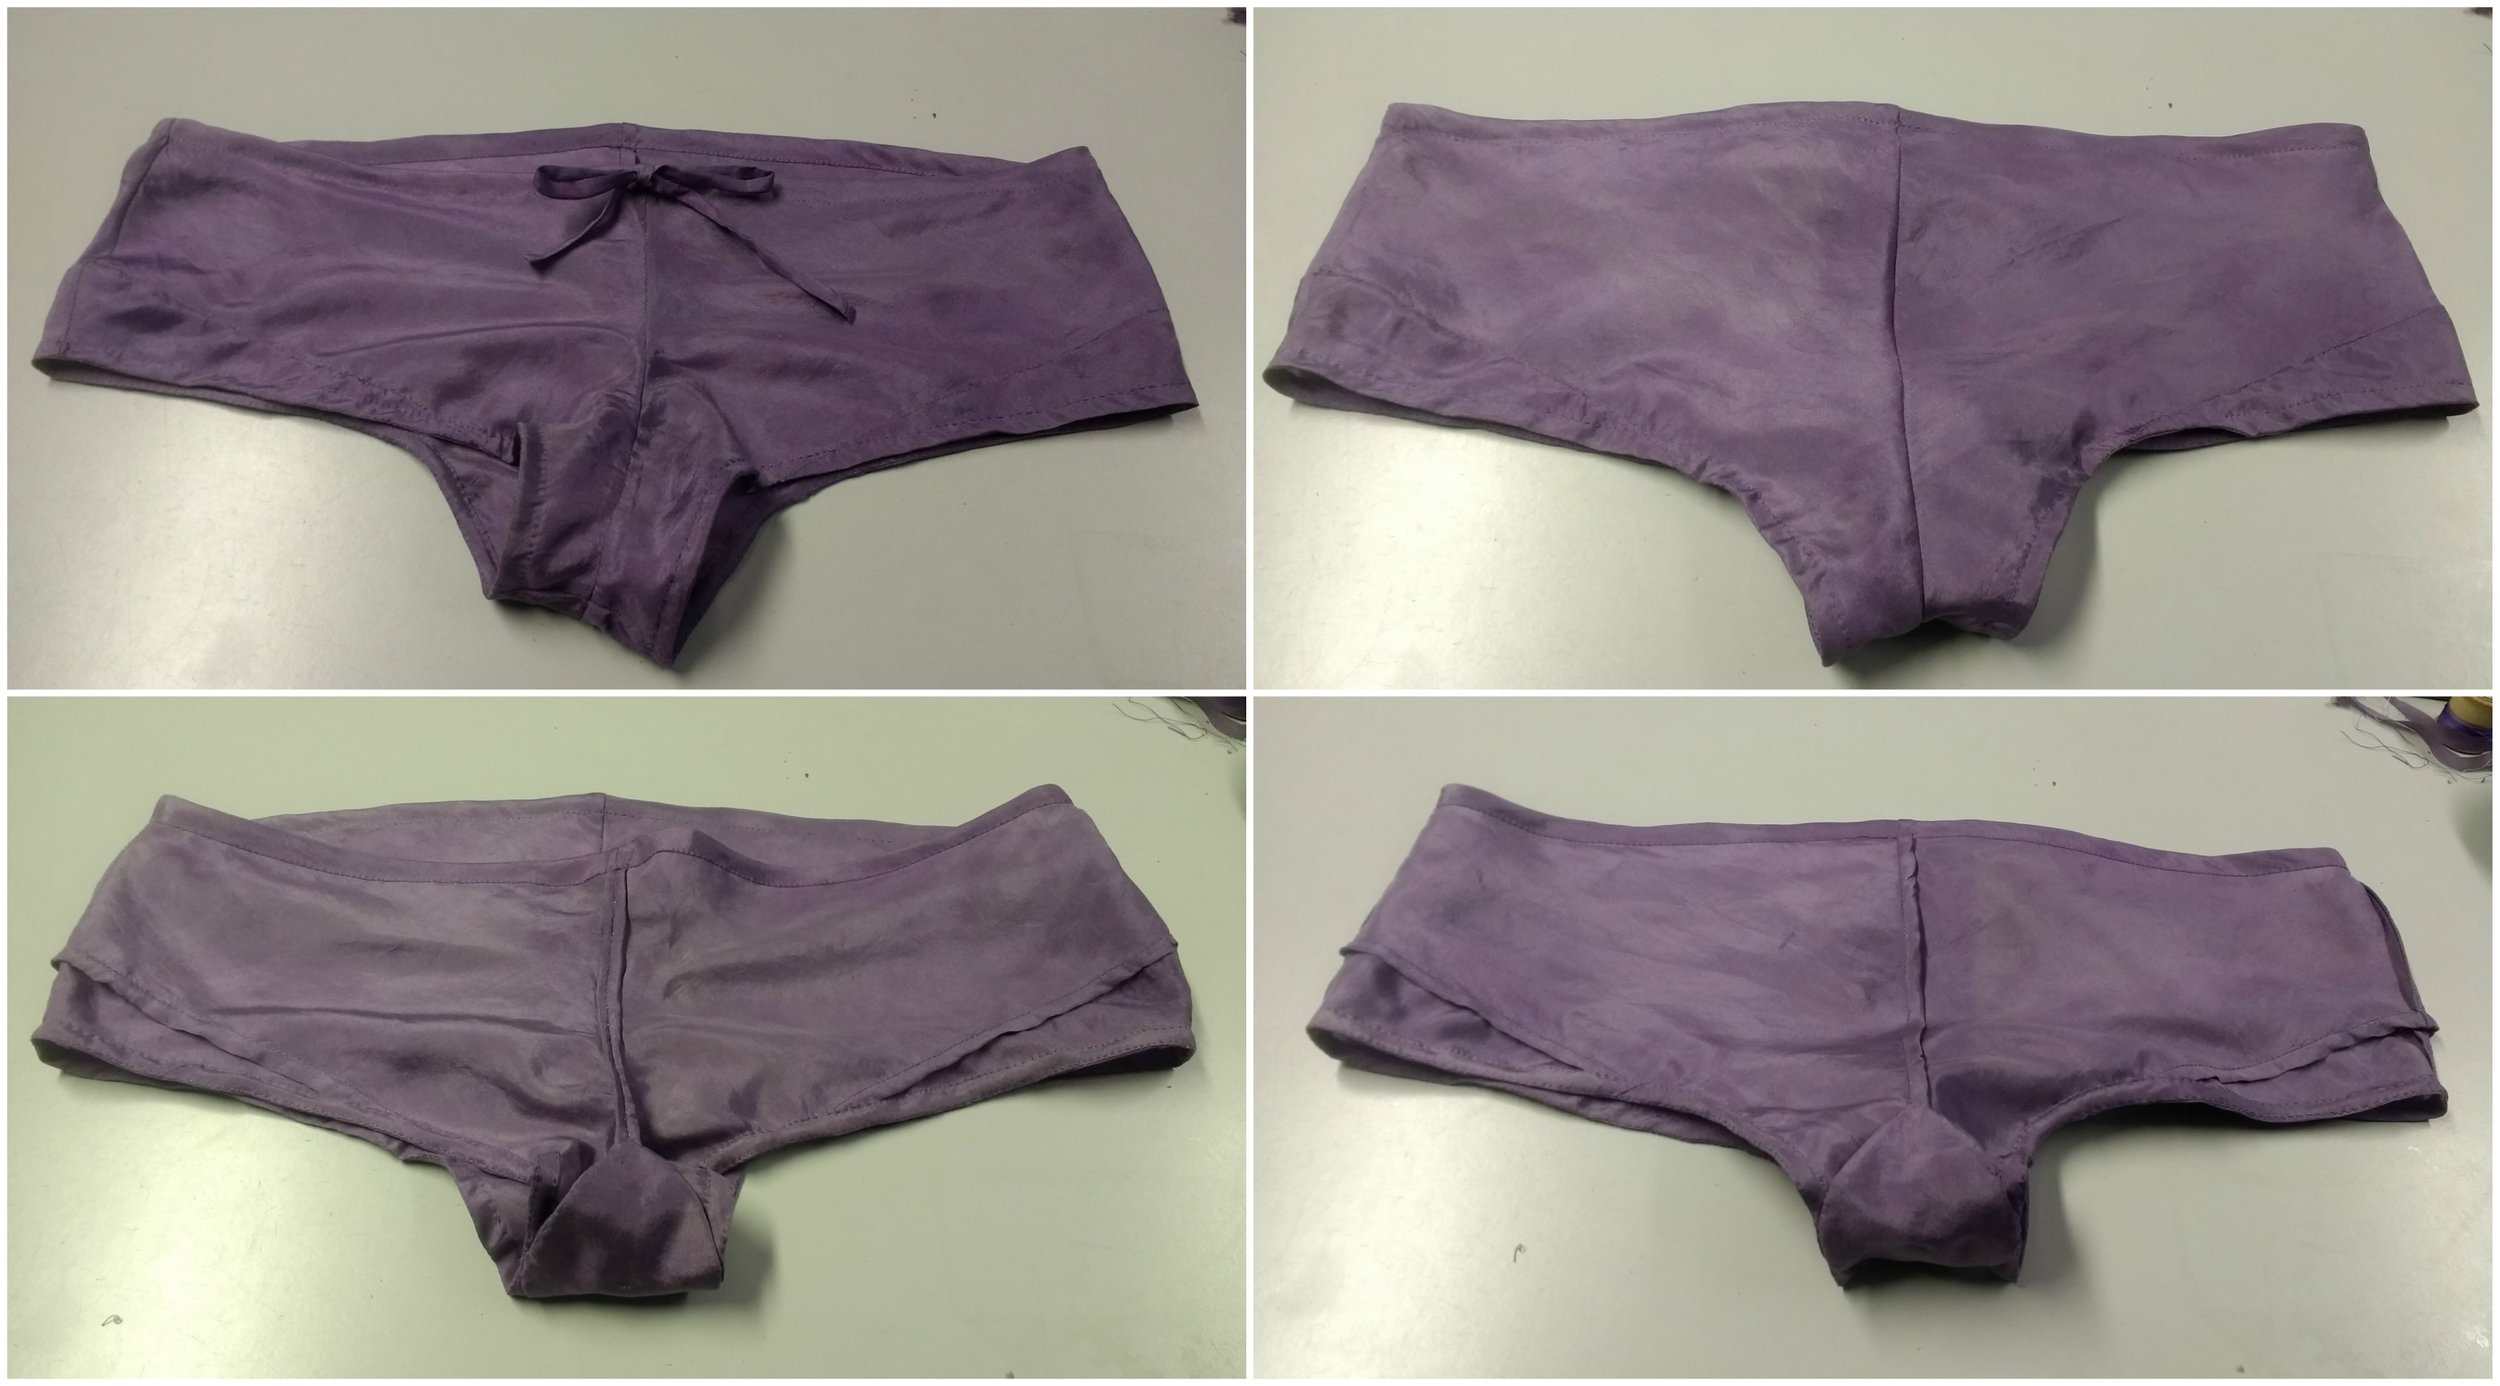
As with my bra, neat finishing was very high on the agenda. The centre front seam was pressed open and each SA was finished individually so that I'd be able to thread a drawstring through the waistband later. The centre back and side seams were french seamed and the inserts were hand flat felled. The leg holes were bias bound.

Flatfelling in progress on the left and a finished french seam on the right.
When all of the seams were finished I folded down the waist twice to make a channel for the drawstring. I top stitched it down by hand because I was very wary of distorting the delicate fabric with the sewing machine (especially as these were cut on the bias.)

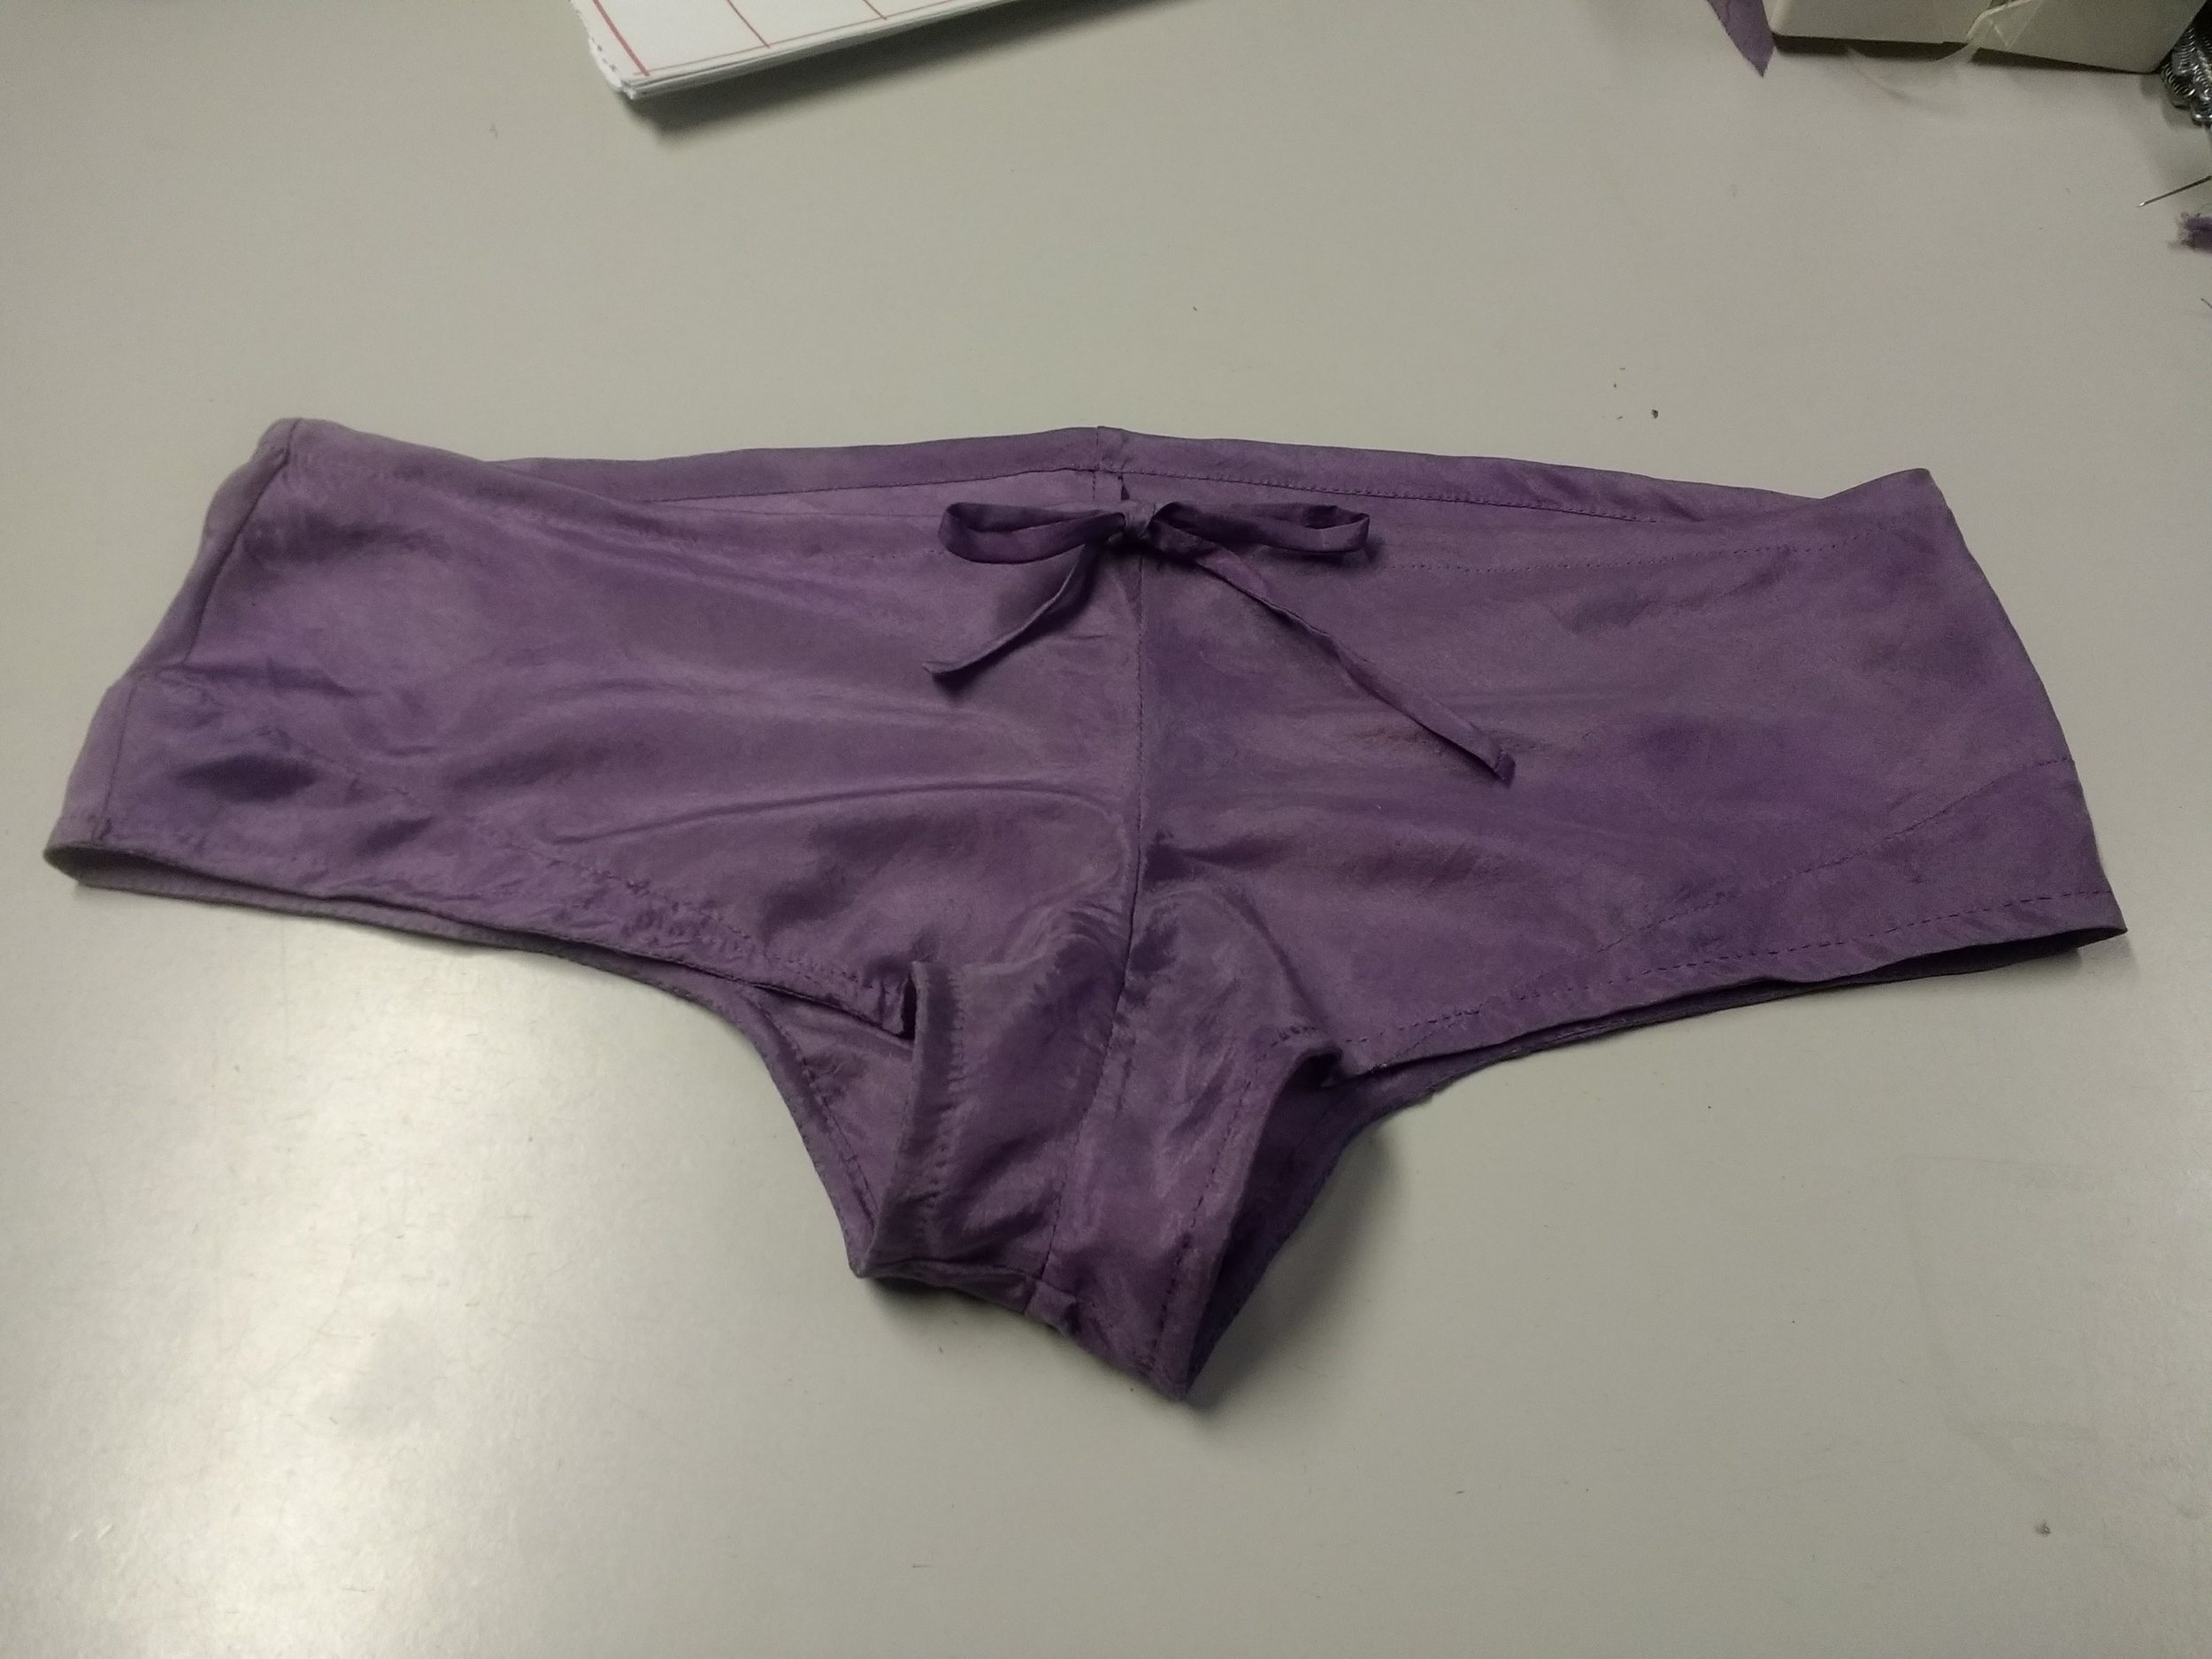
The final step was to make a little gusset which was tacked onto the crotch area of the pants. Ideally I would have used a cotton jersey, but that wasn't an option so I just went for matching silk.

And my pants are finished! I'm so proud of the insides. I tried to make them as delicate as possible and I think I succeeded.
Thank you for reading, the next post in the series will be talking about the shirt portion of the outfit!
Lauren xx