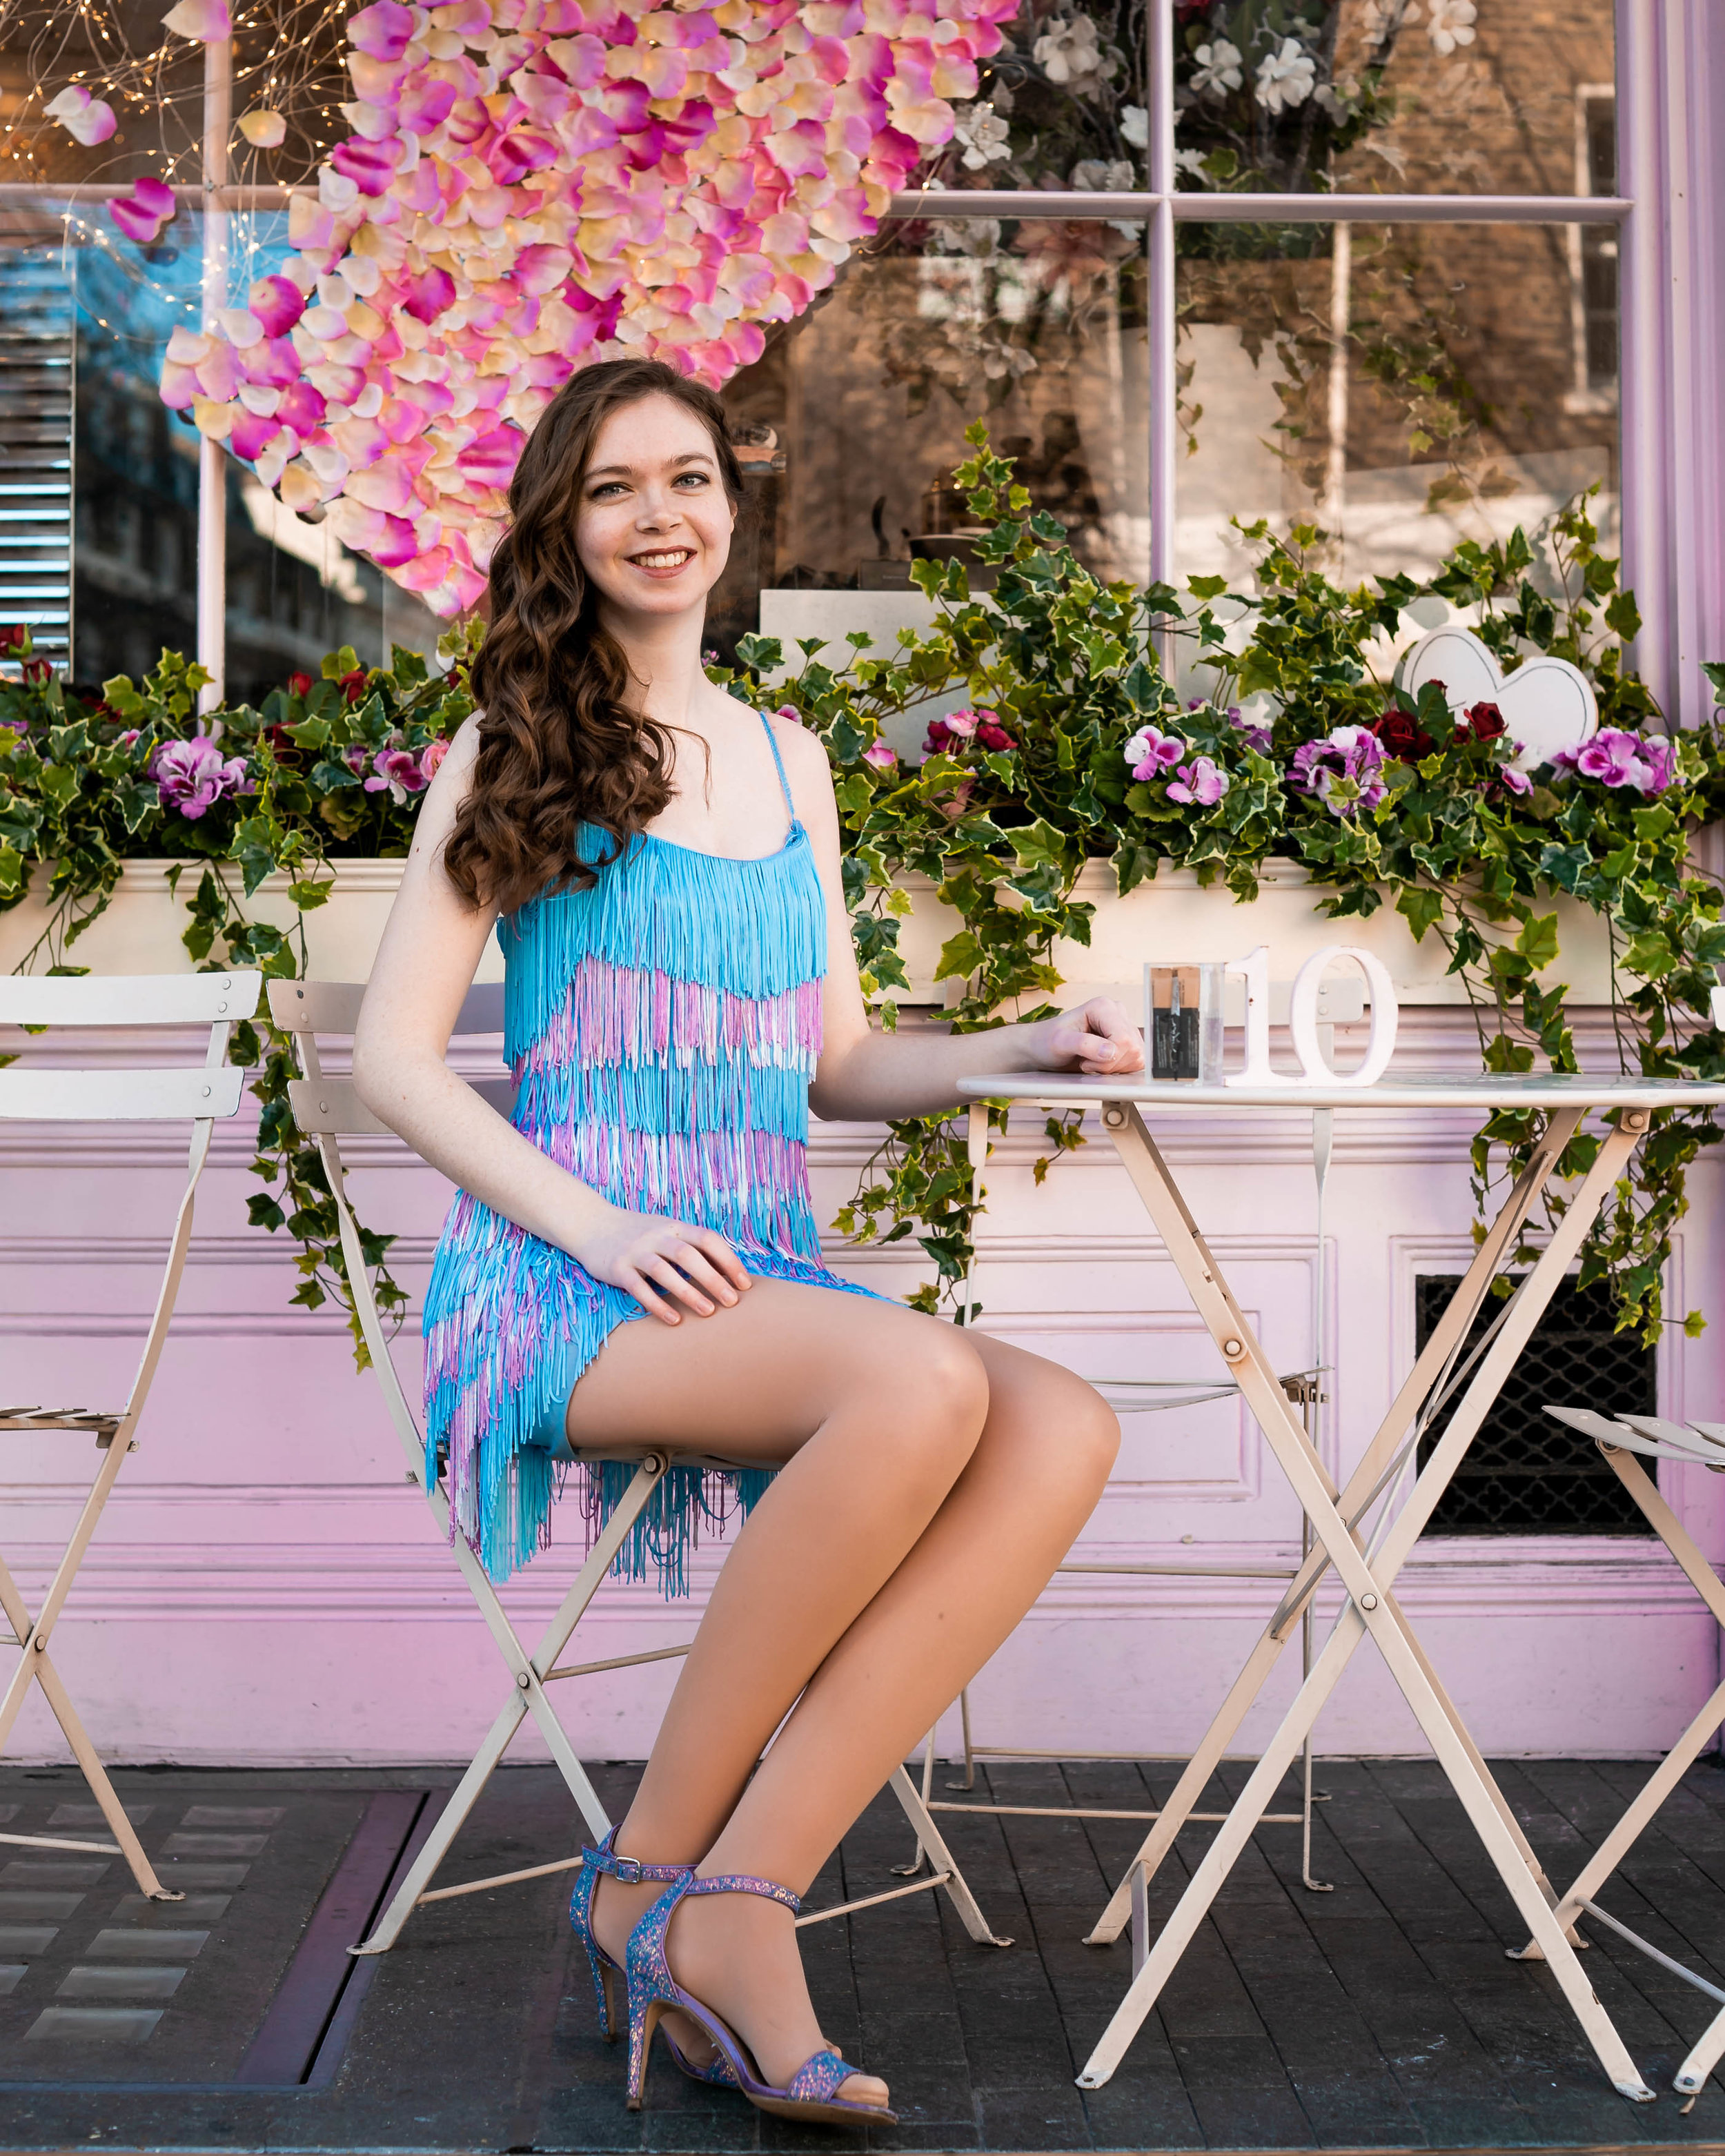
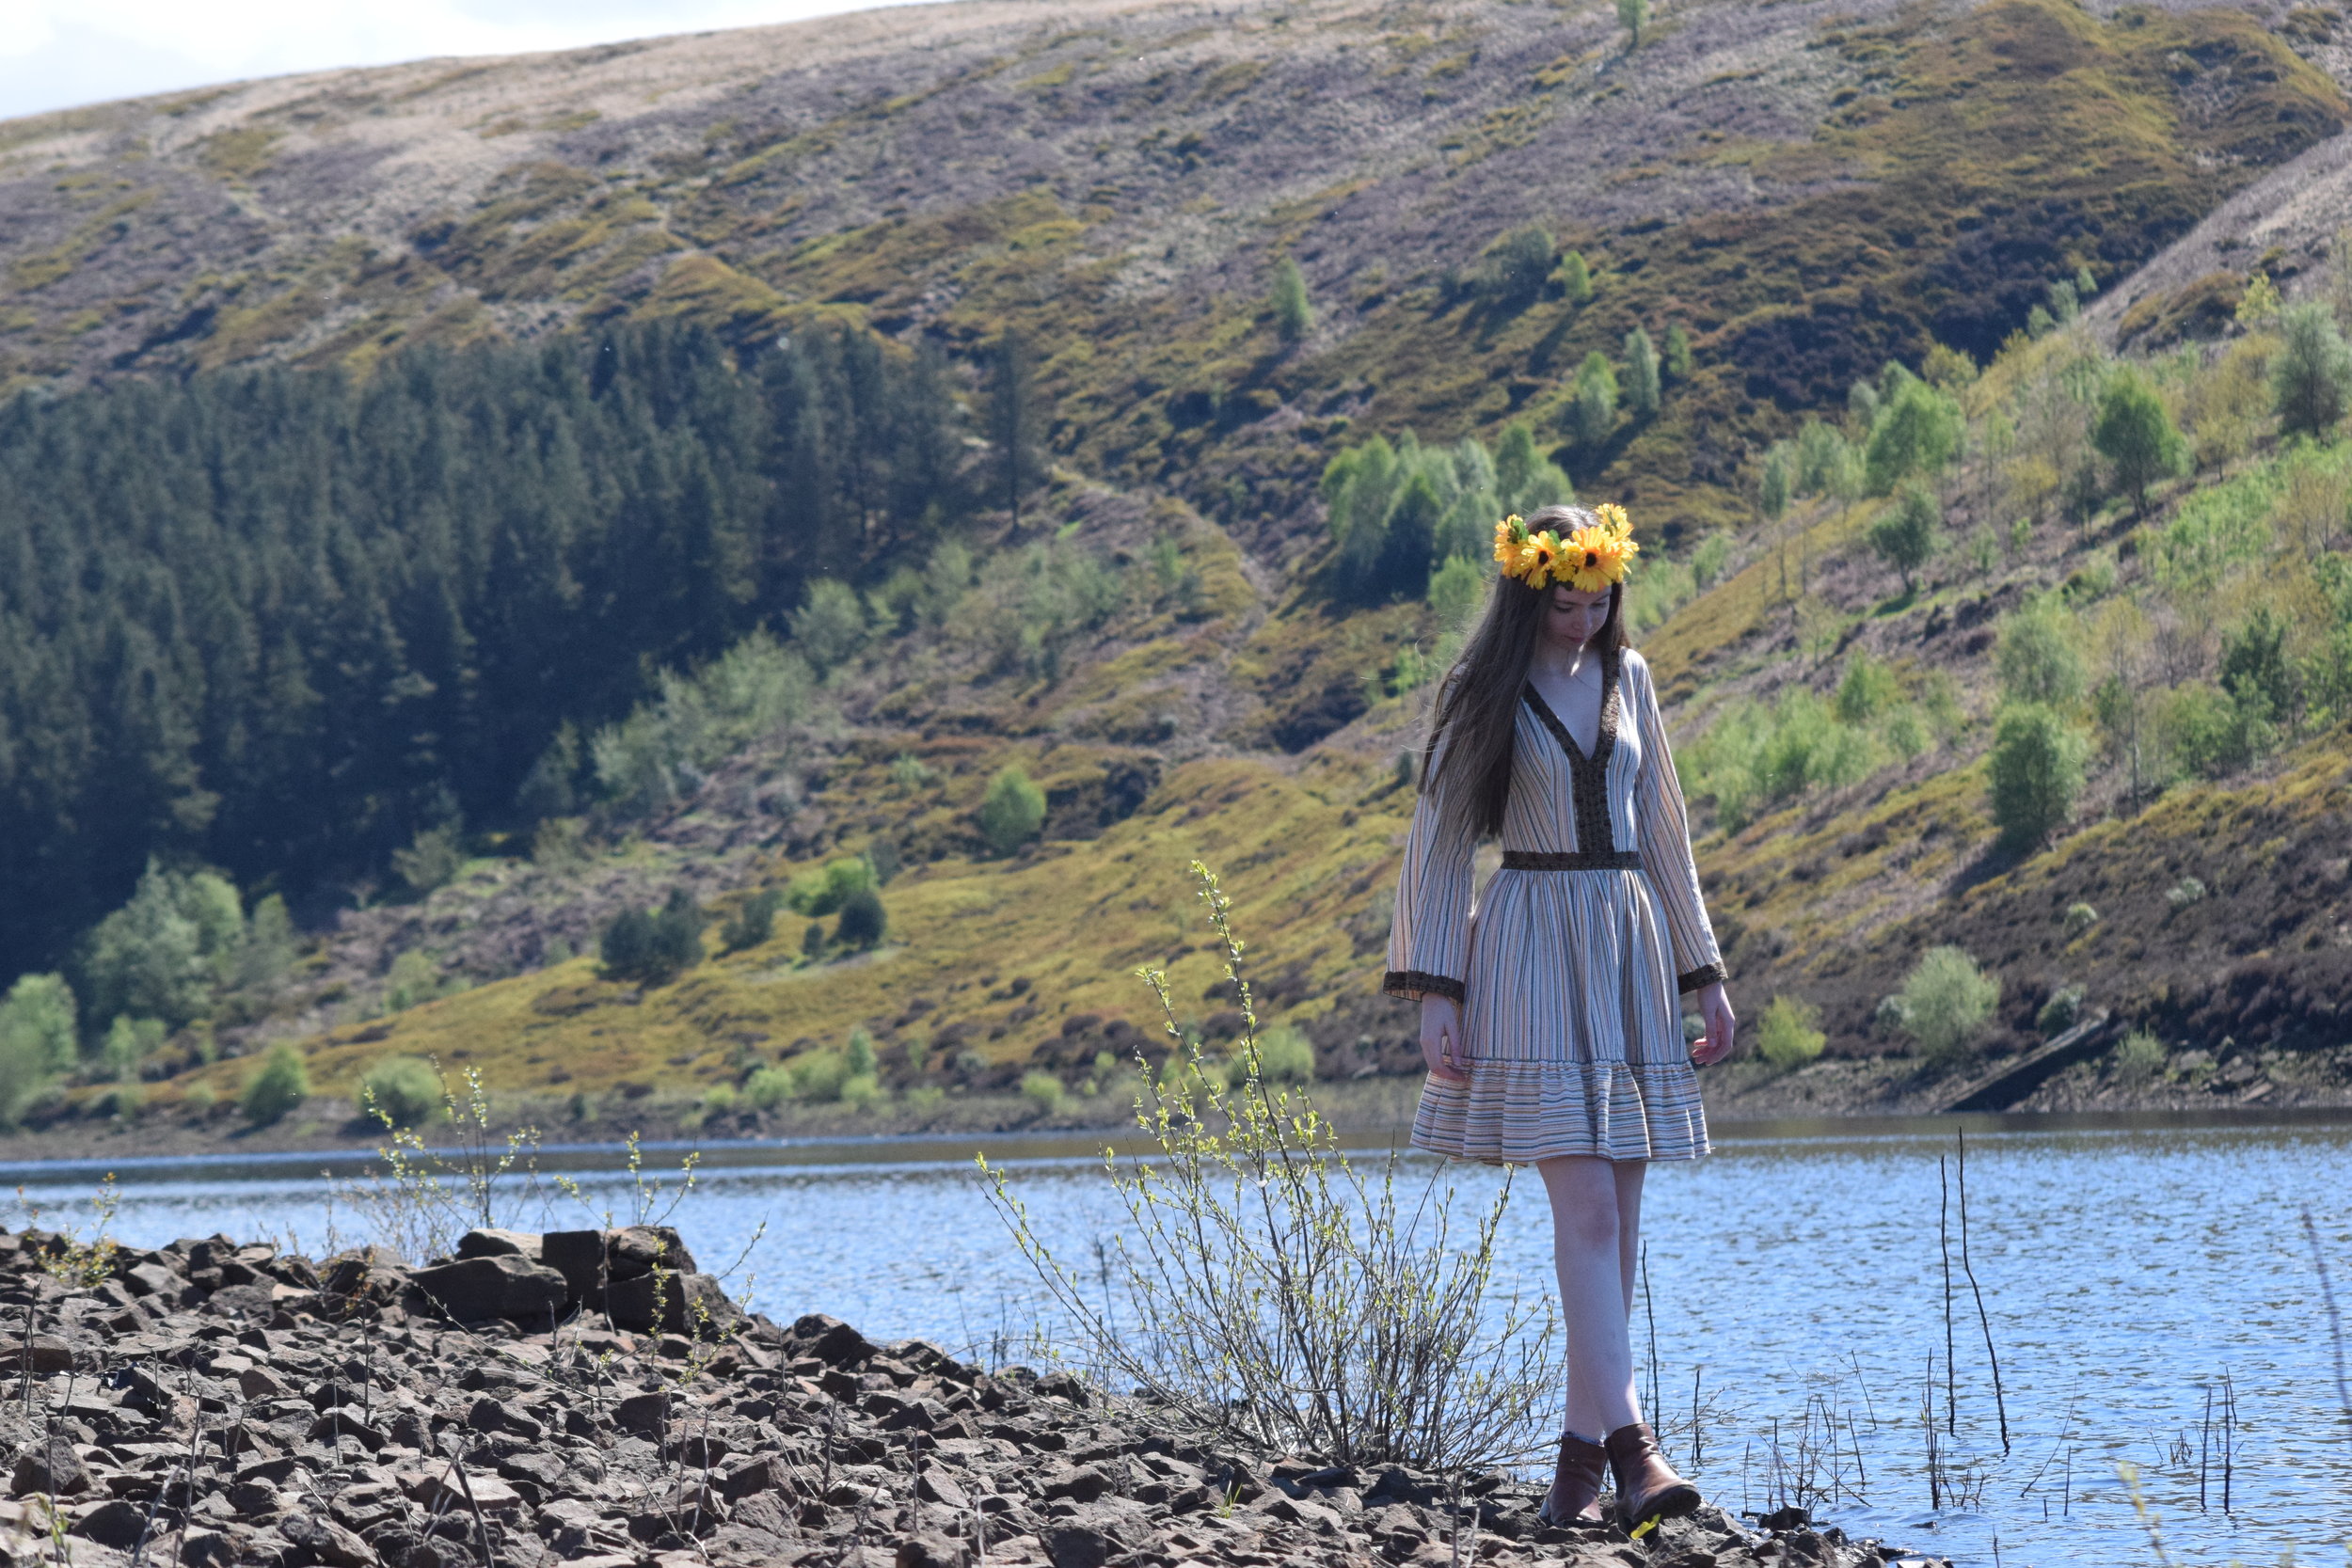
Hello all! For this particular project we’ll need to rewind all the way back to February 2019. I was a little blue because I’d just had a lot of fun creating my fringe dress and phoenix costume and there was nothing on the horizon to make another costume for. Luckily, my friend Rachel saved the day by throwing a hippy themed birthday party. Of course I had many an item in my wardrobe that would have fit the theme perfectly, but that’s no fun for a maker now, is it? So I cracked on with my hippy themed pinterest board, I gathered some ideas and figured out what I wanted. I’ll be honest, watching the musical ‘Hair’ was pretty much the extent of my 70s research. Don’t laugh, but I wanted to make something that would be a nod to the hippy culture in the 70s, but also in the interest of making something to wear more than once I wanted it to be wearable in day to day life as well. And to be fair, I have worn this dress in day to day life, but it is arguably more of a costume than day wear.
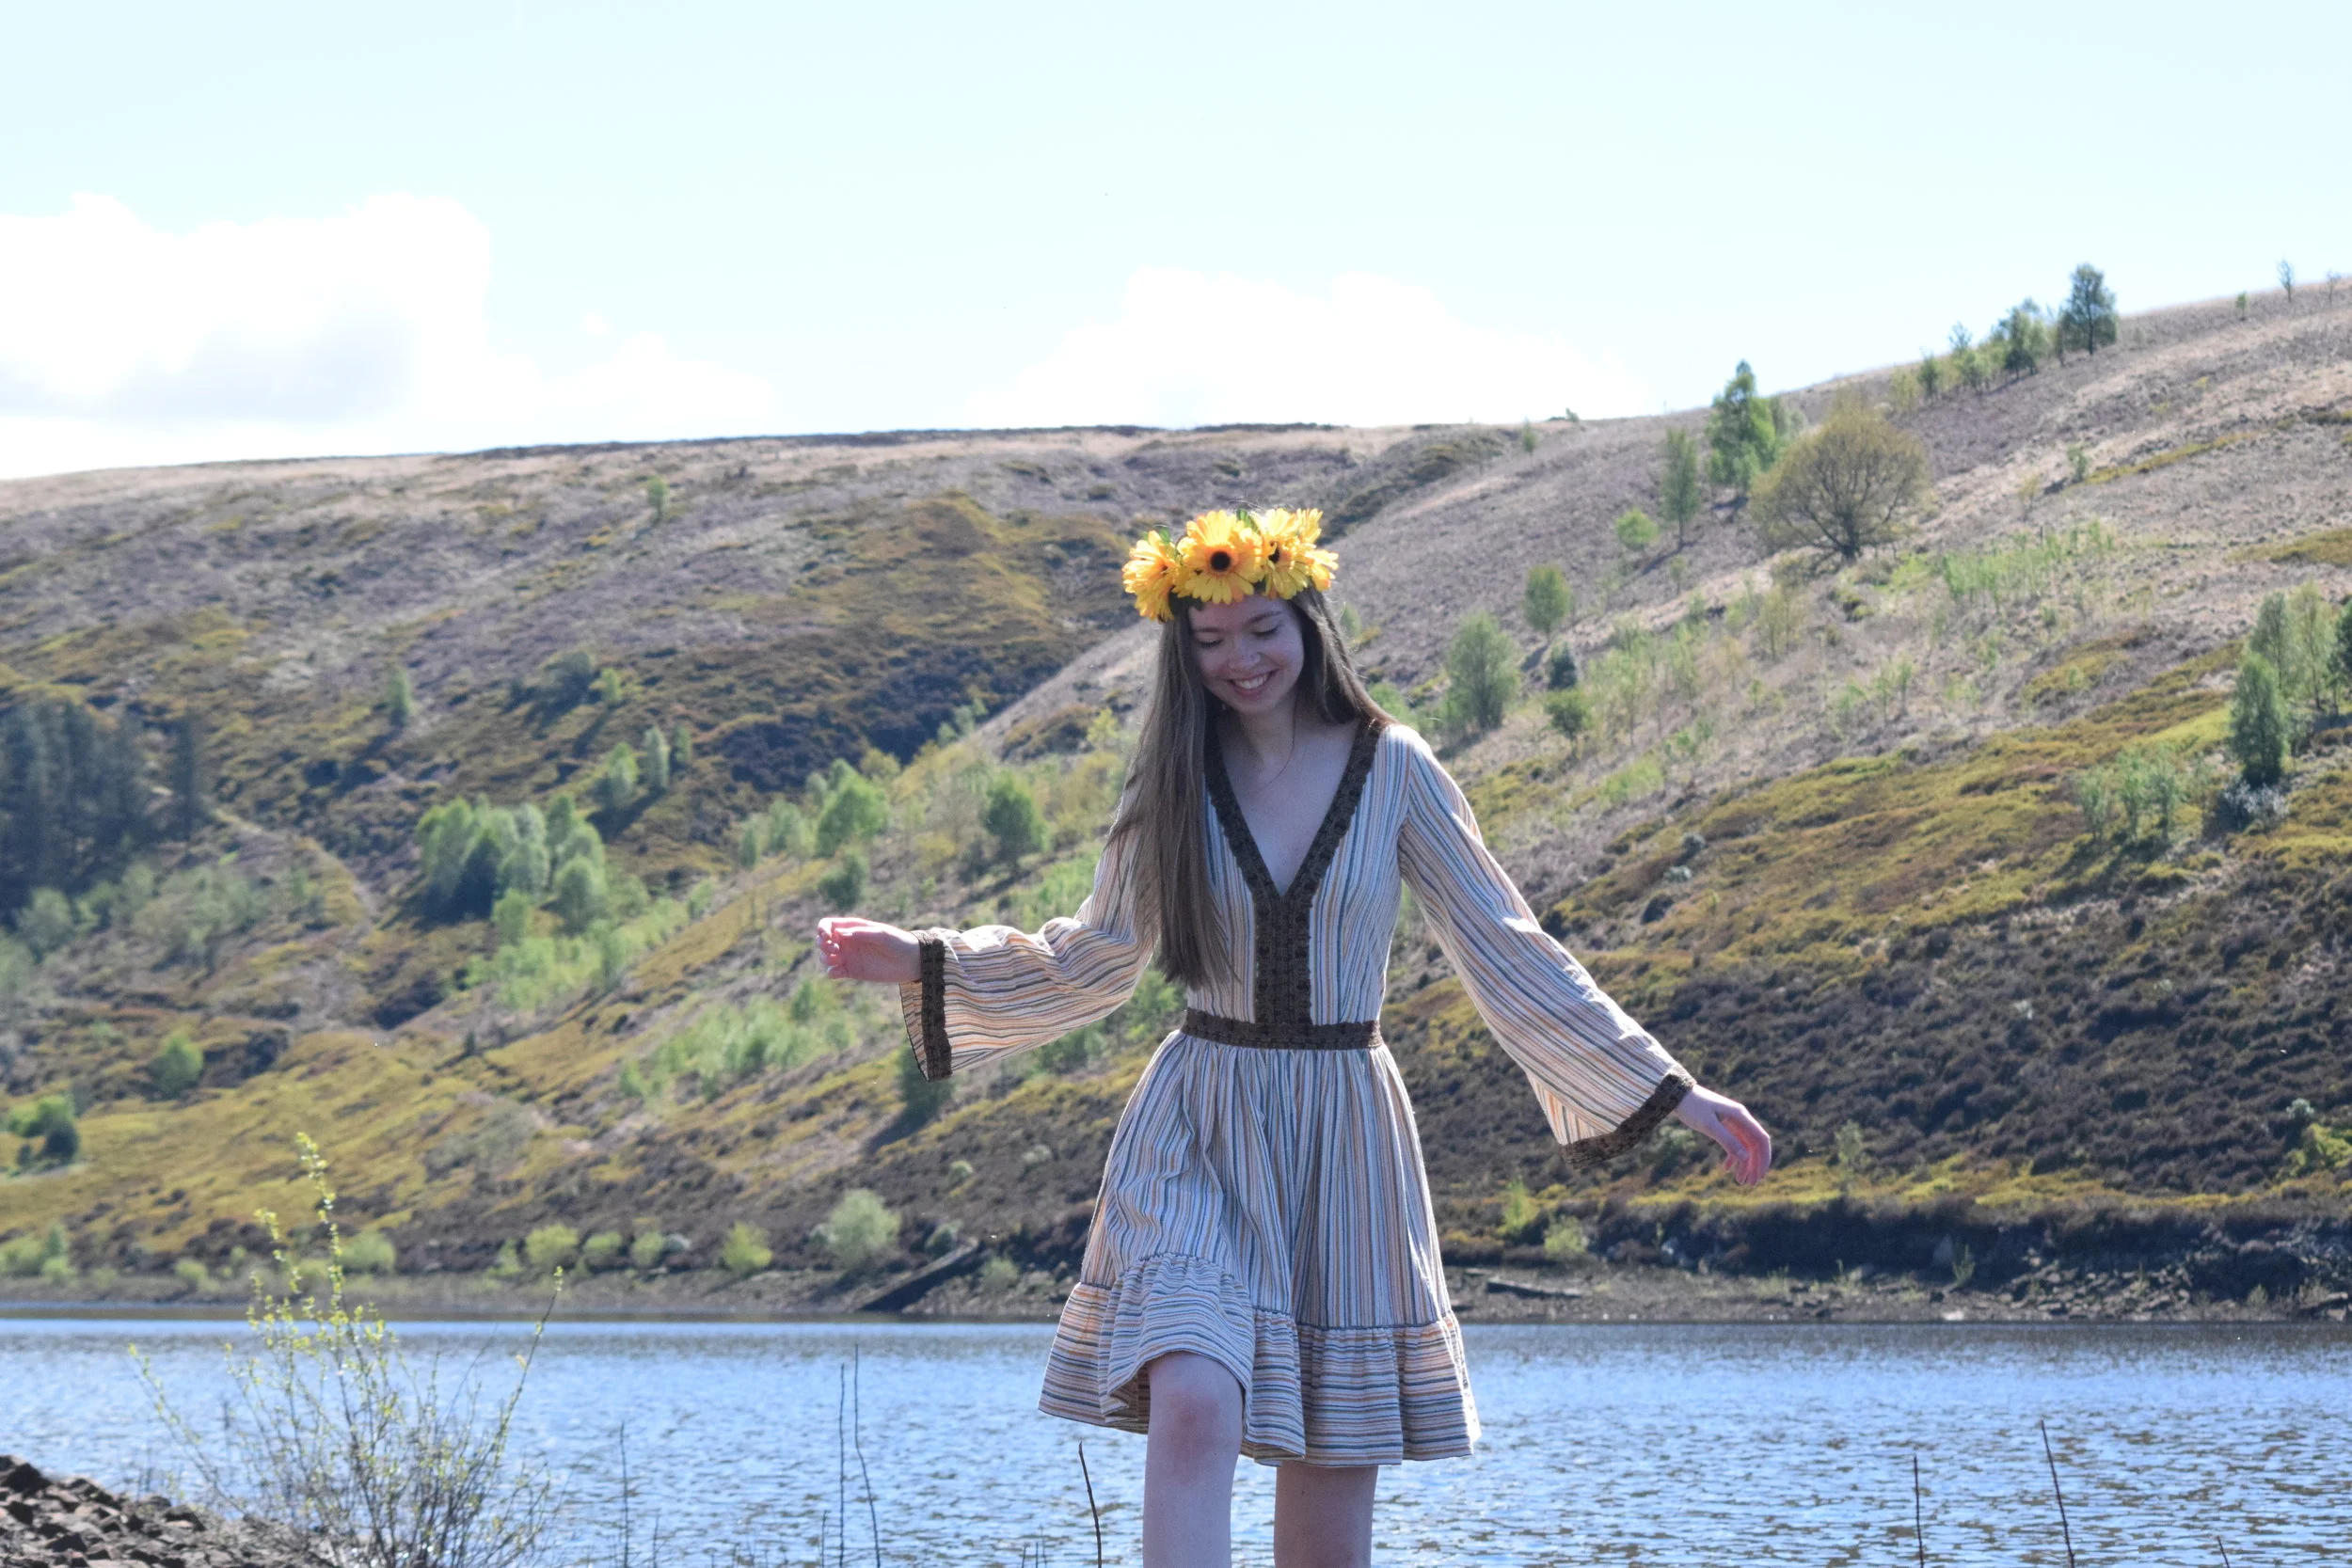
It was either the flares and crop top route or the dress route, and obviously you can see that I chose the dress route. I went for the flared sleeves, a fairly deep V neckline and a ruffled gathered skirt. I thought briefly about a maxi skirt but a) fabric is money and b) I felt that a maxi skirt would seriously decrease the everyday wearability factor. I knew straight away that the Cloth Shop in Soho would be the perfect dress to get the fabric from. I chose this beautiful slightly slubbed striped cotton and this vintage trim which I think really makes the dress. It did become quite pricey quite quickly, but I was really quite invested in the project at this project and decided that this was exactly the circumstances that disposable income was designed for. The cotton was quite narrow so I bought 4m (and used up pretty much all of it) for I think around £12 per metre. The trim was I think £6.50 a metre and I must have bought at least 4m of that too. So, pretty pricey, but as dresses go, I think it’s bloody brilliant and would say that it was 100% worth it.

Now the fabric has been bought, lets get down to the making process. Here’s a little fun fact for you: I drafted my own bodice block at least five years ago, but I never in the five years following had summoned up the courage to draft a corresponding sleeve, because as we all know, sleeves are hard. Seeing as I’ve now done a degree in costume and have been working professionally in the field for almost a year now it was time to stop being silly, get a grip and just see what happened.
In the end I ended up making at least 5 mock ups of the bodice with the sleeve. I really wanted a good range of movement so added in an inbuilt underarm gusset. I looked a lot at sleeve cap height. I’m still not quite convinced about it, but it’s definitely getting there. The cotton has quite a lot of give to it so once I made the bodice out of the final fabric, it got taken in at the side seams and centre back because I did want quite a close fit.

Once the bodice was sorted it was time for the skirt! This was where the maths started. I worked out what I wanted the final length of the skirt to be and decided that I wanted two thirds skirt and one third ruffle. I also wanted to play with the stripes here and have them running horizontally across the ruffle in contrast to the vertical stripes on the rest of the garment. I cut the ruffle first which was 4 metres long and then cut four panels the width of the fabric that was left to gather for the skirt. I do wish that I’d made the ruffle fuller, but you live and you learn. The last thing I did was to hand sew all of the trim on, which I think really completes the dress.

The finale to the ensemble obviously had to be a flower crown. This I made super quickly with a wide piece of black crin. I started off with gluing the flowers on but it got very messy very quickly so I ended up sewing them on instead. This was gripped into my hair and it stayed all night without even a hint of slipping!
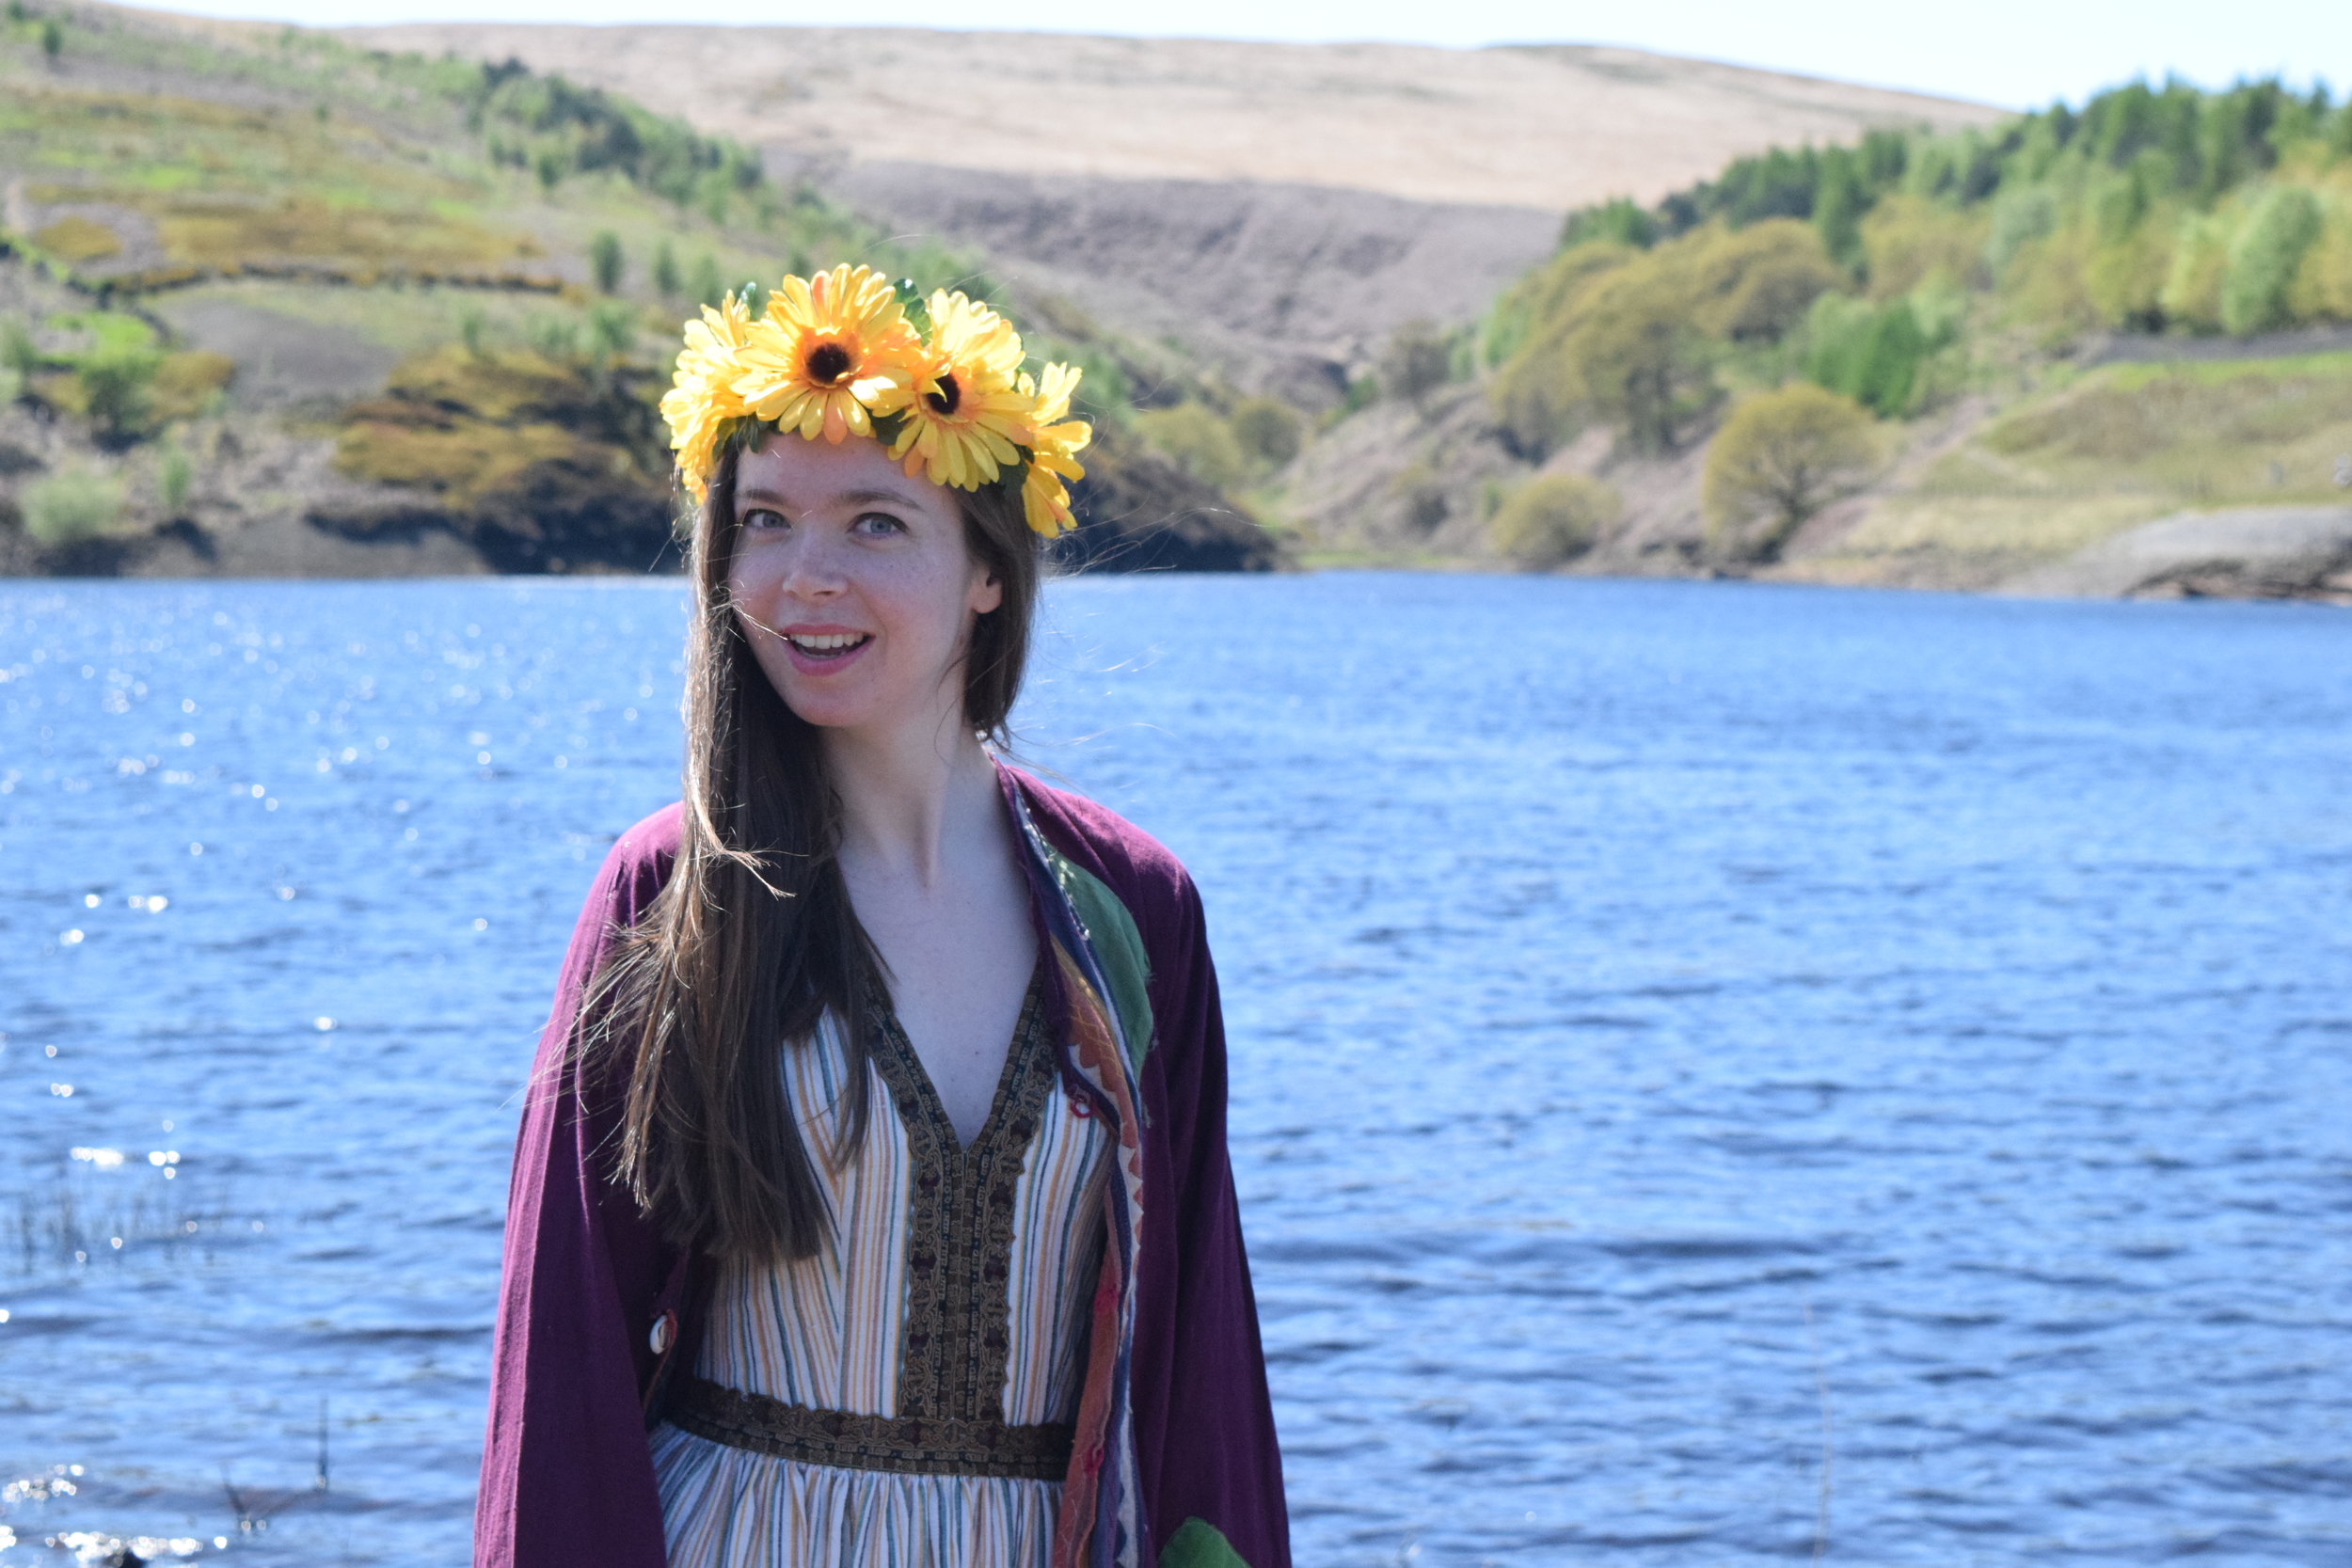
So to recap, I learnt a lot making this dress. I had a lot of fun wearing it to the party that required its creation and I had the most fun wearing it on a trip to Yorkshire with my friends last Sunday. Someone please throw another fancy dress party soon please.

Thank you for reading!!
Lauren xx