Elmer Crop Top

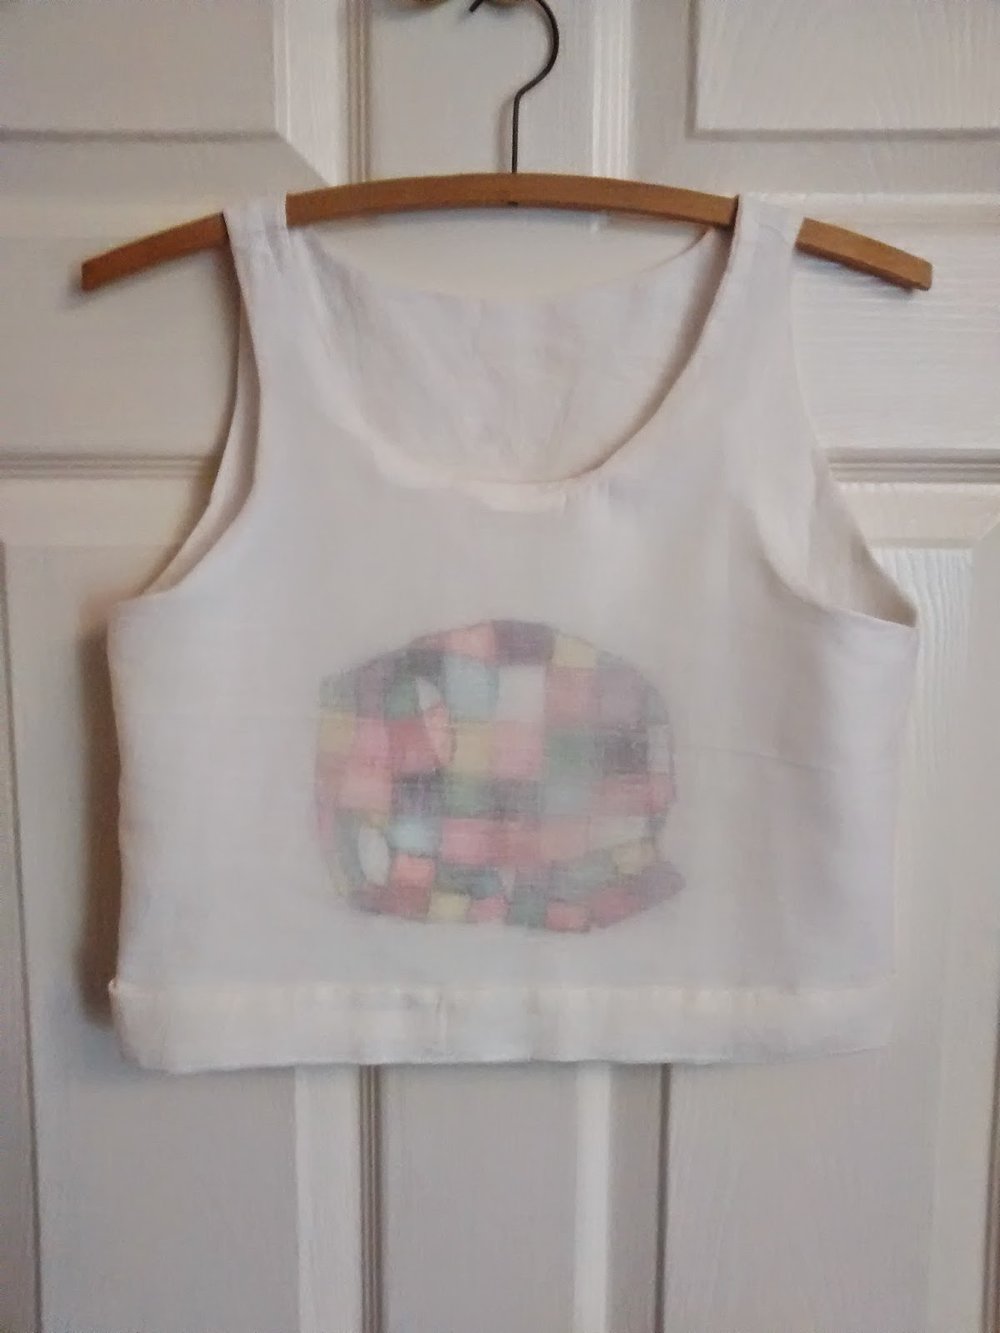
The idea for this top was sparked by a conversation I was having with a friend discussing what our imaginary animal friends would be like. (Mine would be a moose called Gary.) My friend plumped for an elephant named Elmer, which brought back childhood memories of everyone's favourite multi-coloured elephant. The message that Elmer gives is that it's okay to be different which I agree with wholeheartedly. 
My friend mentioned that he had an Elmer shirt, which I was very excited about, then disappointed about when it turned out to be just multi-coloured checks. I decided that I could do better than that and this top was born.
I first cut out a crop top using my bodice block, which doesn't have any side darts. The fabric used was a white linen, which I believe was an old tablecloth. I then printed and cut out a stencil of Elmer, and drew around it using a black fabric marker. I cut the ear on a hinge so I could trace around that too.
I then divided Elmer up into little squares and rectangles so I knew where each block of colour would go.
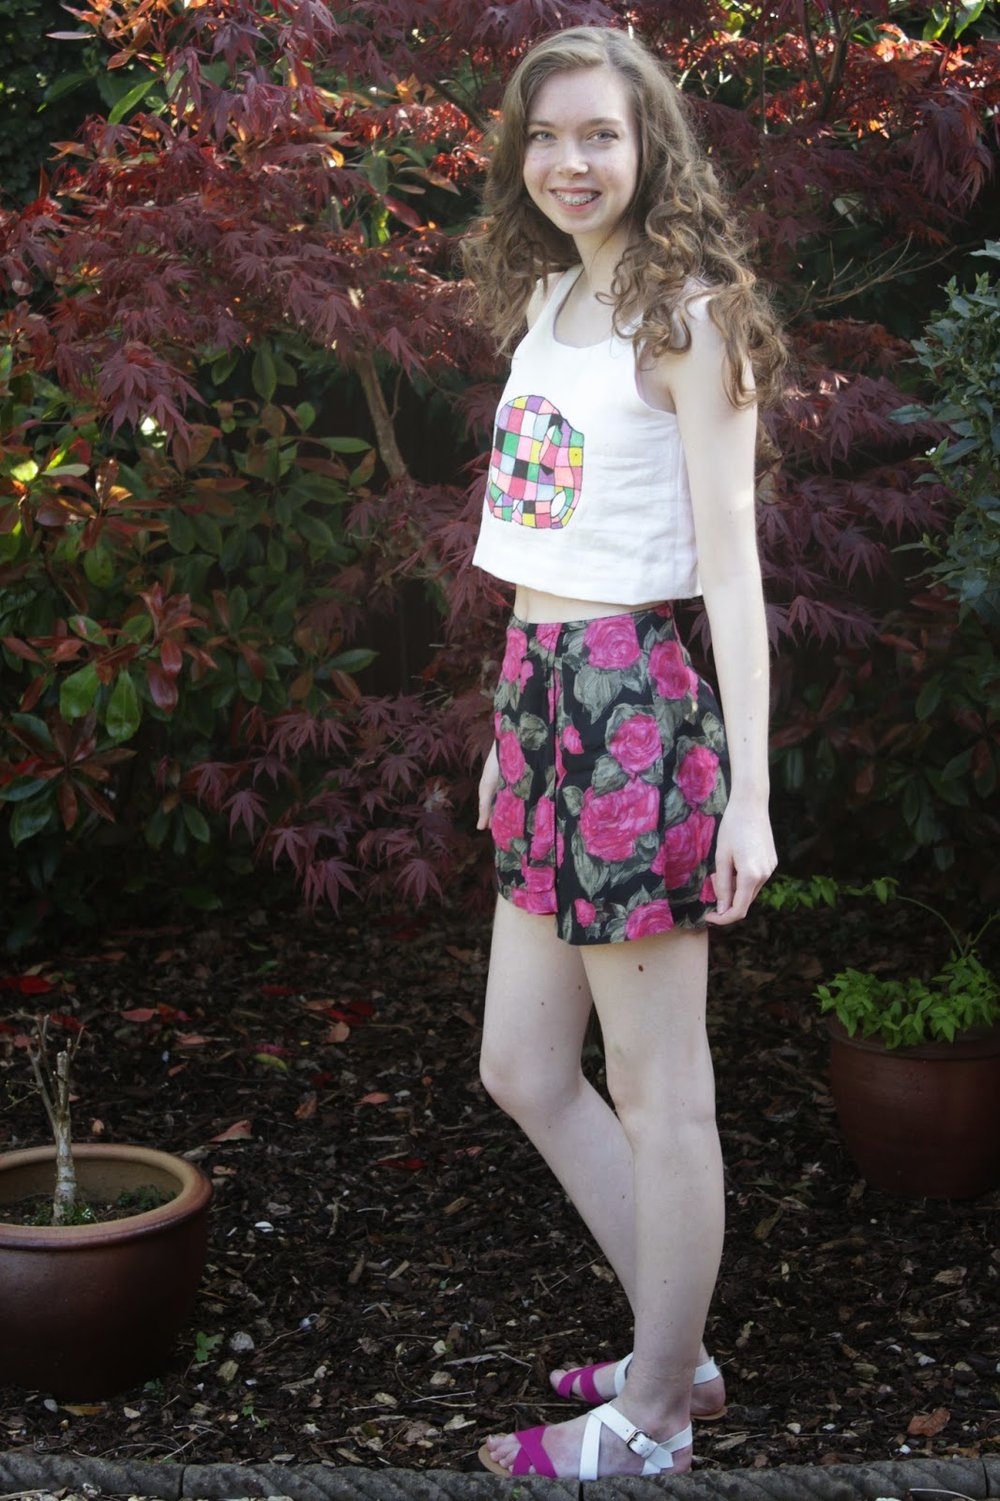
Looking at a reference picture, I filled him in and ta-da! Then it was time to put the crop top together. I sewed everything with a 1.5cm seam allowance which ended up being too tight, so I had to unpick the side seams and sew them again with a much smaller seam allowance. I'll have to make adjustments to my bodice sloper. The neckline and armholes would also have been better with a 1cm seam allowance.
I decided to line the top in a cotton gauze so edges were really neatly enclosed. I'm really proud of the insides of this top! For the hem, I did a hem facing which was sewn right sides together, understitched and then turned and slipstitched on the inside. It really helps the top to sit nicely. 
It is very white, perhaps too white, as it blends pretty well with my skin! Perhaps I should do some kind of border along the neckline and armholes with the black marker so people know where the top ends and my skin starts...
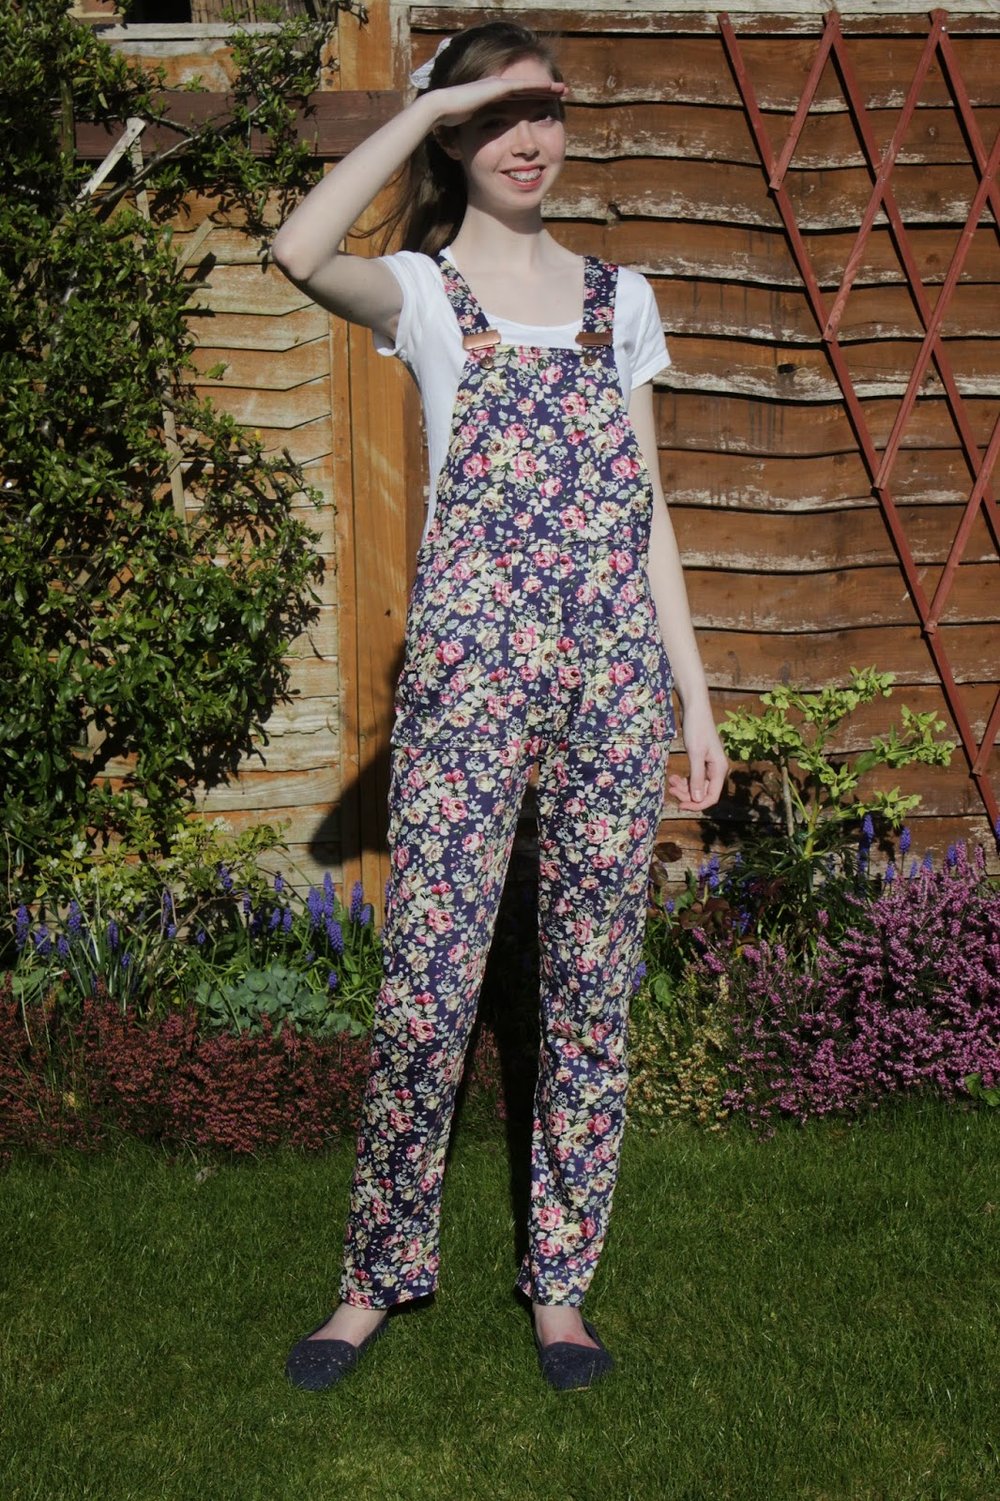
The back is plain. This is very much a 'party in the front' kind of top. The skort is from a vintage charity shops and I love the colours in it, but I've never really had anything to wear it with. This outfit though, is perfect.
I am very chuffed with it and very proudly wore it to school the day after I finished it. It's been in the wash, and it held up just fine. It was very fun to do some fabric 'painting' for a change. I'd like to do a lot more when exams are finished.
Thanks very much for reading, to Paul for sparking off the idea in my head and to Edward for taking photos!
Lauren xx

Mummy Boy

For my last year of school I took 3 subjects for A Level: Textiles, Drama and Sociology. In Drama we had to come up with a devised piece, made up entirely by ourselves which is then performed. The rest of my class was marked for their performance, but I of course chose to make the costumes instead. Our group decided to use

Tim Burton's 'Mummy Boy' poem

as a basis for our devised piece. The actors needed a Mummy Boy costume each as they were multi-roleing, a virgin sacrifice costume, something fit for a Mexican, beetle costumes and a mummy dog. 

 I made the 2 Mummy Boy costumes and the Virgin Sacrifice costume which I'll talk about in a later blog post. 

The key factor in Mummy Boy’s costume was that it needed to be removed easily, as the actor sheds the costume to become a beetle. Both actors needed a Mummy Boy costume as they multi-role as Mummy Boy throughout the play. With this in mind, I ordered 2 all in one non-woven suits that zipped up the front which could be covered in bandages. These could be easily taken off by the actors. 

 For the bandages, I did some researching on breaking down costumes to make them look old and worn and the answer seemed to be tea. So I dug around in the linen closet for some old white sheets and dunked them in boiling water (in a bucket) with about a dozen tea bags for a couple of hours. 

My tea-stained sheets worked out pretty well, but they didn't look disgusting enough for a mummy. Remember, mummy's have to wear their bandages for thousands of years, so they must get pretty mucky. The solution to this was to paint random brown streaks all over the sheets, to liven them up a bit. I had to do quite a few sets of sheets, and it was definitely easier to paint them whole, and then rip them up into bandages.

Then, the bandage ripping commenced. I started ripping quite narrow stripes, then realised that the narrower the strips were, the more I was going to have to sew on, so I made the bandages quite a bit wider after that. After all of the bandages were ripped, it was time to sew them onto the overalls. This meant a lot, and I mean

a lot

of hand sewing. 

Ta-da, the suit was pretty much entirely covered in bandages! Of course, I had to try it on to see how flexible it was. 

I found that wrapping the strips, then sewing them on made the suit tighter so for the second Mummy Boy suit I sewed each strip at a time. This took much longer, but did the job properly. After this one was finished, I had to start all over again for the second one!

The zip on the second Mummy Boy costume broke and was replaced with adhesive Velcro. This was also done with the first suit as the actor found it was easier to get on and off. However, the sound of Velcro ripping is clearly heard when changing costumes. There was an incident in rehearsal which resulted in all of the Velcro ripping off the suit so both sides of the Velcro were better secured to ensure that it did not happen again. My machine did not like sewing on the stick on velcro atall. The needle and underplate got all gummed up and disgusting and I had to scrape all the sticky residue off. Never again. Next time I will just buy sew-in velcro. 

I kept finding gaps to fill in rehearsals, and crotches kept ripping, so I was sewing bandages on pretty much up to the day of the performance. The overalls were only a couple of pounds so the quality was rubbish and they ripped really easily. Next time I'd do for something something more stable. Another way to do things would be to sew a huge sheet of bandages to make bandage fabric, and then cut overall pieces out of that and sew them together, but I think it might have lost the 3-D effect.

To secure the bandages I did a prick stitch on the right side and a long running stitch on the wrong side. The issue was that the long running stitch caught easily when the actors put the costume on, so the stitches ripped easily. If I made the running stitches shorter on the wrong side it would just be too time consuming. When the strips had been handsewn to the overalls, I sewed the bandages down in key areas by machine in a matching thread, that shouldn’t be visible to the audience to make the bandages as secure as possible. The overalls were very tricky to manoeuvre around the sewing machine.

Mummy dog was just a puppet wrapped in bandages. For our set, we covered everything in bandages, including the audience. 

I'm really proud of my Mummy Boy costumes, because they took a lot of time, effort and perserverance to make. And on the plus side at least I have something to wear for halloween next year!

Thank you to Emma and Katherine for wearing my costumes so well, and to Emma and Katie for taking pictures during the performance. I hope you enjoyed reading about something a little different than my usual floral dresses!

Lauren xx

Floral Turia Dungarees

 Hi everyone! For my second Minerva Crafts Blogger make I decided to bite the bullet and make some floral dungarees. There were a lot of firsts in this particular sewing project; mainly the sewing of flat-fell seams and figuring out how to attach a dungaree buckle! But, I made them because I wanted to try something new. Dungarees have not featured in my wardrobe since I was a toddler and I wanted to try out a new silhouette, which is more casual than my usual style.

 I don't normally wear jeans or trousers because I just find skirts and dresses more comfortable, but I thought that using a stretch cotton could make my dungarees more comfortable to wear and it really does. That little bit of stretch makes a world of difference. I went with a floral, to make my dungarees more original, and so they fit in more with my style!
The fabric (being cotton) presses extremely well, which was really useful when doing the flat-felled seams. For flat-felled seams I'd recommend cutting your notches outside of the seam allowance, because they caught me out when I tried to fold them over. My top-stitching is decidedly iffy in places, but it's getting there! The floral print is fantastic at hiding the dodgy bits. You can hardly see the pockets!
 The pattern I used was Pauline Alice's Turia Dungarees. I interfaced the sides of the bib (which are on the bias) because after 1 line of top-stitching they were looking decidedly wavy. I hoped that the interfacing would straighten the sides of the bib out a bit, which it did. Next time, I would probably interface the whole bib, just to make it a bit more sturdy.
The trousers are designed to be slightly cropped, but I cut the length to that of the largest size. Next time I would add a couple more cm's. The back pockets are actually invisible! There are 5 pockets in the pattern, but I ended up doing 4, and leaving out the one on the front bib because I'd already done 4 and no-one would really be able to see it anyway!
Overall, I'm really pleased with them, and am glad that I decided to try a new silhouette. I will be getting a lot of wear out of them!
Thank you very much to Minerva Crafts for providing the fabric, and to Ed for taking pictures!
Lauren xx

A Floral Anna

Hi All! Today I'm continuing the spring dress theme with a floral Anna. My last Anna was pretty special occasion, so hasn't had a lot of wear, but this one is going to get worn all the time. 
 I found the fabric when shopping with Susan in Sydney last summer (I still haven't used it all up yet) and it's this beautiful buttery soft viscose which I think was $10 for 2 metres. I just love the colours in the print.
Like my last Anna I paired it with a nearly-circle skirt, making it as full as I could with the fabric that I had. I always forget just how much there is to hem with full skirts. For this dress I neatened the neck and arm holes with bias binding, which was slipstitched in place. The hem was machine stitched. Why do dresses typically have quite large hem allowances? Are they better than a 1.5 cm hem allowance? Does it make them hang better?
Although my hair is covering the invisible zip in the centre back seam, it is there! I happened to have the perfect matching zip, also from my trip to Sydney. Love it when that happens. I think I might try my next version without the kimono sleeves, to see what it does to the silhouette. I would like to try the maxi version of the pattern, but I'm not sure how practical it would be.
Thanks very much for reading and to Dad for taking the photos!
Lauren xx

Purple Drapey Cardi

Hi everyone! I hope you all had a lovely Easter. My daily outfits usually consist around a top, skirt, cardigan and blazer. For a long while I only had a cropped black cardigan which to be frank, is incredibly boring. I like my cardigans to be cropped, because I usually wear dresses or skirts that sit on my waist, but cropped cardigans are nowhere to be found on the high street. So, I decided to make cardigans in a rainbow of different colours to make my wardrobe slightly more interesting. I've already talked about my green one, this purple one has just been finished and I've got some burgundy knit waiting ready to go.

To mix things up a bit from my other cardigans I decided to have a go at Megan Nielsen's tutorial for a draped cardigan, cutting it as specified in the tutorial and then trimming the offhanging bits to make it cropped. I used the basic top pattern from Sew U Home Stretch for the back and sleeves and the armscythe and side seams of the front piece. After making my green cardi, the back was cut in two pieces and taken in, in that seam to make the back more fitted.

The fabric is a wool/polyester/elastane knit bought from a fabric shop on the way home from my university interview. One side is a bit scratchy, so I took care to have that be the 'right side' so the softer side would be against my skin.

The sleeves were also quite baggy in my previous cardi, so these were narrowed down. I decided last minute to make them 3/4 sleeves with a cuff just to add another design detail. I think it works well with the length of the cardigan.
The colour of the knit goes perfectly with the purple in my Joesph skirt! Upon reflection, I might have made it a tad too cropped. If it bugs me, I'll just add a hem band at a later date. Another design detail, right? ;)

Apparently in this photo it was time for stuck in the mud...
Anyway, thank you so much for reading and to Edward for dragging his camera kit around on our annual 'Easter walk'. 
Lauren xx